Showing posts with label fleece. Show all posts

Wednesday, March 13, 2013

A two-for-one


The next project is a two-fer J

I enjoyed working with the fleece so much and had stocked up during the 99 cents pattern sale that I decided to make my son something.

Lately my younger son has been taking the kitchen glove (that you pull the hot stuff out of the oven with?) and putting it on his hand and doing hilarious hand-puppet voices. What makes this particularly funny is that this child is too old for the whole hand-puppet thing and he knows it, so his hand-puppet antics are not cutesy little skits, but the observations of a slightly cynical, mildly incompetent hand puppet. As his mom, I find this both adorable and hilarious, but don’t tell him I said adorable J

Now what usually happens is this: he grabs the glove and starts chatting. We all laugh and because we’re usually in the middle of cooking something when he thinks to grab the glove, he’s using the only glove in the kitchen…so we have to grab it away from him to use, usually causing the glove-turned-hand-puppet to start “dying” and making gruesome noises amidst the peals of laughter from the peanut gallery…

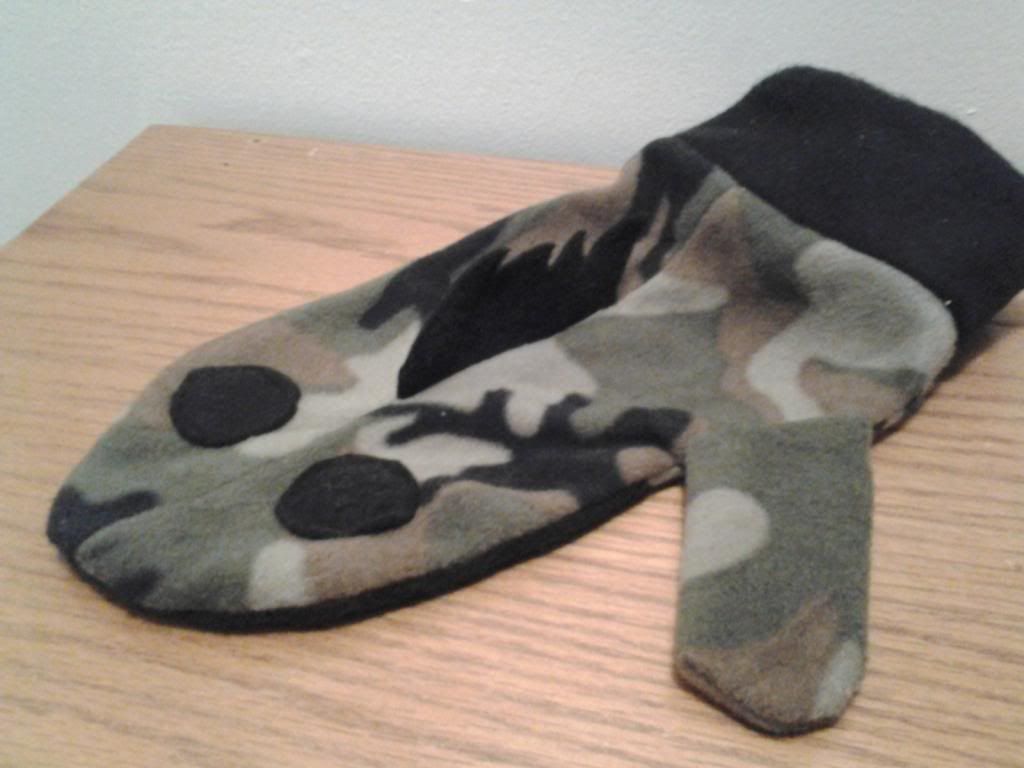
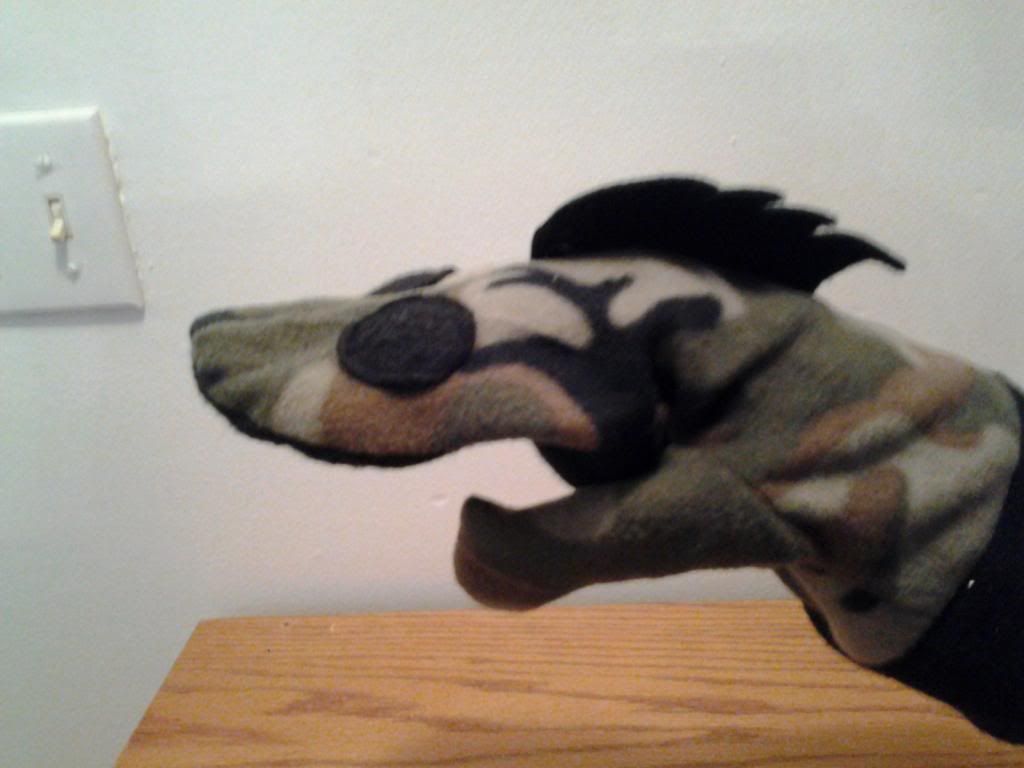
So I thought I would make him an actual glove to use. Its part serious (I made you this great glove) and part teasing him (oh the wittle man wants a cute hand puppet). I found the greatest pattern: McCall’s M6667 and just had to do this to make him laugh. The one I did was the gold fish-looking one (second picture in, with the froggy :))

I had gotten a lot of fleece from the remnant bins (remember less than a yard J super cheapJ) and chose a great camo fleece. I figured if I was going to make him something, even something partially making fun of him about, the camo would at least make it a little manlier J

I made a mistake in choosing the size. I assumed (and what do we all know about assuming???) that the pattern was sized for a child, so I chose the largest size – my youngin’ is a big ole preteen, you know. When I laid out the fabric and cut out the pieces, I thought they seemed a little big, but I knew that sewing them would reduce the size quite a bit, so I didn’t really think anything was wrong at that point.

The second part I really had an issue with was understanding how the thumb part fit into the glove part. I’ll tell you what; I scratched my head for a long time before I finally got it. Now I am no dummy, but for some reason, I just could not make it look like a glove! I pinned it every which I could, including the way the instructions told me J and it just didn’t look right. So I finally resorted to basting – I just pinned it as best as I could, even though it did not look right, and just sewed it in.

Well it worked J you ‘d think I’d have remembered sewing the mittens for the doll outfit not how many days ago?

The finished product was ADORABLE! By far one of the greatest things I’ve made to date. The only issue I had was that after seeing how huge the mittens turned out, I went back to read the sizes and they were sized for children and adults. I made the largest adult size…hmmm…I may make myself a pair J

Aside from the hugeness of them, they did turn out great. My son laughed and laughed when saw them (I hadn’t told him I was making them) He put one of them on his computer over his pencil can so that it stares at him while he’s on his computer. Mom rocks!

Flat

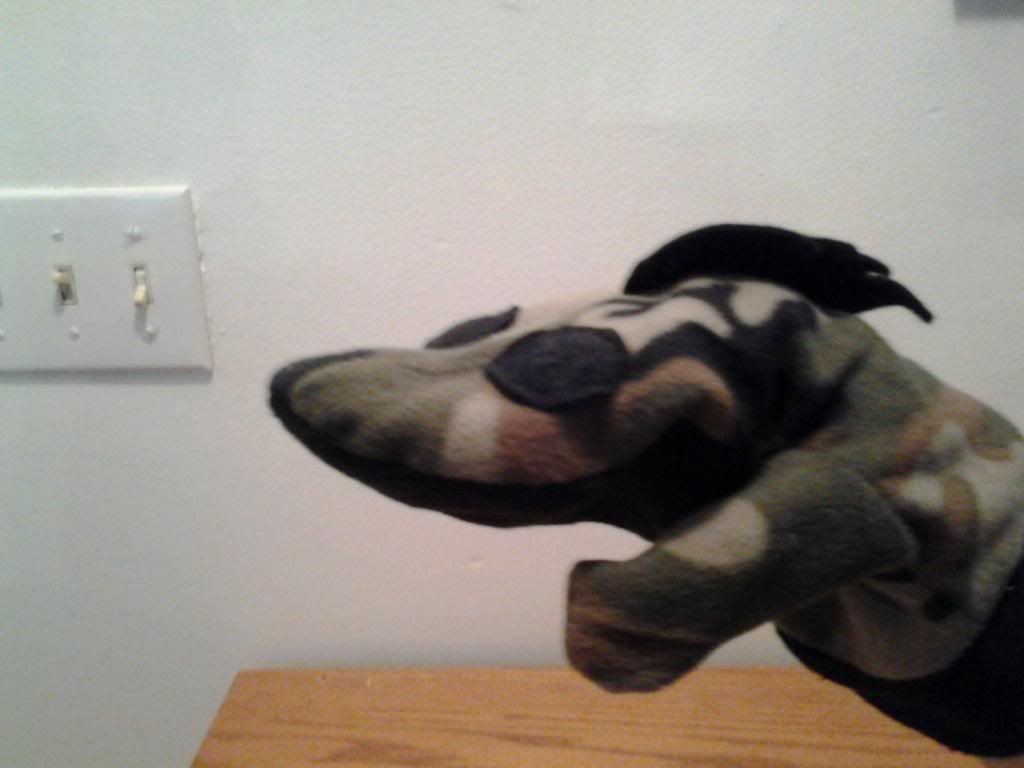
On his hand

Smiling! How cute!!
 The little camo mitts for my kiddo took such a short time and I was so proud of my handy work, I decided to keep going. I’m really on a roll with these short, simple projects.

I’d been doing some shopping online looking for free doll clothes patterns that I could practice with (hey – free is better than 99 cents right?) and I came across Liberty Jane’s website. OOO MMM GGG am I in heaven. Moderately priced, fashionable, and even some free ones and support if you want to sell doll clothes one day? Oh where do I sign??

Now my only gripe is that for most of them, you only get 1 item for 3.99, whereas a paper pattern from Joann’s gives you 4-8 different items (usually) and I consider them 99 cent patterns(I know, I know, the patterns are regularly 14.99, 17.99, and up but I only buy patterns when they are on sale) However, 3.99 is quite reasonable and the folks at Liberty Jane are a family run home based business, so I am A-OK to buy her patterns J when I can…and my husband isn’t looking…ha ha ha

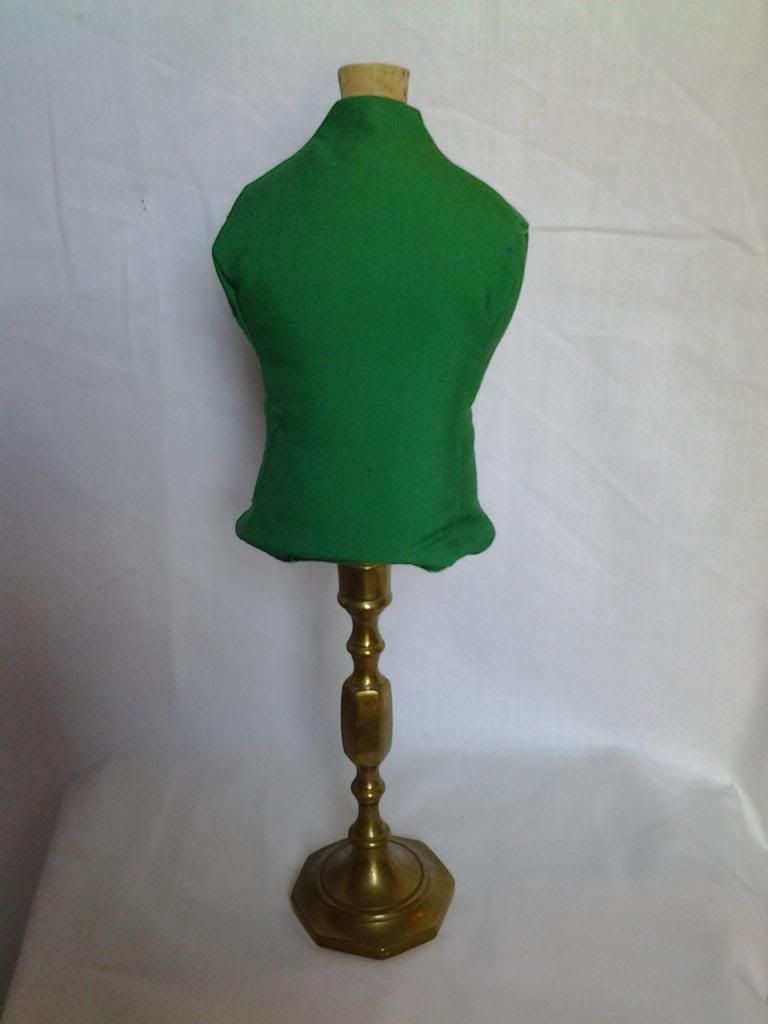
The first Liberty Jane pattern I bought was actually not doll clothes. I wanted to see if the patterns were good and since I had just gotten an actual dress form for Christmas from my mom (thank you mumma!!!!) I decided to purchase the doll dress form pattern from Liberty Jane!! (I have since purchased many patterns, but the dress form was my first J)
Side story about the dress form I got for Christmas: I was elated when I took it out of the box and set it up. It more wonderful than I imagined...then I turned the little dialies and set it to my own measurements... I was shocked!! Who is this fat girl in my living room??? The dress form didn't look so hot anymore! ha ha ha Time to trim down!!

Holy cow this pattern was fun! The pattern is set up so that you make the form, stuff it, and then put it on the “stand” which can be a candlestick holder, votive holder, or anything like that. How awesome is that? I decided I really wanted to do this all in one sitting, so I intended to go shopping for the candlestick holder beforehand, but then got to excited to start that I just made the top part and then went to the store. I’m such a goober!

I also knew I didn’t want to pay more than a buck or 2 for the holder. I mean, turning out a nice product is one thing, but remember this is all supposed to be practice so I get better, not make crummy expensive things because I need more practice.

My first stop was the nearest dollar store. I thought for sure I would find something there. NOO L I left feeling quite discouraged but then passed a thrift store on the way home J yay J I stopped in and sure enough, the most beautiful, wonderful (wax covered and dingy) candlestick holder was there waiting for me. I paid like 85 cents for it J SCORE!! It only took me a few minutes to clean it up and it was good as new!

So I had my form stuffed (the project really was just as simple as it could be) and the only trouble I ran into was learning to use the glue gun (I had never used one before J) and making sure everything was even.

And voila! Is that not the coolest dress form???? Thank you Liberty Jane!!
Tuesday, March 12, 2013

Fleece winter outfit...and a broken sewing machine


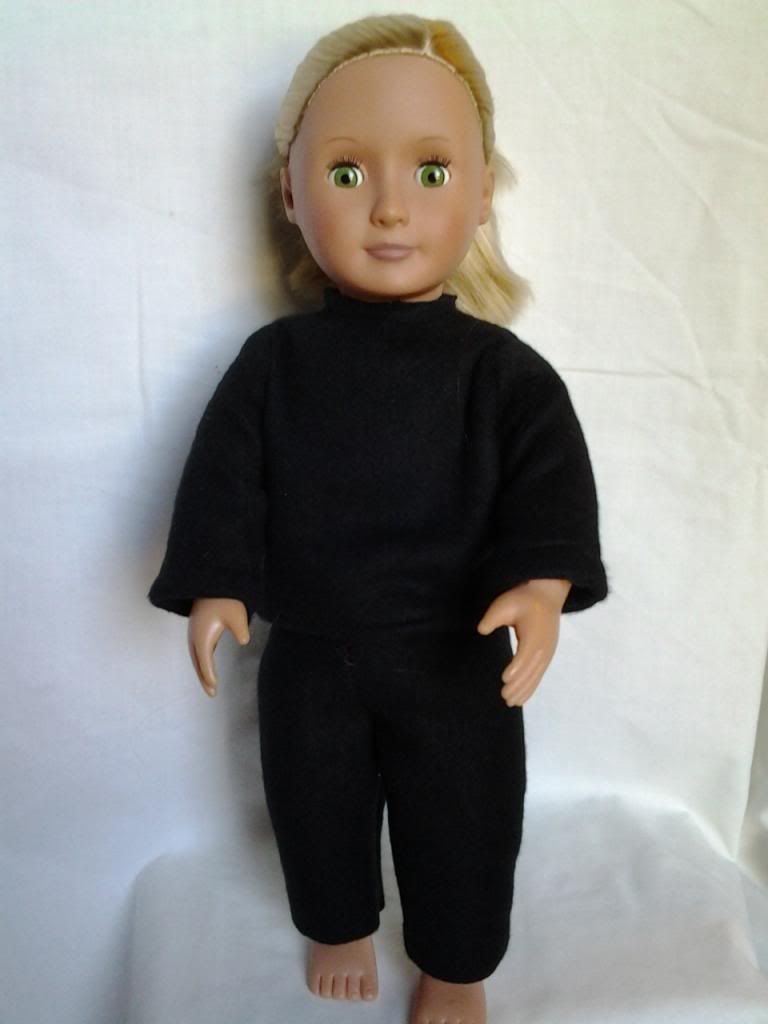
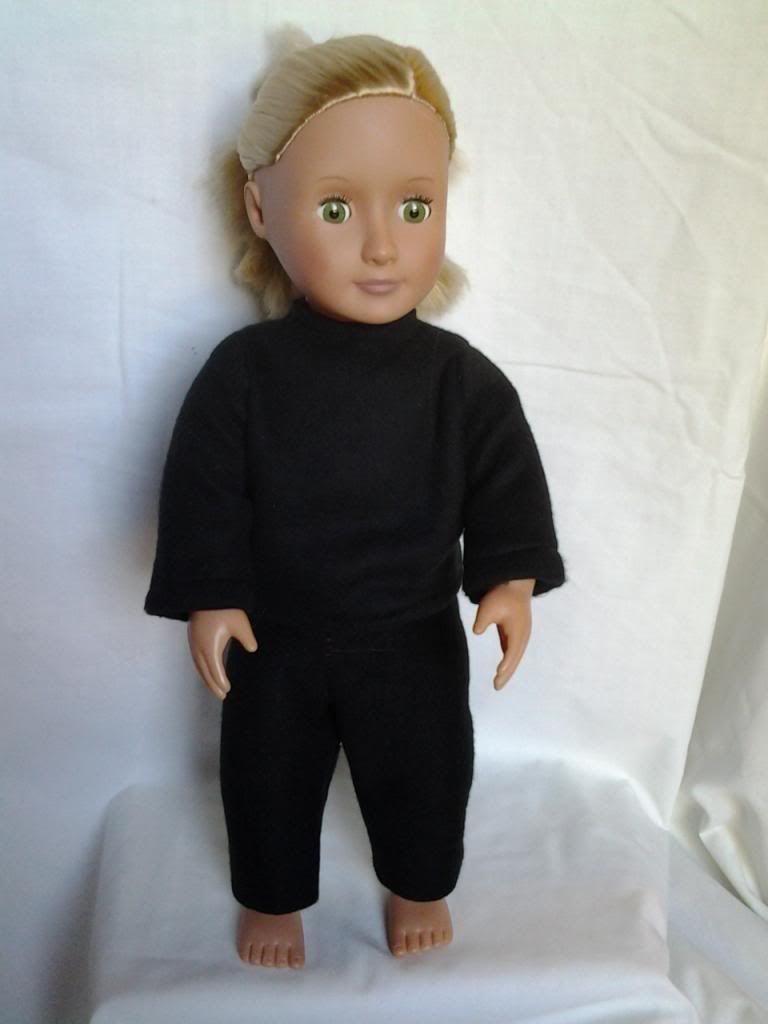
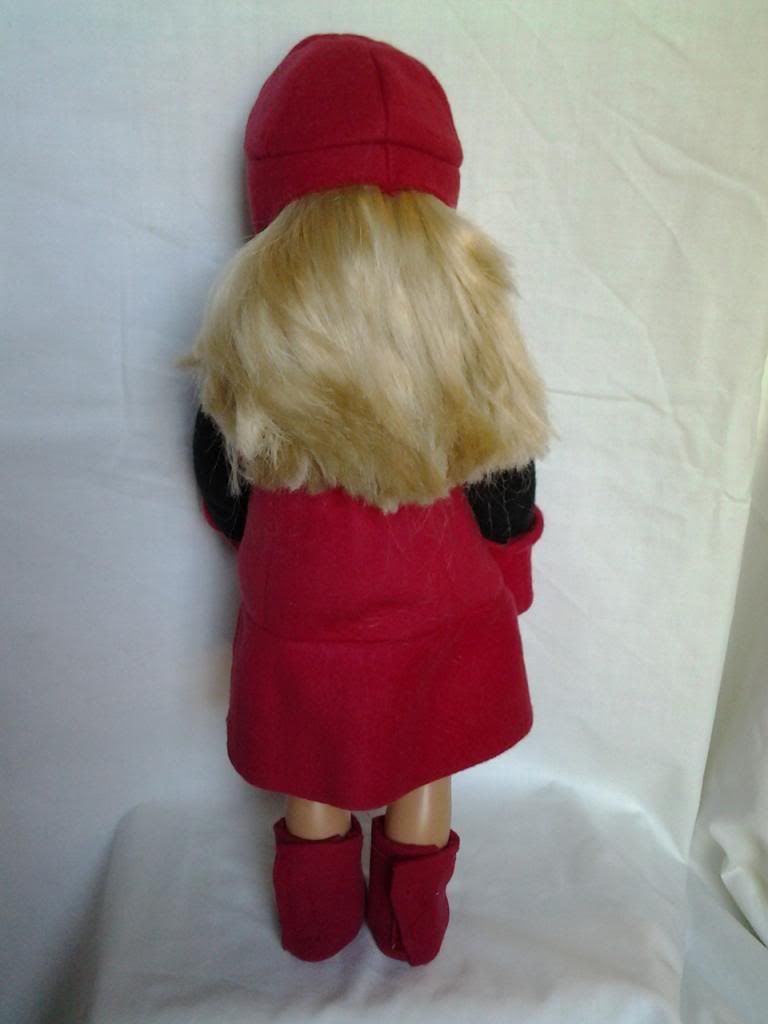
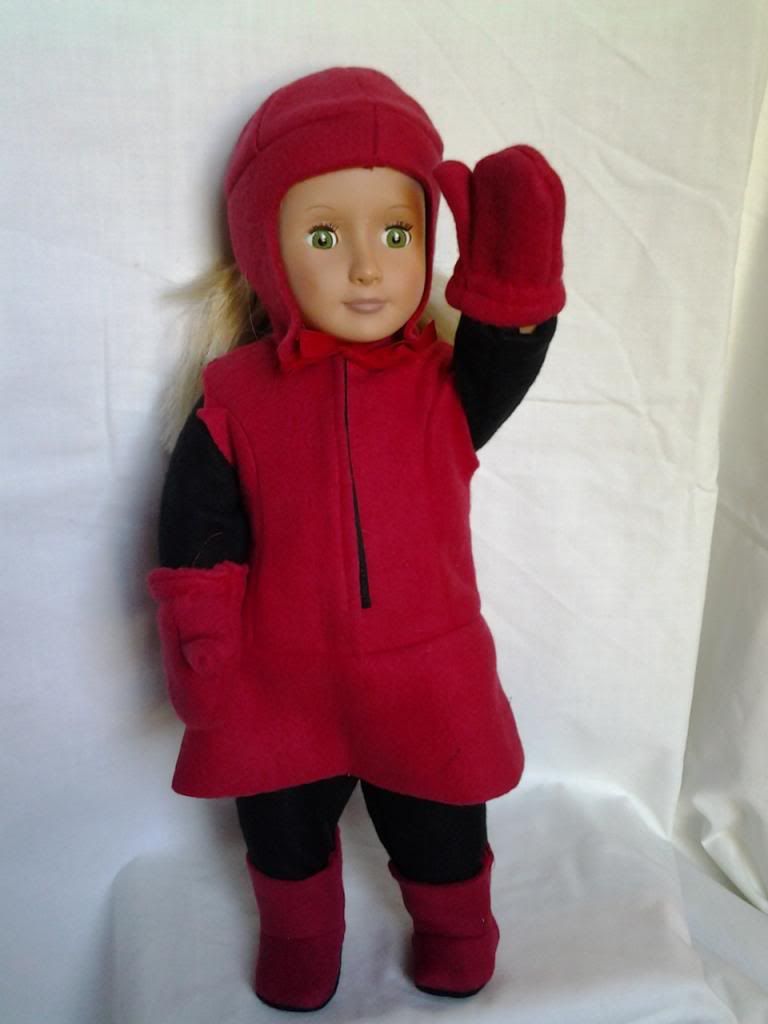
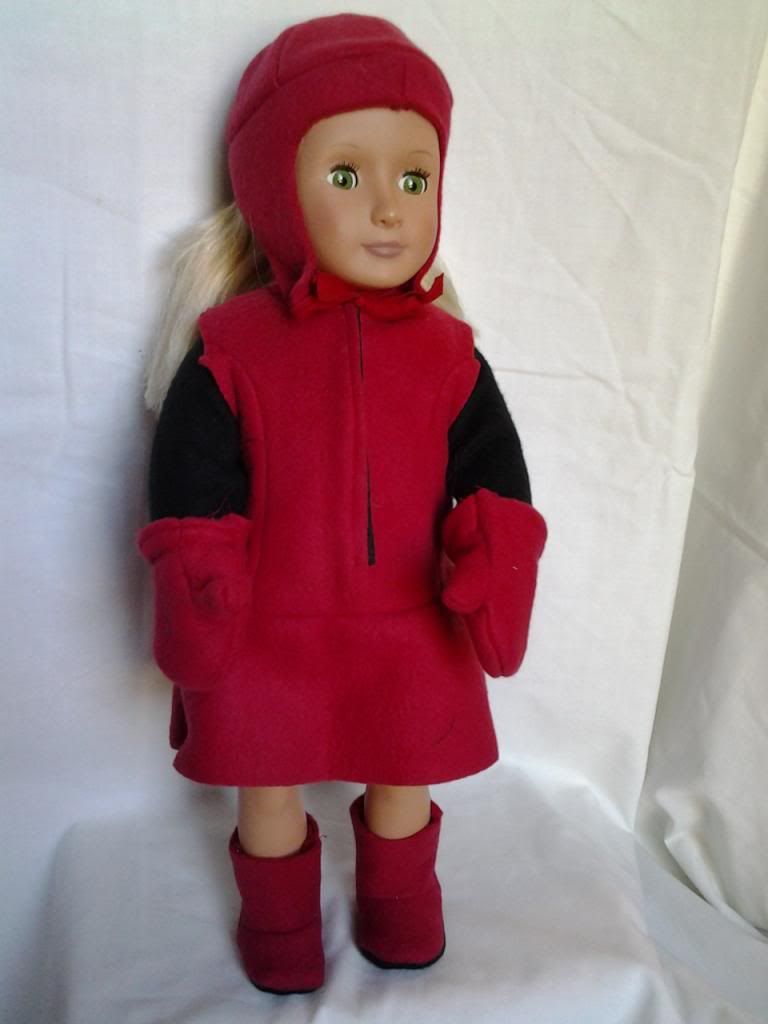
The next thing I tried my hand at was a winter outfit. I enjoyed working with fleece so much that I knew the next project I did would be something out of fleece – I just wasn’t sure what I wanted to make. I hit up my 99 cent pattern sale and had enough fleece left form making my brother’s Thundercats pillow to do this outfit: Simplicity M6257 [upper right pic]

I’m a big fan of winter and I liked how this looked in white, very crisp and clean. Inspiring!

So I started…

Now I must say, fleece has a way of boosting your confidence, I think, because it doesn’t ravel, it doesn’t stretch when you don’t want it to, but will when you do. It’s just an allover good fabric, in my opinion. However, I can’t exactly make everything out of fleece, so I do appreciate it when I can work with it.

On a side note, the leftover fabric that I used for this project made me really stop and look at how much fabric I was using. When I started to learn to sew, I learned that most patterns I was interested in making required 3 or more yards of fabric to make – even my youngest son’s pajamas pants takes 2 ½ yards now, and with prices the way they are, I just can’t justify spending that kind of money on beautiful fabric just to make something no one in their right mind would wear…you know?

The doll clothes use less than a yard, most times less than ½ a yard, and a lot of times, even less than that! (wait till you see what I made with a “book sock”) Sooo…with my policy of not spending more than 20 dollars a trip to Joann’s, I discovered the REMNANT BIN! AAAAAAAAAAAAAAAAAAAAAAH!!

Heaven, pure heaven!

For a few bucks – almost always under 5 dollars, I can buy enough fabric (even expensive, fancy fabrics) to make a complete outfit which
1. Allows me to practice technique, on sometimes difficult fabric even
2. Still gives me the satisfaction of getting to “finish” a project in one sitting – which I’m real big on
3. Really lets me expand the type of outfit I’m making. (for example, I got a tiny remnant of canvas and made some awesome shoes and a gorgeous upholstery fabric that I am going to make into a ball gown)

Okay, back to my fleece outfit.

This outfit was actually done in 2 sittings because of the many many many pieces. I cut out all of the pieces and the way they were eventually going to be attached to one another practically jumped off the table at me!! I took that as a good sign J

First was the main dress. I stitched this one up rather quickly but had some trouble figuring out whether the Velcro went in the front or the back. Most doll clothes the closure is in the back, but after looking at the picture and trying it on different ways, I determined that it went in the front.

Next I did the boots. I have to say, I’m prouder of those boots that I really should be. Looking at them now that my skill has grown a smidgy, I have to laugh at my little boots I was so proud of!! They are cute, don’t get me wrong, but I see all the mistakes of course!

The boots were easy to construct, but difficult to work in such a small space. Making these boots was the first time I really realized that doll clothes would be a challenge because of the close quarters. I am optimistic, but a little concerned.  Oh but they turned out so cute!!

The next thing I did was the mittens, which were also challenging due the tininess but really brought out my “holy cow this stuff is cute J” and really made me happy J The mittens have elastic around the cuffs and actual separate thumb pieces (!!!)

Then I took a break from the red and did the shirt because I really wanted to start trying it on and checking the fit. The shirt was very easy and quick and I was pleased to have a versatile piece to go with some other things in the future.

The last thing I did was the hat. And just as I was on top on the world…I broke my sewing machine. L

I started piecing the hat together, it turned out FANTASTIC. Then I decided to use bias tape for the straps instead of ribbon. With what ended up happening, I see that the choice of bias tape versus ribbon didn’t make a difference - my issue would have happened either way. What I did was fold my strip in half and after sewing it to the hat, continued stitching down to keep the strip folded in half.

Well apparently when you sew a tiny thin strip of fabric over a big plate with a HOLE in it, sometimes when you don’t know what you’re doing, the strip can get sucked down into the hole and make the needle stuck… and then if you really don’t know what you’re doing, you tug and tug and you can bend your needle. L I didn’t know this. I tugged and tugged finally got the little strip of fabric out and then the needle would go down but not back up.

I was crushed! 

Fortunately, you guys know about the sewing ladies in my life and I of course called my mom up and said “mommmmmmmmmmmmmmmmmy!!!!!!!!!!!!!!!!” She said she’d look at it but it was late at night on like a Tuesday when this happened and I wasn’t going to see her until the weekend.

I was impatient and didn’t want to just stop soo close to the end!  I am unbelievably blessed enough to have a spare sewing machine though!! (how cool is that?) It’s not really mine. My friend and her husband moved away a few years ago and she did some serious cleaning out. She came across her sewing machine (still in the box) and said to me “I will never use this…please hold onto this for me until one day when I decide to learn to sew” and I have been hanging onto it for her for years. I hope one day she will learn to sew with me and then I can give her machine back (C’mon Jen! All the cool kids are doing it!) but in the meantime, I was absolutely grateful to have it as a backup (she did say I could use it if I needed it J I never thought I would!)

I’ll tell you what: my mom was right – when you sit down at a machine, you just “know”. Her machine is newer than mine so it’s much less complicated to thread. The bobbin winds SUPER FAST – hooo weeee! And where my machine goes WHIRR WHIRR WHIRR WHIRR and practically shakes, her machine goes SHH SHH SHH SHH and gently vibrates. It’s all quiet and still! I really liked using it – but you experienced seamstresses out there already know what I’m going to say (not you experts – you guys own and feel comfortable on like 5 different machines, huh?) I loved the machine and it was so sleek and awesome, but it just wasn’t mine L

So on Jen’s awesome sleek machine I sewed the other strap on – not folding in half… (lesson learned) and then did the pants. I meant to have tights or leggings for the outfit because of the style, but I didn’t have a pattern on hand. So what I did was “whip up” a pair of pants (ha ha me? Whip up?) and then tighten the fit and tighten the fit and tighten the fit until they were as snug as I felt comfortable taking in.

I’m giving myself a fail on the pants, but an enthusiastic thumbs up for the outfit as a whole – even with the breaking of the sewing machine and half folded/half unfolded ties J

Let me know what you think!