Showing posts with label thumbs up. Show all posts

Monday, April 1, 2013

Thank you for reading my blog!! And a swimsuit!


Well I must say a huge THANK YOU to those of you who are still following along with me as I learn to sew. When I started this blog, I had been learning to sew for a few months and was making pretty good progress. I decided to catalogue all of my attempts leading up to my current sewing level, which I consider to be talented beginner J So all of the entries from the beginning on through the next few are all completed projects that I attempted and learned from. Pretty soon here we will be caught up with where I am now and you will be on the shaky road with me as I continue to struggle. I will take lots of pictures J

Some coming projects (that I have completed, but not yet posted):

I venture into “people clothes” but not to ruin any build-up or anything: my attempts fail dismally L Thus, I keep returning to doll clothes to build my confidence back up.

I met one of my goals! Keep checking entries to find out which one!

Around 5 more projects until we’re caught up!

ONTO TODAY'S PROJECT:

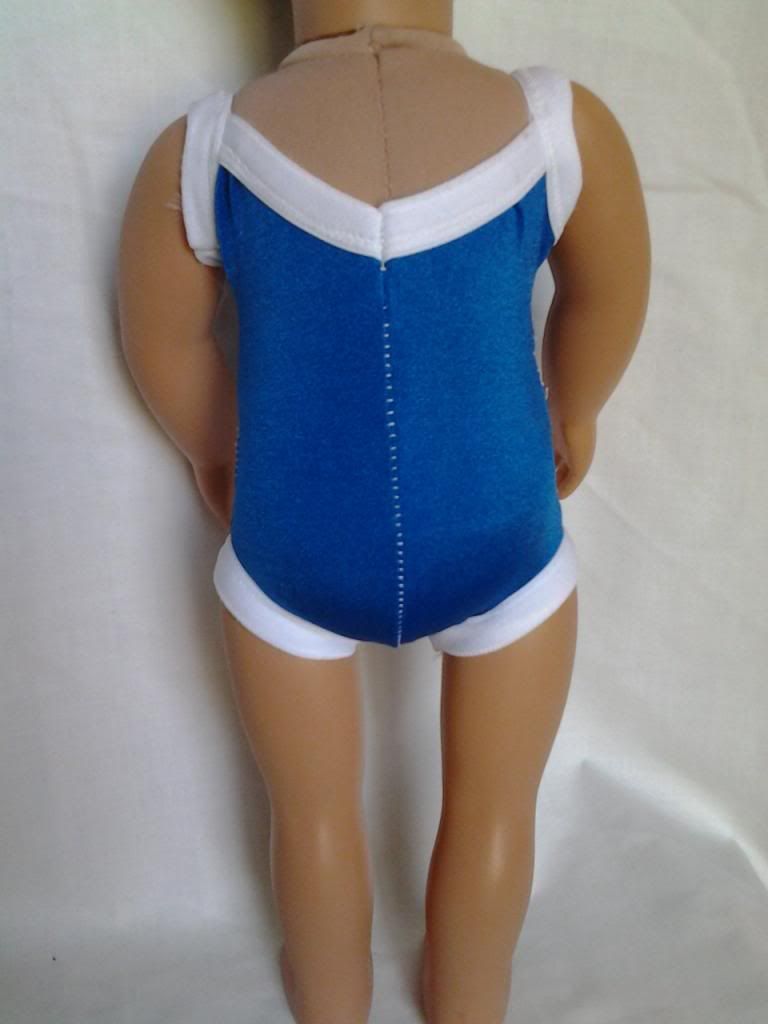
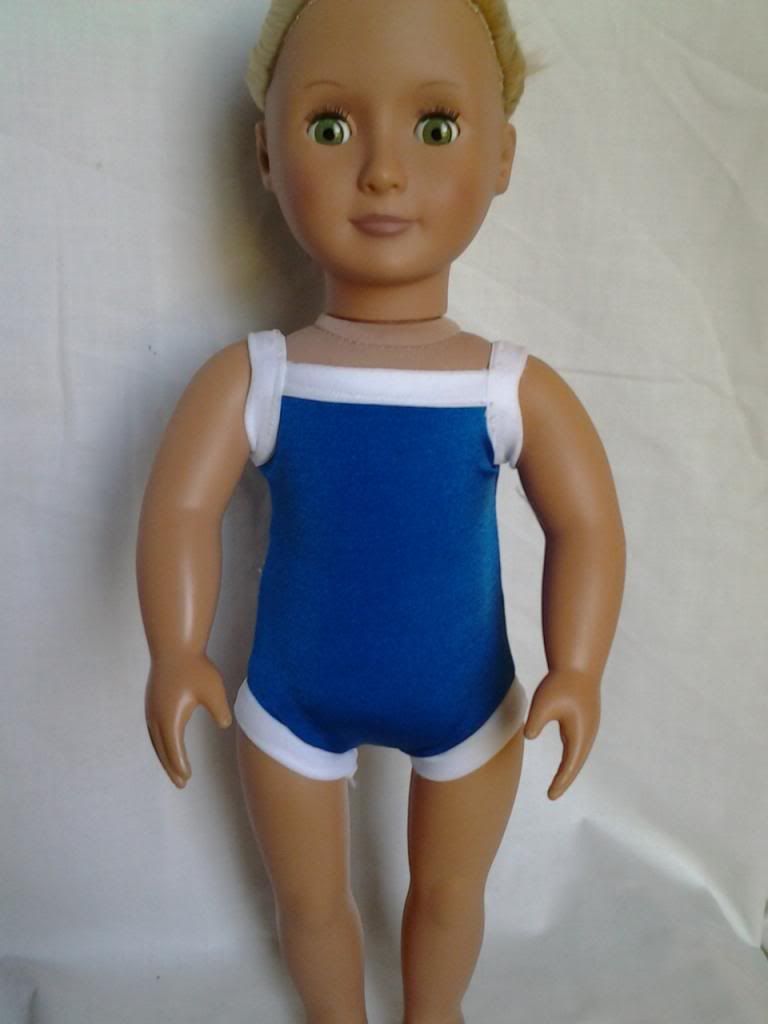
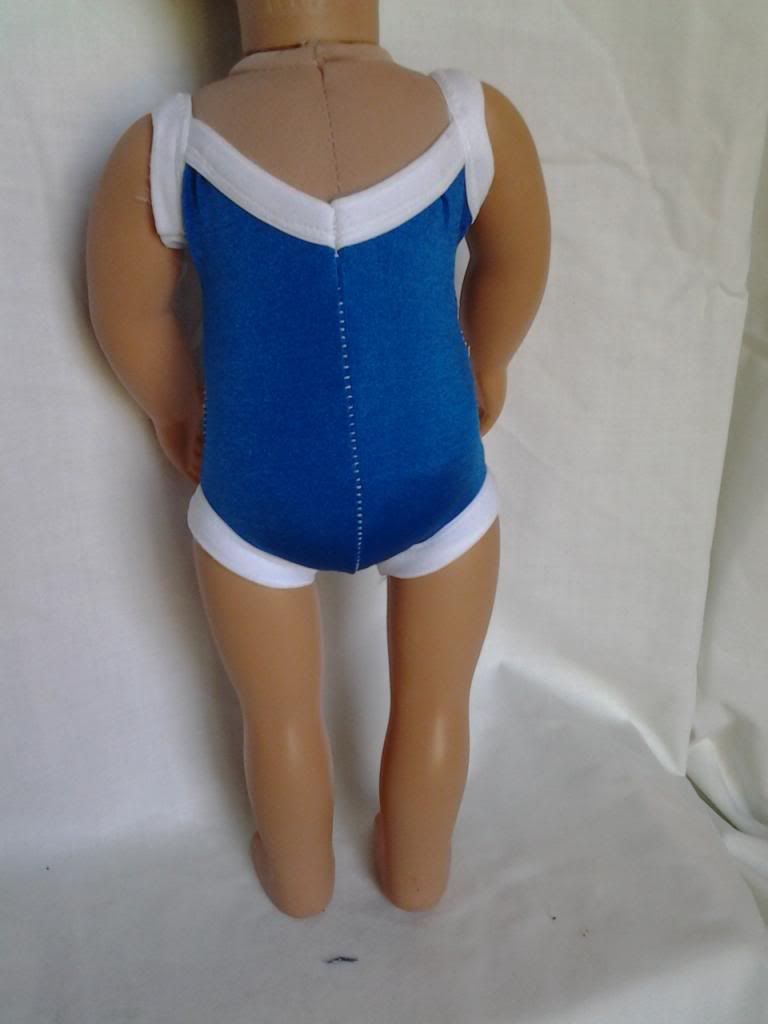
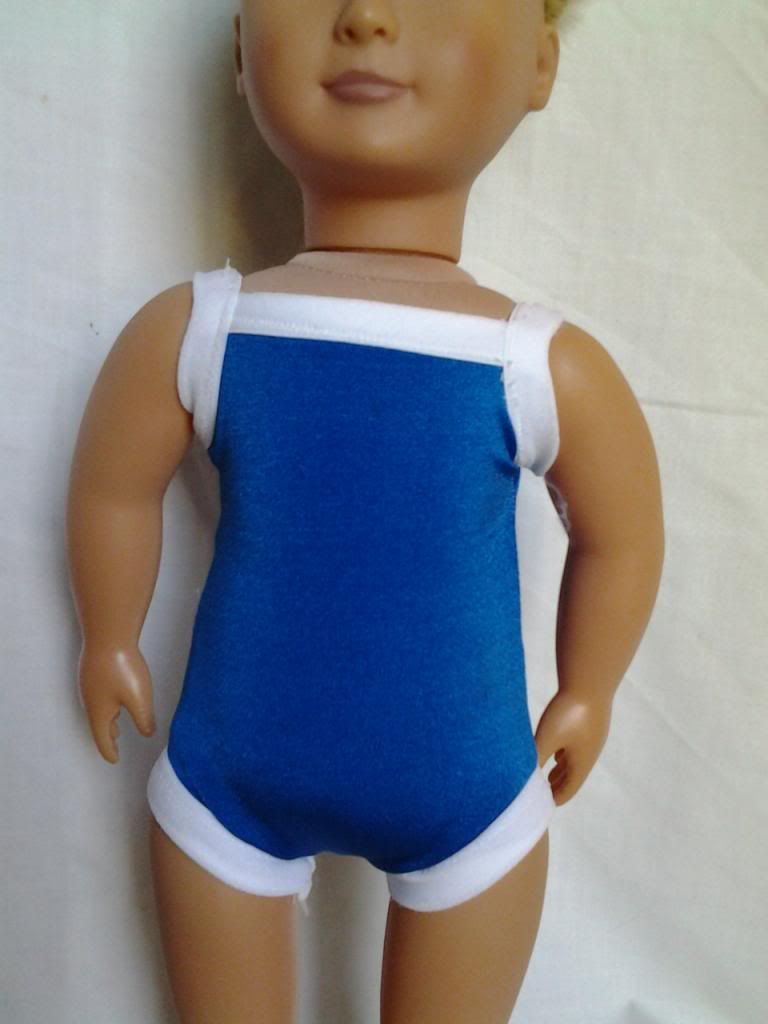
Tell me this is the cutest thing you’ve ever seen... I selected a Liberty Jane swimsuit :)
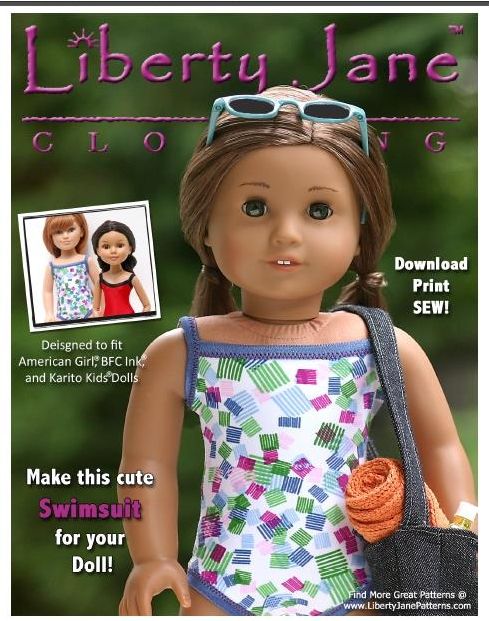
 
The only thing I needed was Fold Over Elastic (FOE) and fabric!

Now do you guys remember when I raved about the remnant bin? Its so wonderful to find great, quality pieces of fabric in perfect sizes to make doll clothes! And at such a fabulous price!! But what about other sources? What about stuff you have on hand?

Can anyone guess what I made this out of? Here are your hints:

1.  Some houses have a lot of these lying around the house.

2.  Especially if you have kids.

3.  They were popular in the late 90s/early 2000s (at least at my kids' schools)

4.  We used paper bags when we were kids…

If you don’t know from those hints, I’ll give you a bigger hint at the end of the post.

J The pattern is 2 pieces, thats all! And the instructions are short, simple and to the point. No muss, no fuss.
I'm not good on knits - we all know that. But for some reason, I had an easier time with this spandex-y stuff. I have no idea why. I used a large zig zag stitch and just kept it as straight as I could without pulling it.

Now what am I going to say next? Of course :) the mistake :) It's not one of mine unless there's something just a little ... off...
Not so much a mistake though, I'm just going to it differently next time. My mom bought the FOE for me and since I didn't specify a size, she got me a wider size than the pattern called for. I didn't think it would make too much of a difference - and it didn't, but you can see the "wideness" in the leg elastic: a thinner FOE would have made that leg opening a little narrower. Also, under the armpit area.
Other than that, I am so very pleased with how this piece turned out!
So, did you figure out what I made it out of??

The final hint is: when I realized they were accumulating, friends and loved ones kept getting rid of theirs so they gave them to us because we have school age children, but my boys never used them and I couldn’t bear to throw them away, so I needed a good spot to store these things we would never use… I stored them on the bookshelf tucked behind the books until I pulled them out to make the swimsuit you see here!! Do you know what it is???

Book Sox!! Book socks!! Spandex-y covers for your books!

I ripped out the seams and laid it flat, placed the pattern piece on top and VOILA!! Instant swimsuit!!

What do you think? I have several more that I plan to turn into swimsuits – just need more elastic - a bit thinner this time! J

Wednesday, March 27, 2013

Shoes, shoes, shoes


So my confidence level was back up where it belonged J I did really well on the drawstring dress… all 3 seams of it, ha ha. And you remember I told you that I had purchased some Liberty Jane Patterns? Well apparently when you sign up for her newsletter, she sends you a coupon for buy 3 get one free after a few, so you got to read the newsletters when they come in.
The newsletters are actually pretty cool: they talk about new patterns available and provide links to stuff real people like you and me (well okay not me because these people actually know what they are doing…)

So I decided to redeem my coupon – I picked out the patterns I wanted – but I have to tell you it was a struggle – I wanted ALL of them. I knew I wanted shoes. I just had to figure out how they made all these cute cute shoes. I have the Simplicity, McCall’s and Vogue patterns that all have shoes, but none of them had soles…

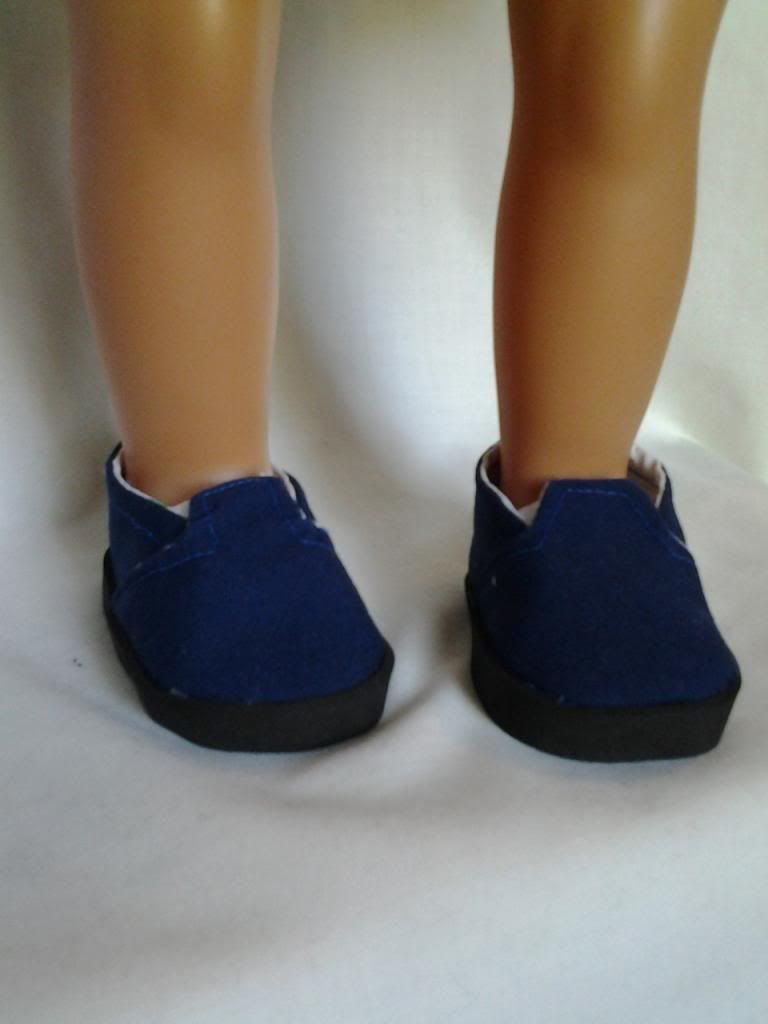
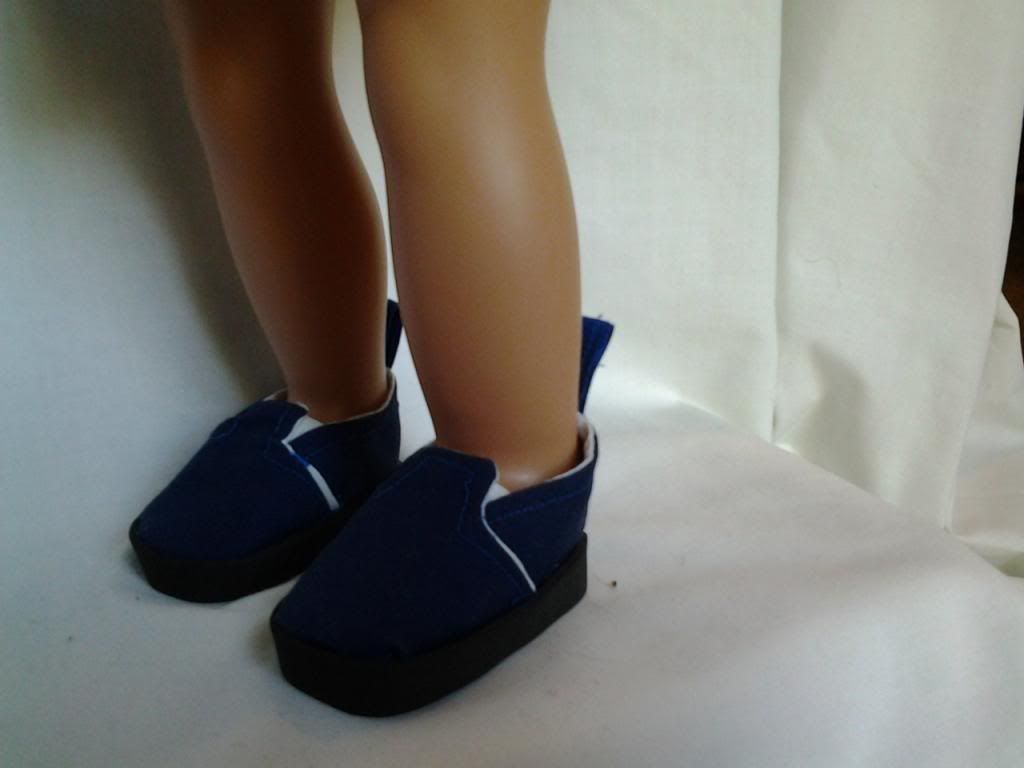
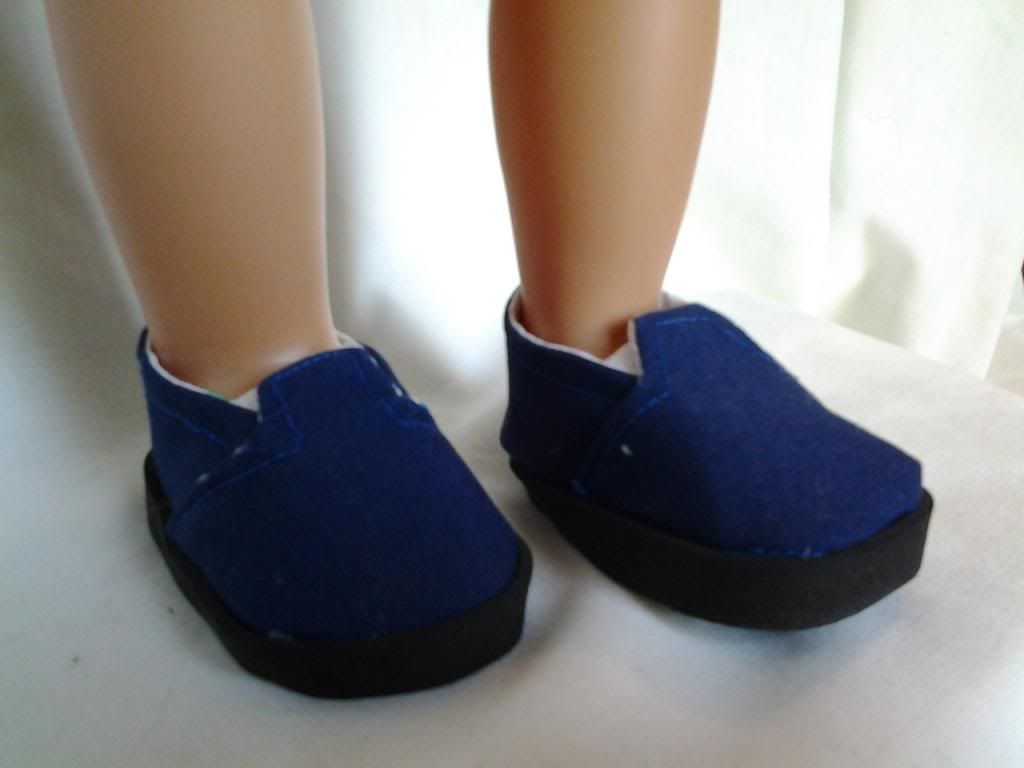
I knew they used craft foam, but I wasn’t sure how to attach it properly to make a sole. SO I bit the bullet and got the shoes pattern. I picked out the cute slip-on one.

Now before this project, I had never used a glue gun before. (I know, some of you craft gurus are shocked!) But my husband showed me how (don’t ask why he knows – he grew up with women, maybe that’s why – or maybe he’s just awesome like that? Who knows?)

So I started my shoe project: the sewing was relatively simple. The only thing that made it difficult was how small the pieces were, but then all doll clothes are, so what evs, same ole same ole. There were a lot of parts and pieces to this, but the instructions are so well written, and so concise that I was able to follow them to the letter. Nope, no confusing parts for me J
Then came time to attach the soles. The sole calls for 6mm foam – I didn’t have 6mm, so I glued 3 pieces of 2mm together. Just a heads up guys: this doesn’t work… use the 6mm it asks for… My 2mm pieces did not want to stay together – one 6mm piece would have been better. The 2mm gets wrapped around the whole shoe and BAM! Awesome doll shoe!!

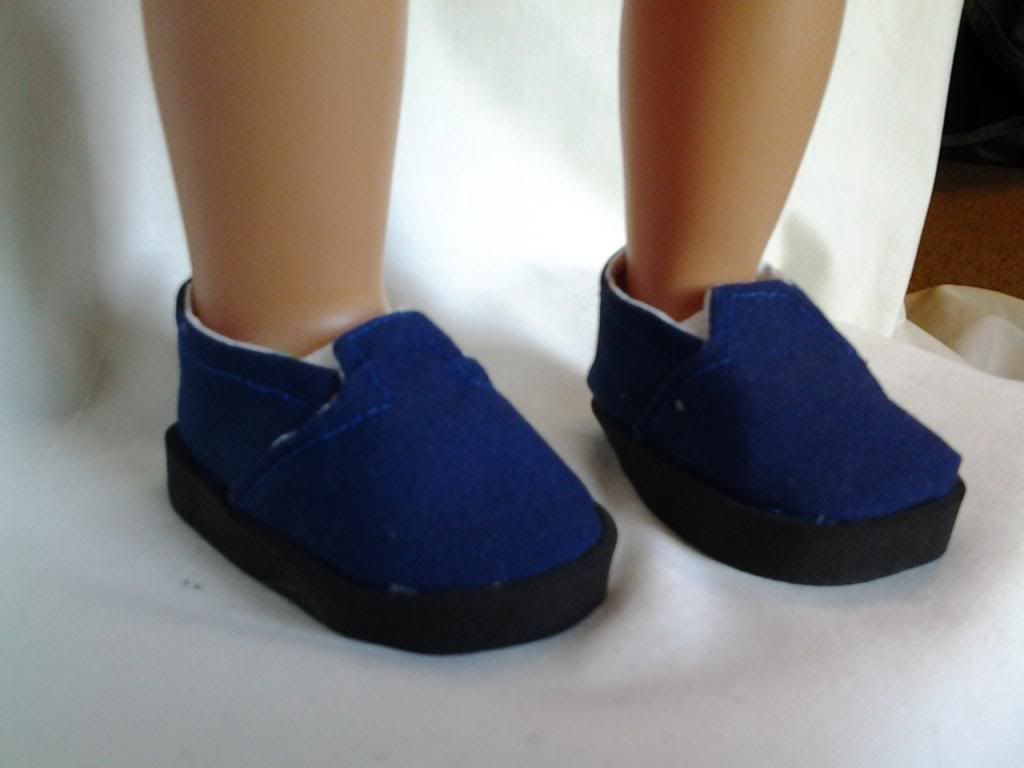
Check it out!! How great is this??? Thank you Liberty Jane!!

I don’t think the pictures really do the shoes justice – I’m going to try to take some better ones.


PART 2 – I know you love my part 2’s J 

I was so stoked to be making shoes (and convinced my calling in life was now to be a doll shoemaker – ha ha ha) that I decided to test out something I saw on the internet (Pinterest of course J)

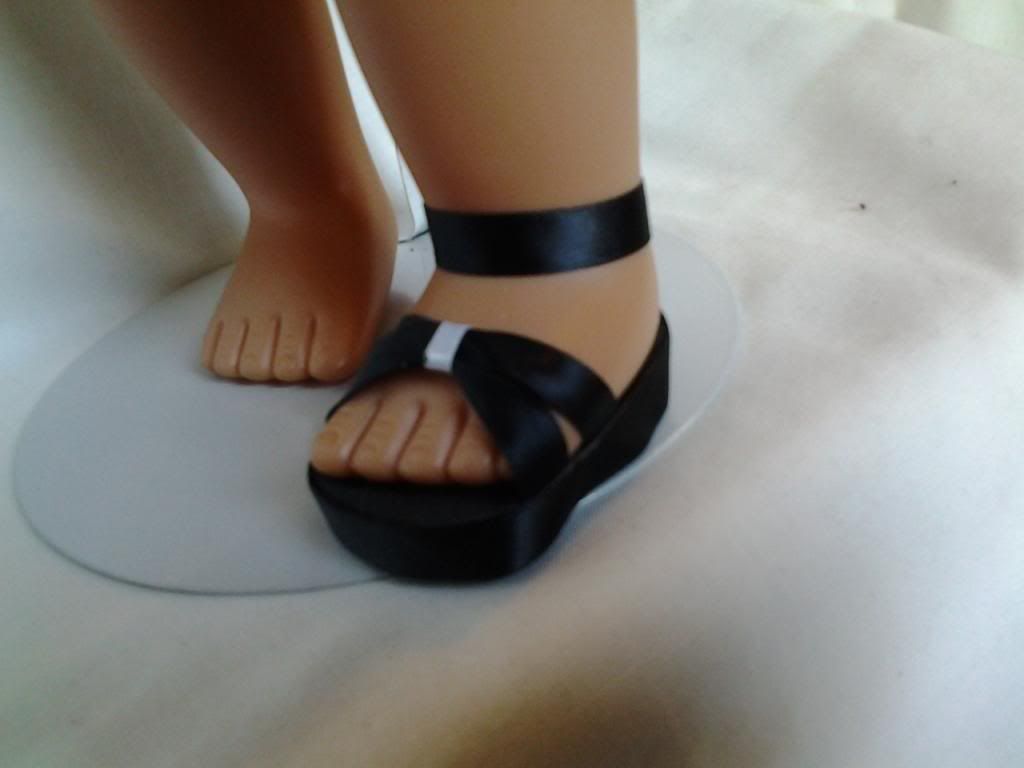
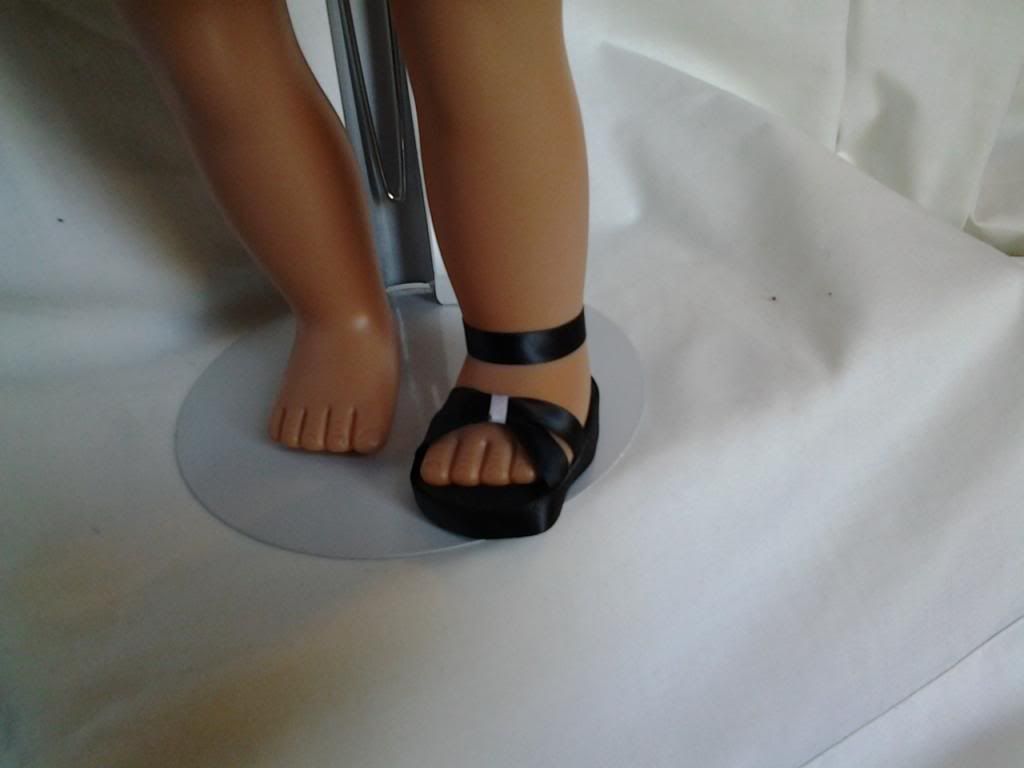
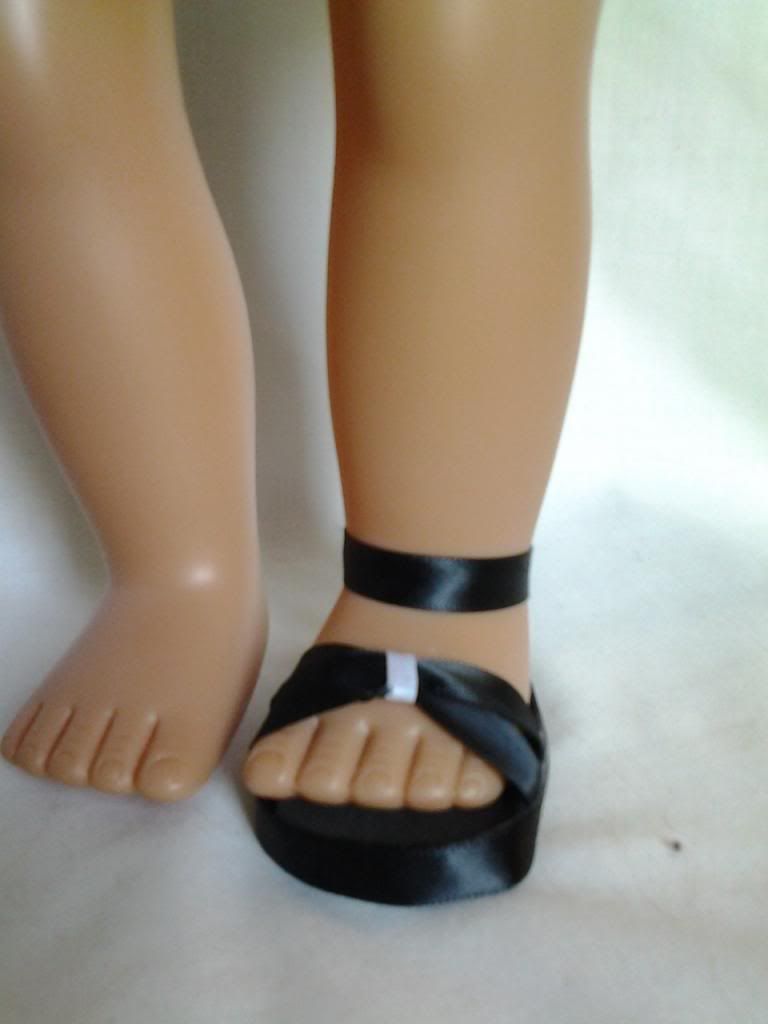
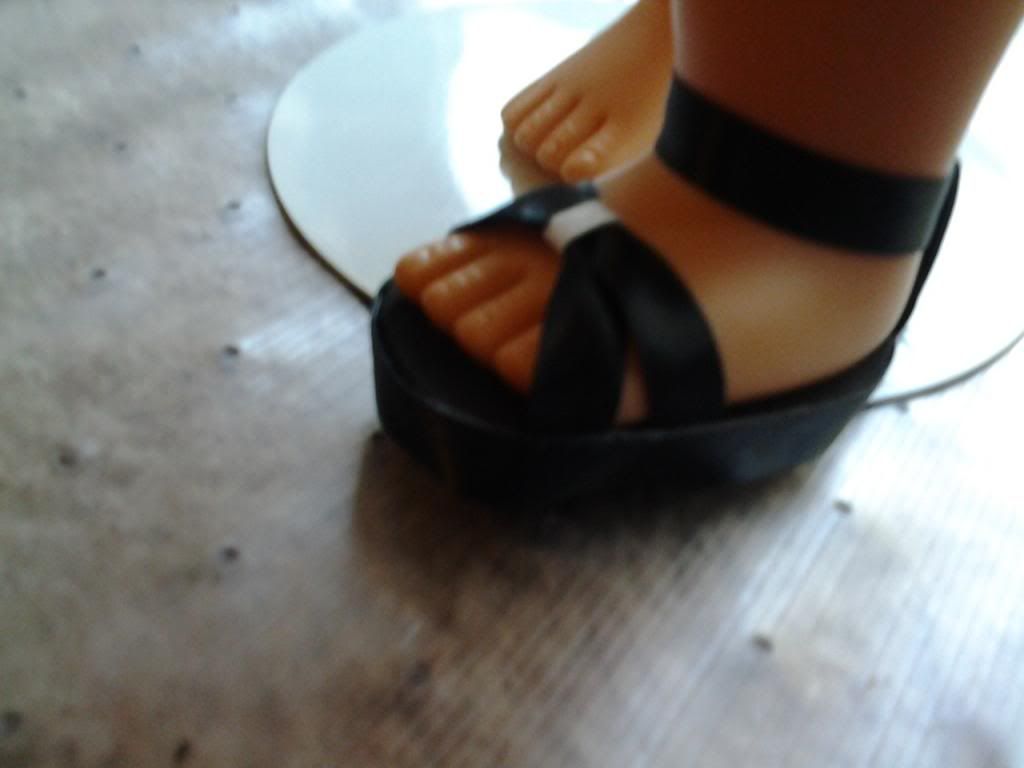
I had seen a lovely lavender ribbon sandal on pinterest and wanted to emulate it. I had some great black ribbon from the ballet outfit, so I used that.

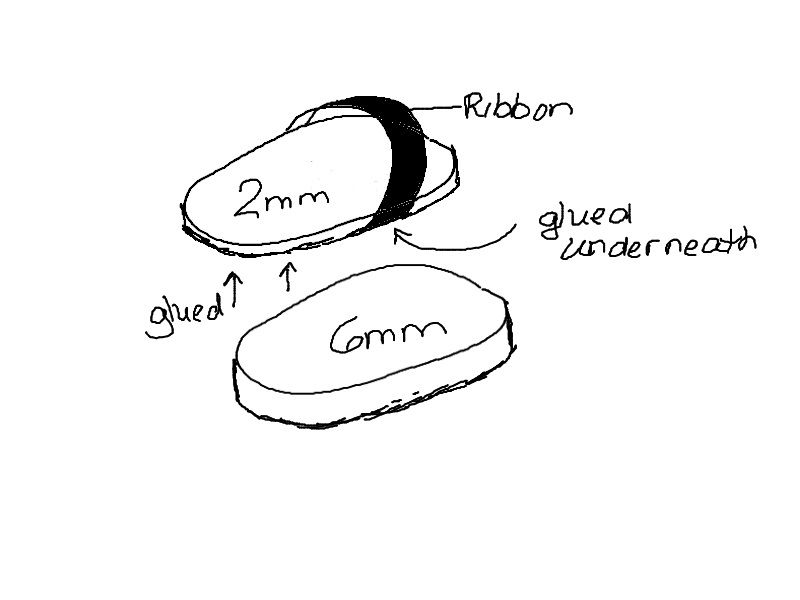
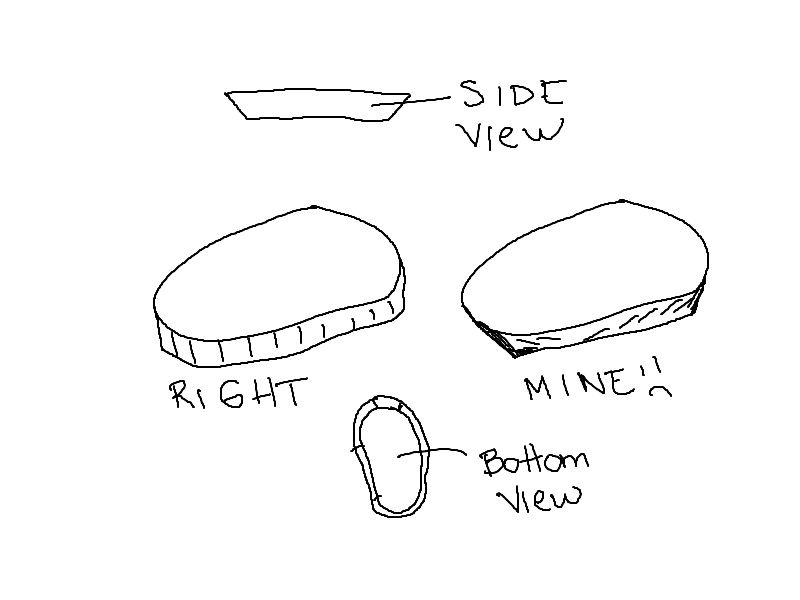
I cut out a sole – one from 6mm and one from 2mm and placed the ribbon between them (so you wouldn’t see the ribbon on the bottom) I crossed them one over another near the toe, glued them (see pic) and then added a loop on the back and cut a small piece to go around the ankle (that goes in the loop) and then instead of wrapping the sole in foam, I wrapped it in the satin ribbon.

Now I was pleased with how this shoe turned out as far as construction – meaning, I was satisfied that I figured out how to make a great sandal. However, the actual shoe itself was only double-sided taped together because I was only testing the construction, plus the 6mm foam apparently needs to be cut in a special way because mine sucked!!

It was slanted – I tried to cut it straight but for some reason, it kept cutting slanty. L boooo

So because this was only a test piece (and only taped together, not hot glued) I only made one. Because I was so satisfied with it, I will definitely come back and make a set – but probably only after I figure out how to cut my 6mm foam straight.

I also decided, while gazing at its loveliness J that I wanted to embellish it. I picked a tiny white ribbon and cinched in the crossed ribbons. I actually prefer it without the white, but I tied it so tight, I couldn’t get it undone… eh… it looks okay J


Thennnnn…if that weren’t enough… you know what happens when I get my confidence all up = I’m like “look at me I’m super seamstress!!” ha ha ha

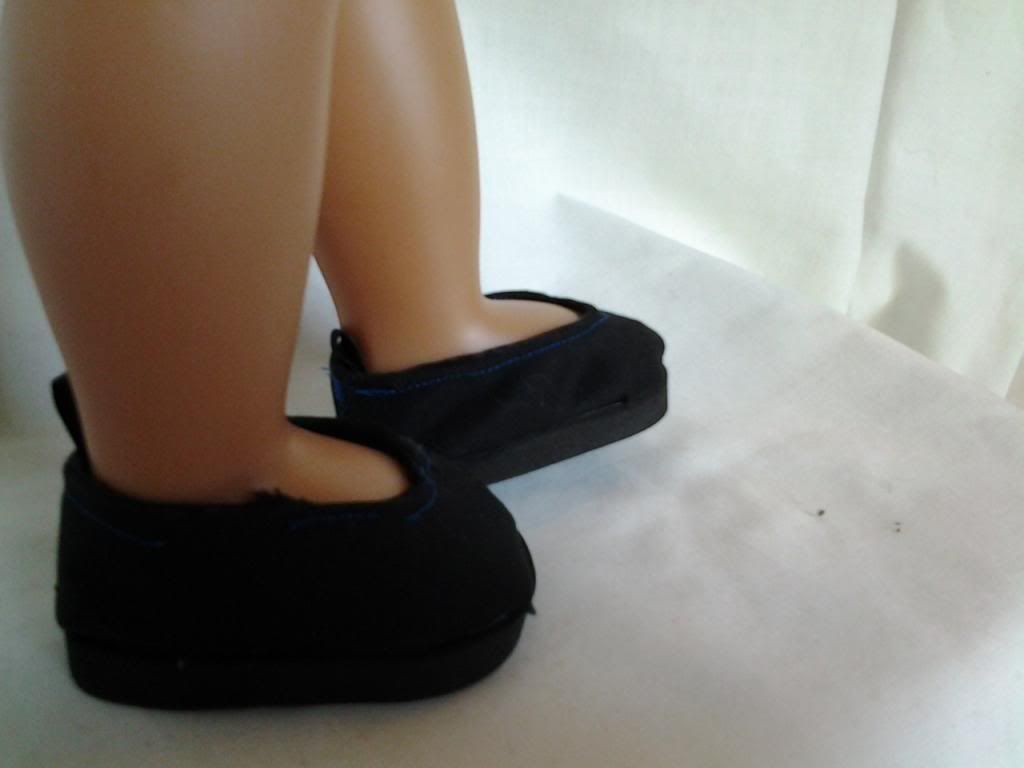
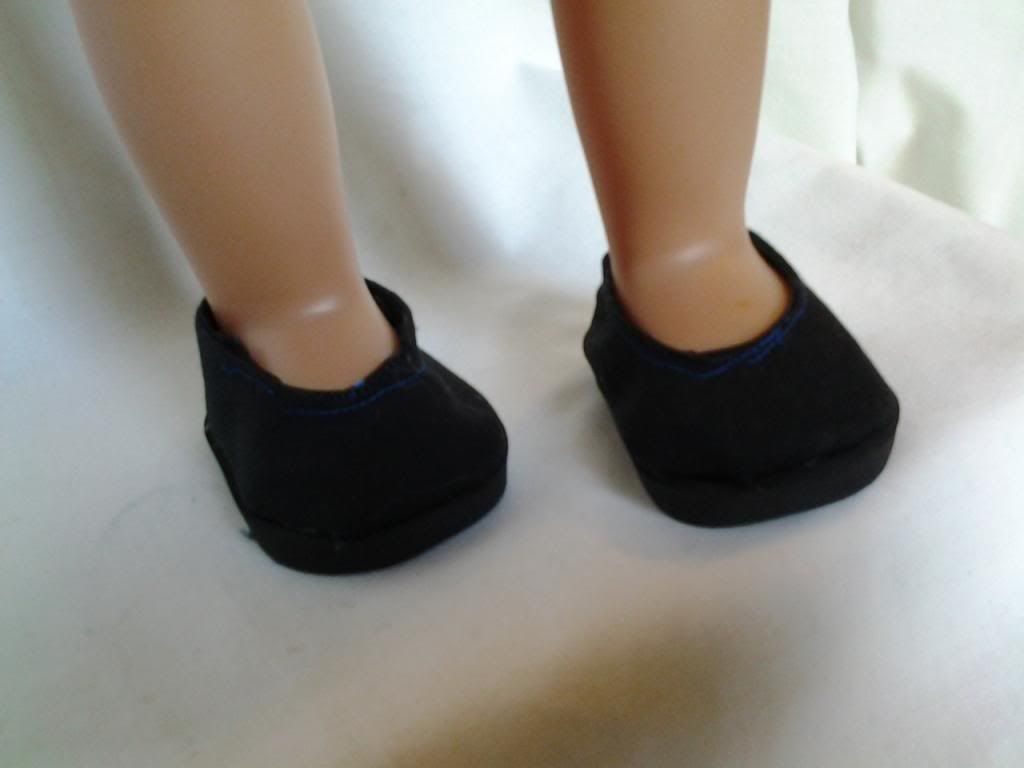
So I decided to do a simple slip-on ballerina style (with no ribbons though) and added a sole. The pattern I used was from the original shoe pattern I used (remember the ballet outfit? The shoe that didn’t go with it? That one J) merged with the sole of the Liberty Jane pattern.

I am pretty satisfied with how it turned out, but to be perfectly honest, I think the sewing is kind of cruddy. L You can’t really tell because the shoe is black, the sewing is all erratic. All in all, I think it turned out okay, but this last shoe definitely taught me that maybe I should go back to clothes for a while and maybe a career in shoemaking is not in my future J


Monday, March 25, 2013

SUCCESS...and Nancy Zieman


I’d like to take a moment to share a recent discovery: Sewing with Nancy. Nancy Zieman is by far the most remarkable seamstress and teacher I’ve ever seen. For those of you who have never heard of Nancy, she has a tv show on PBS and teaches sewing, topic by topic, 26 minutes at a time. I am enthralled. She also has a store: Nancy’s Notions, which sells sewing materials and supplies.

Nancy is not only the most accomplished seamstress I’ve ever seen (sorry Aunt C. L I’m seeing other seamstresses on the side… J) but she teaches in the most remarkable way: so beginners like me can understand!!

She has a very soothing, modulated voice and explains things in a very simple, real, basic way. She is warm, funny, and doesn’t come off plastic or fake, like she’s on TV. She talks to her audience as if she is sitting in the living room with them.

You can watch her shows here. I watched all of the doll clothes ones J I watched the A to Z (which was AWESOME!!!!) and I watched the anniversary 3 part show, which was heartwarming and hilarious.

Do not go another moment without watching Nancy! She is awesomely awesome. J

PART 2

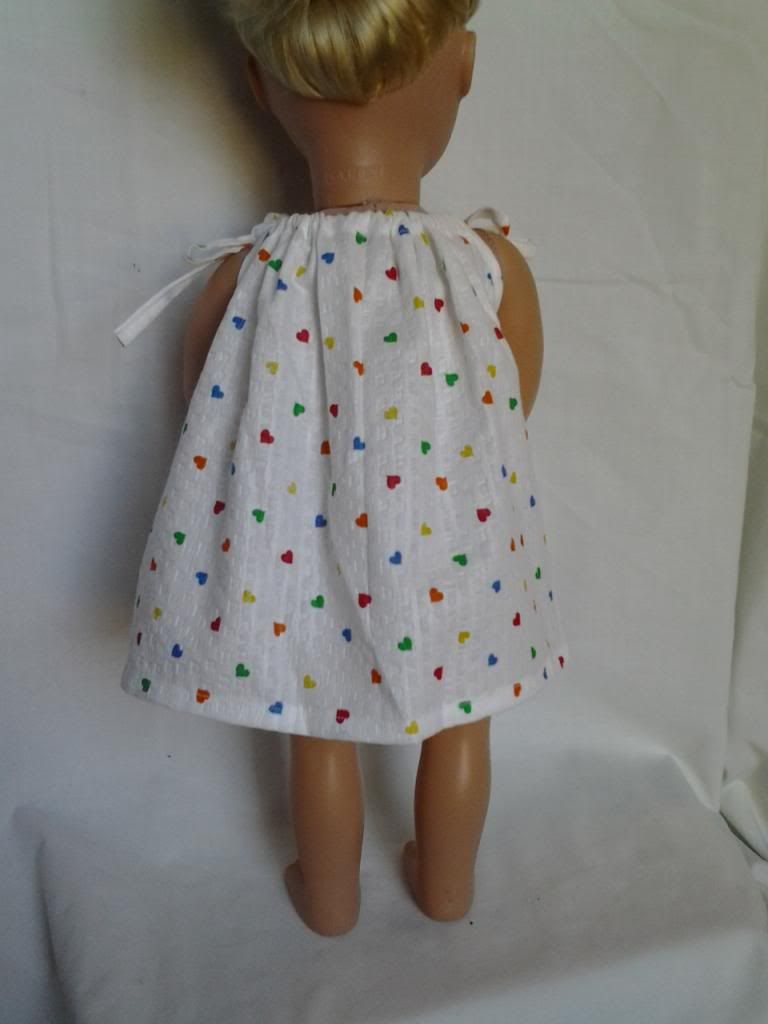
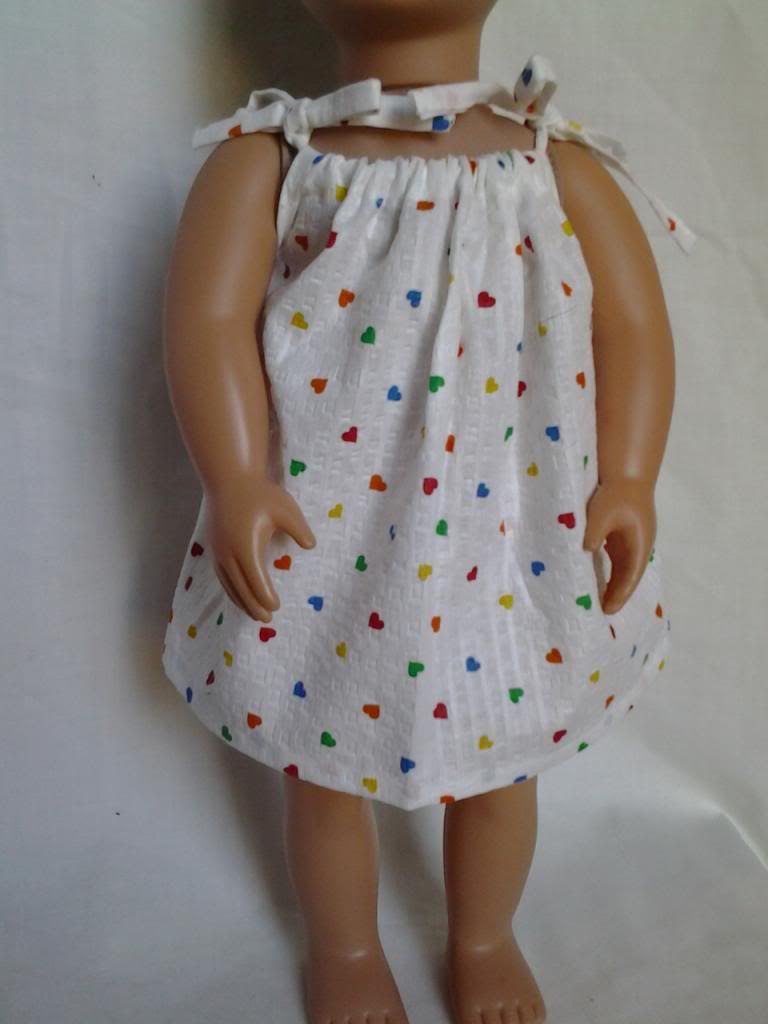
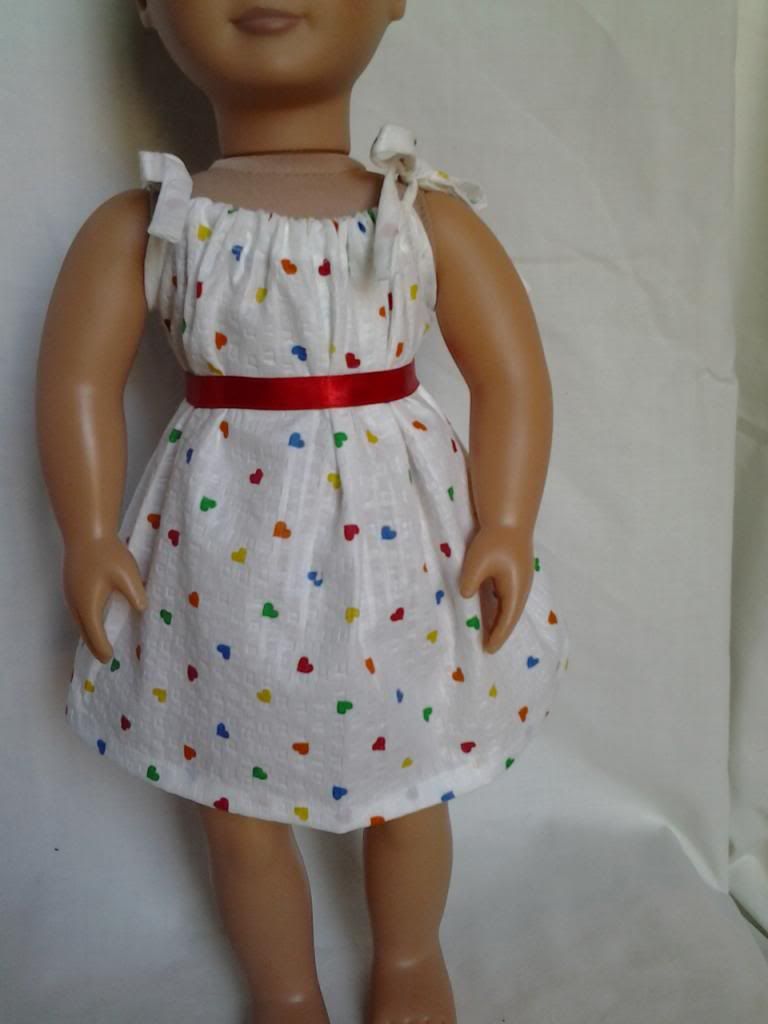
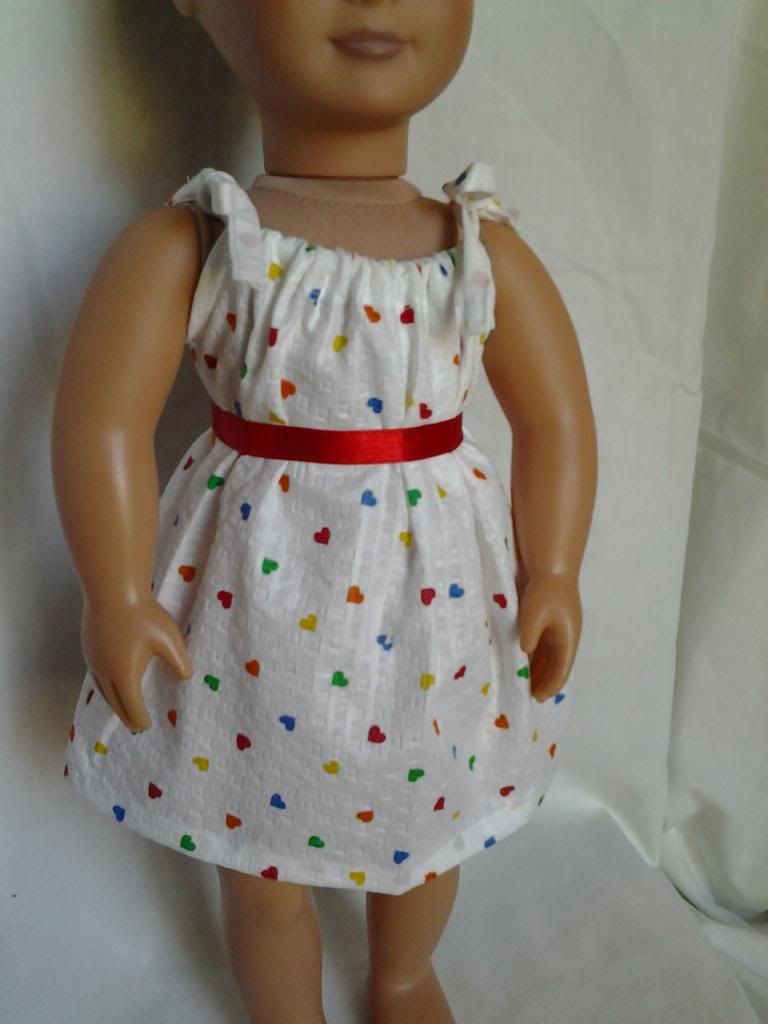
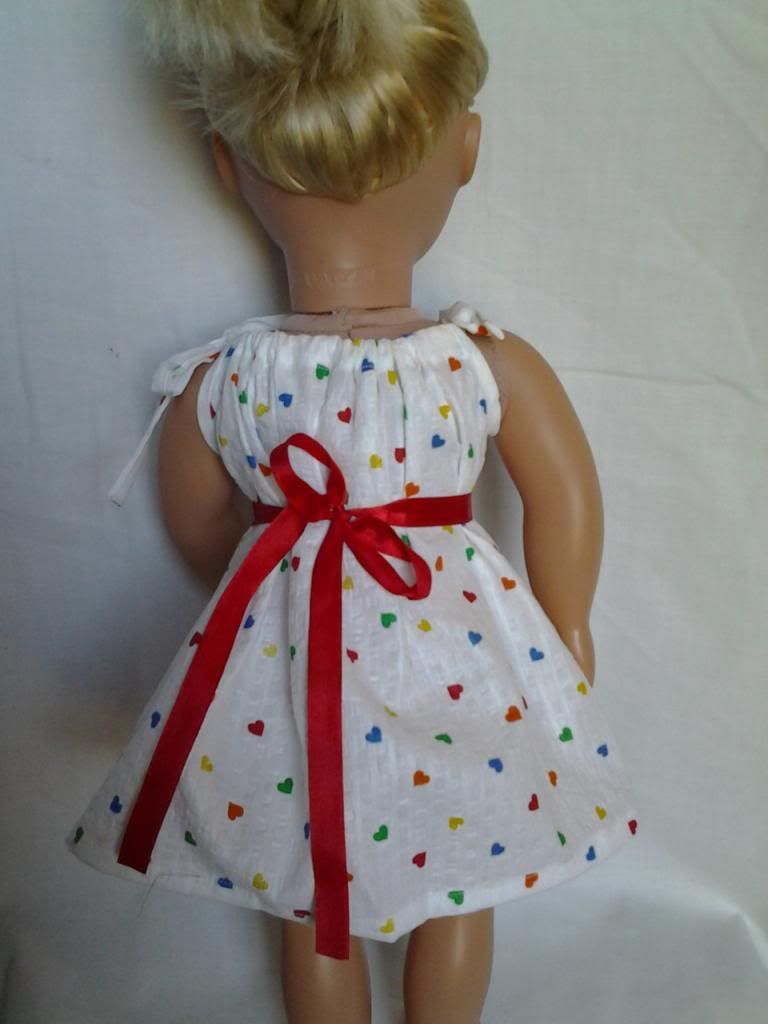
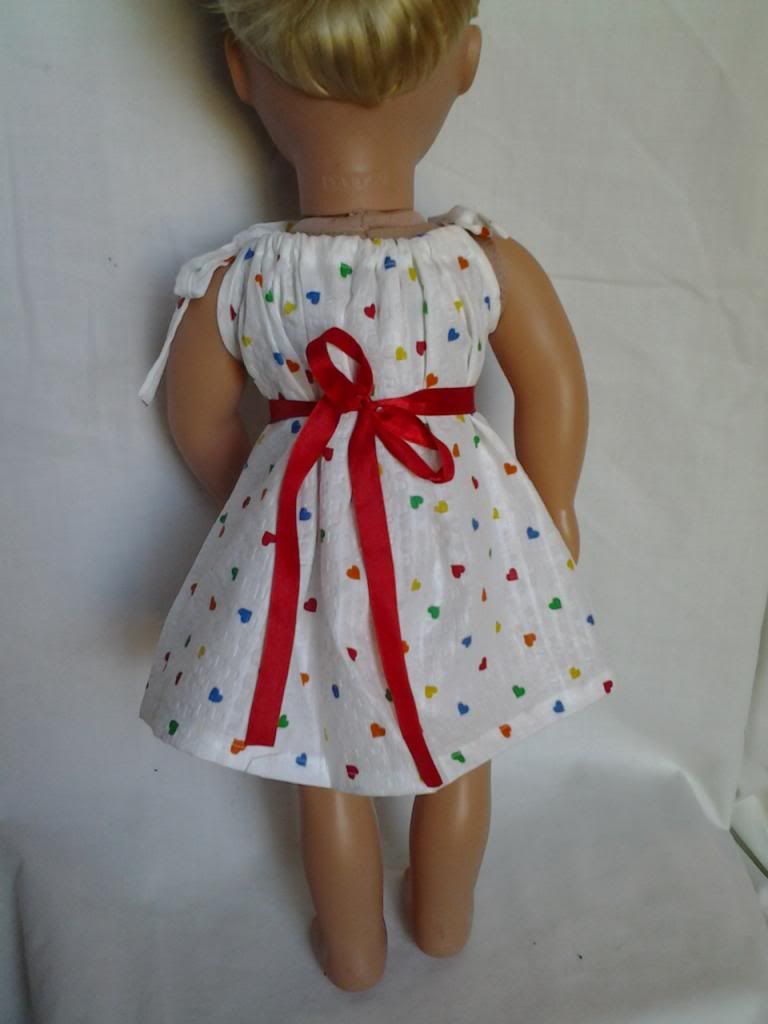
I also decided after the successes and failures I have had, my next project needed to be a sure success. So I backtracked. I used the free drawstring dress from Liberty Jane and a totally adorable fabric that my mom bought to make me something cute when I was a little girl (did I mention one of my children will be an adult next year??? More loved fabric came my way J) The fabric is white with little colored hearts all over. So cute!

This one was too easy. It’s a free pattern, but those of you who know how to make a pillowcase dress already know how to make this. I did know how already but used the pattern for measurement. The dress “whipped up” really quickly and since the fabric was so easy to work with, my stitches looked good, my seams were even and straight, the whole dress was just a good experience.

The pattern suggestion was to tie a ribbon around the waist, so I used a nice red ribbon I had laying around, but I have to say, I like the dress both ways.

What do you think? Instant confidence booster! I am sewer, hear me sew!! (sewer? Wait… is that right? Tee hee)


Friday, March 22, 2013

Rooby rooby roooo


Ok yeah, soo not sewing knits any more for a long long while. I was starting to feel discouraged and I needed to get my confidence back up. After deciding to never sew with knits again (hee hee) I chose the straightest, non-stretchy, super easy fabric to sew with for the next piece.

I was basically telling myself “Fine. You can’t sew with stretchy. Fine. Just sew with your easy baby non-stretchy fabric” ha ha ha

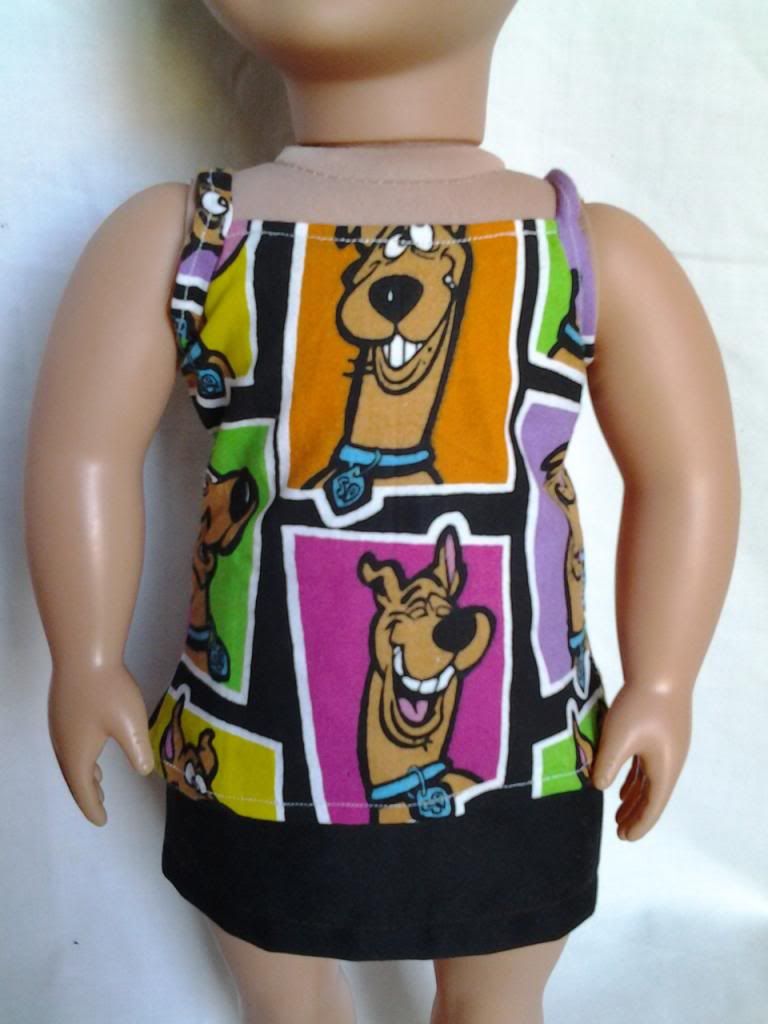
I chose a great Scooby Doo fabric. This was actually made into some pajama pants for my brother a few years back (my brother LOVES Scooby Doo) and my mom gave me her “scrap” from it – the scraps were pretty big – and they sat in a bag all these years, just waiting for the time when they would be turned into something awesome!

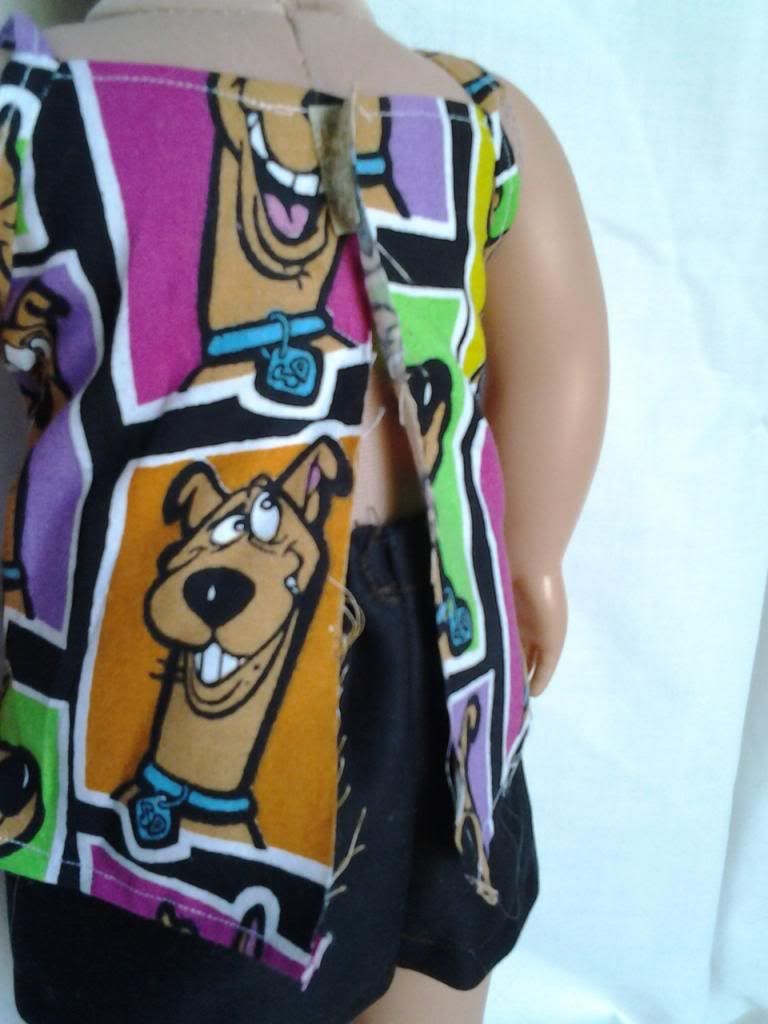
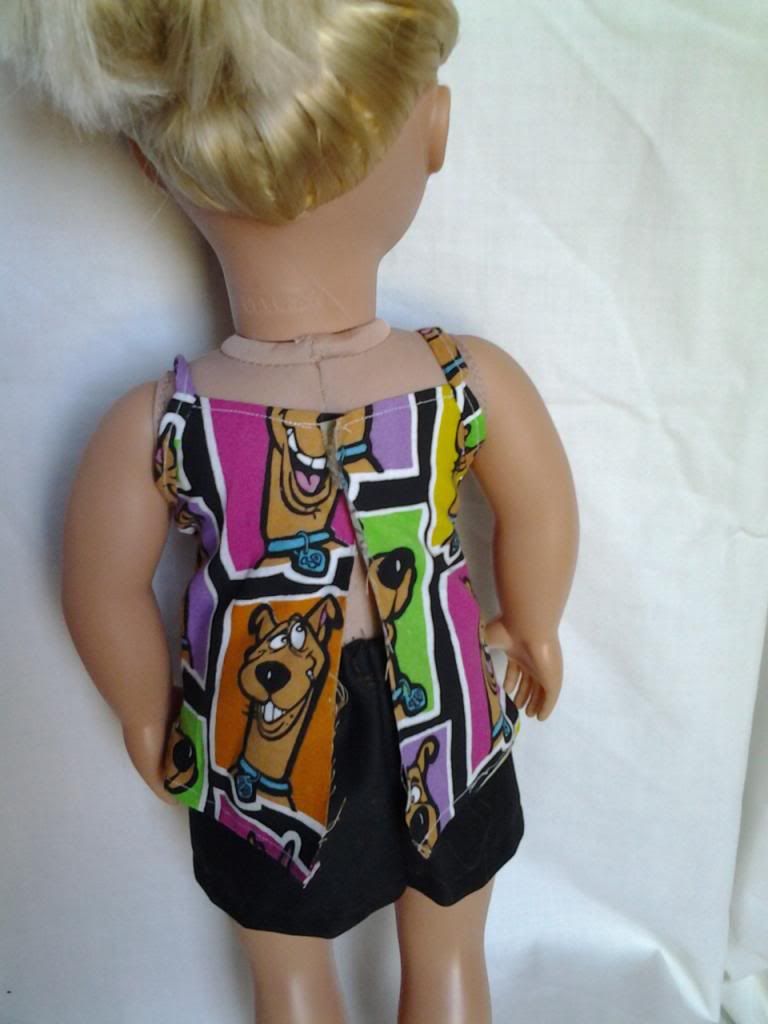
I used another Liberty Jane pattern – this time the strappy tank. I’m pretty pleased at how this one came out – I sewed very slowly and methodically and each piece, including the super skinny straps turned out SUPER good. Of course it totally helps that this material practically presses itself. You can fold it and crease it a few times and it stays. (love love love sheet, broadcloth, that type of material)

This one had a front, 2 backs, and the straps, which turned out much easier than I thought they would. The whole thing went together with so little muss and fuss and took only an hour or so (I’m kind of a slow seamstress for the time being J) that I started to think it might be too good to be true.

Have I mastered the art of sewing? Am I a seamstress? Have I joined the ranks of those who can sew with ease?

Well yes and no… you know it’s not one of mine unless something goes wrong – so here’s this one: (and its super minor and not really me J)

The whole thing turned out FABULOUS. However…

Its very very snug. Now I thought that perhaps a knit might have been better for the pattern, but I did check before I started. The tee I made previously said use a knit but this one did not. Also, some of the comments on this pattern’s page say that others found it snug as well, so I will just keep that in mind for next time J Now because it was snug and didn’t fit well, I didn’t add the Velcro (well, I stuck 2 pieces of sticky back at the top just so I wouldn’t have to pin it, but I didn’t “finish” the item per se)

What do you think? I give it a hearty thumbs up, even unfinished!

Wednesday, March 20, 2013

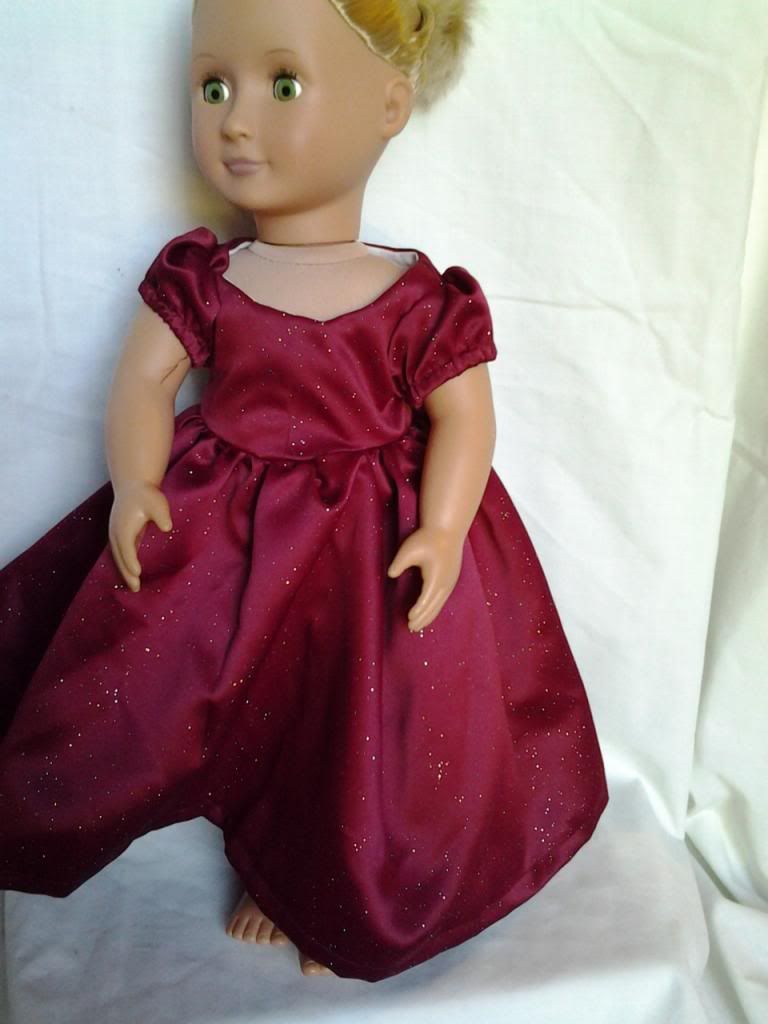
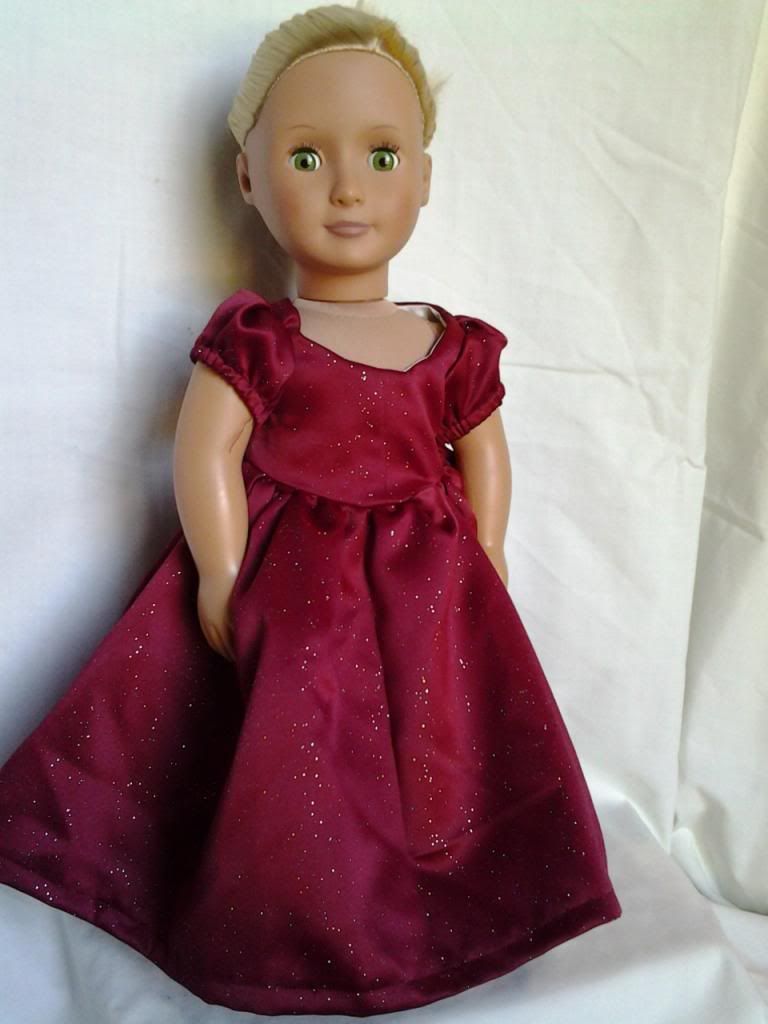
Disney Princess :)


Now this is an interesting piece. I chose Simplicity 5705 because after the Felicity dress, I was itching to do something ankle length and fancy (now, this is pronounced FAIN-cy) for those of you who haven’t heard me say it – just a little tongue-in-cheek humor J
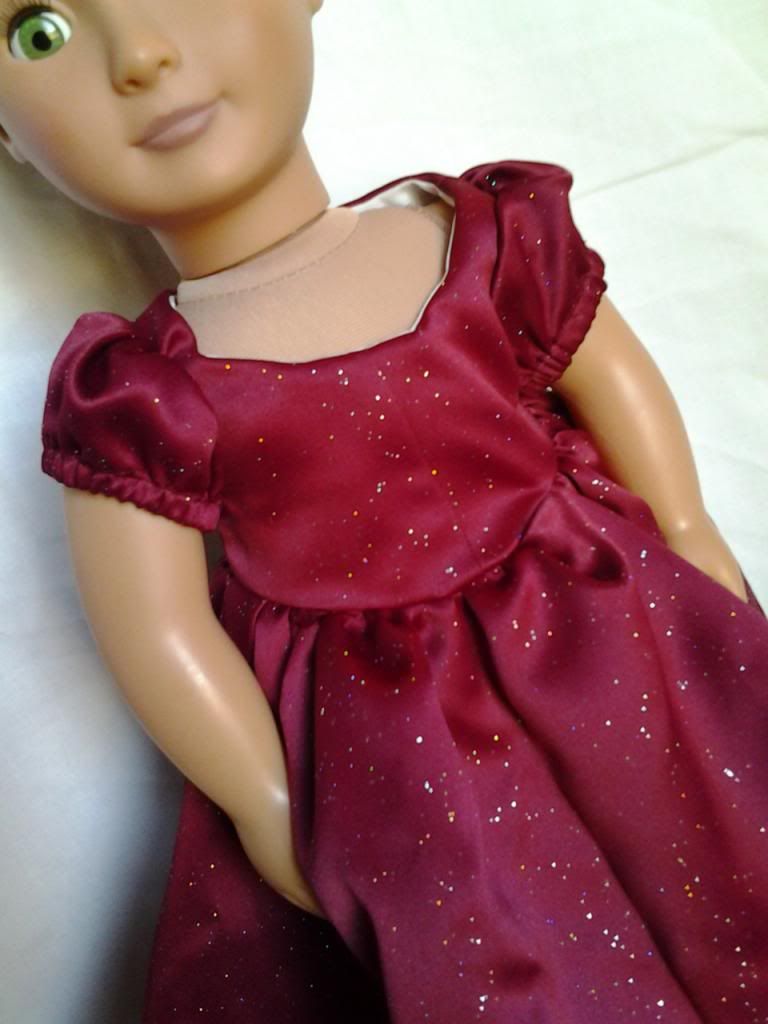
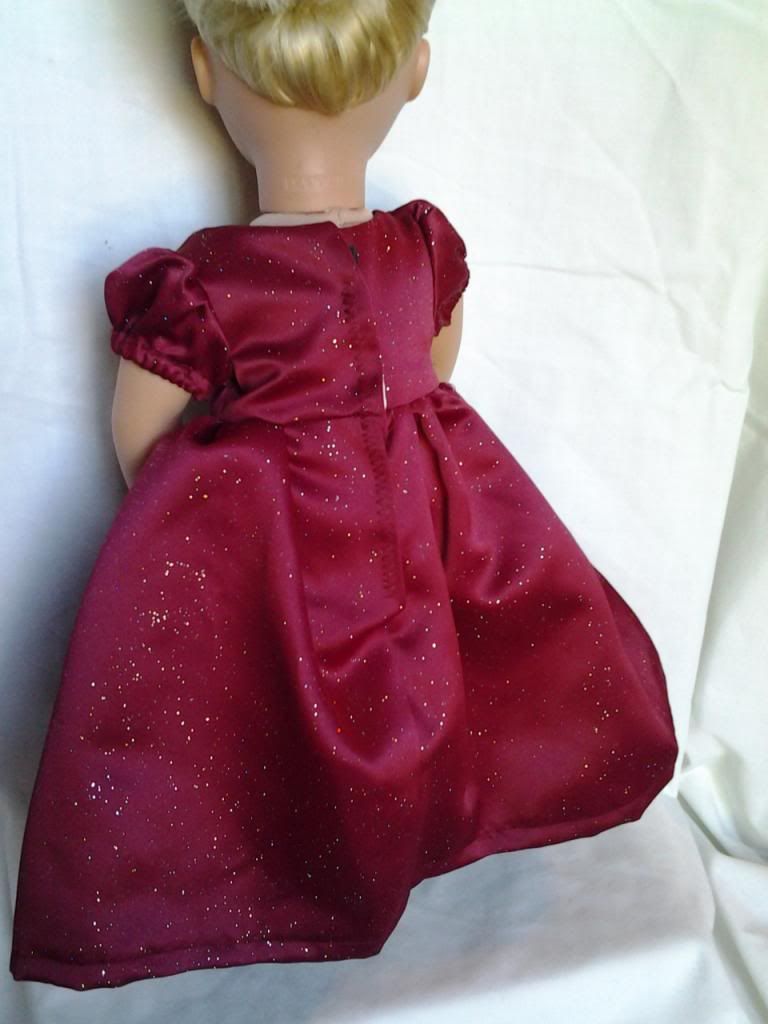
I picked the Cinderella dress, C, but opted not to put the ‘skirt puffs’ on it or do the headband (because I had just done a headband). I got this A-M-A-Z-I-N-G sparkly deep red fabric from the remnant bin and knew this was the perfect fabric for my “fancy dress”.
This dress was VERY simple and straightforward. I guess I just thought that a big poufy dress like this would be more complicated. But now that I am learning how to sew, I can see how the pieces are constructed and the whole garment is held together, so I realize this dress is nothing more than a bodice (got that down) 2 sleeves (getting better at that?) and a big skirt (gathering…)
I think I did a pretty good job on the whole thing and paid really close attention to my stitches, I tried to make everything nice and tidy, neat, and clean. I was particularly proud of the sleeves (getting a big head about my gathering talent…until the skirt…ha ha ha)
I did okay until I got to the skirt. I had kind of a difficult time gathering such a voluminous skirt, but all in all, it went ok. However, you know it can’t be one of MY projects until I screw up… so here’s where it happened: The bodice had a v-waist at the bottom; the skirt piece had kind of a v-waist at the top. I did a good job on the bodice and a good job on the skirt, but when it came time to attach those 2 pieces, I think my brain perhaps was on vacation or something, because I neglected to match those 2 pieces up correctly…
I know, I know, you’re thinking to yourself “how do you miss something like that???”  but I did for whatever reason and the repercussion of that is that my skirt is cockeyed… You can’t tell at a glance, but in the first picture I show the way the whole dress looks, the second picture I actually show the piece pulled to the side where its sitting where it should be. Not a huge difference, but I see the error J
Whattya think??


Saturday, March 16, 2013

2 Dresses...plus bonus miniskirts


You know when you are on top of the world and feeling all confident and competent that the other shoe must drop, right? Well those tights were just the bee’s knees – I had so much fun making them and just knew that if I could zig zag stitch me some sock material, I could do anything: knits, stretchy, what have you…

Hmmm, a little lofty are we?

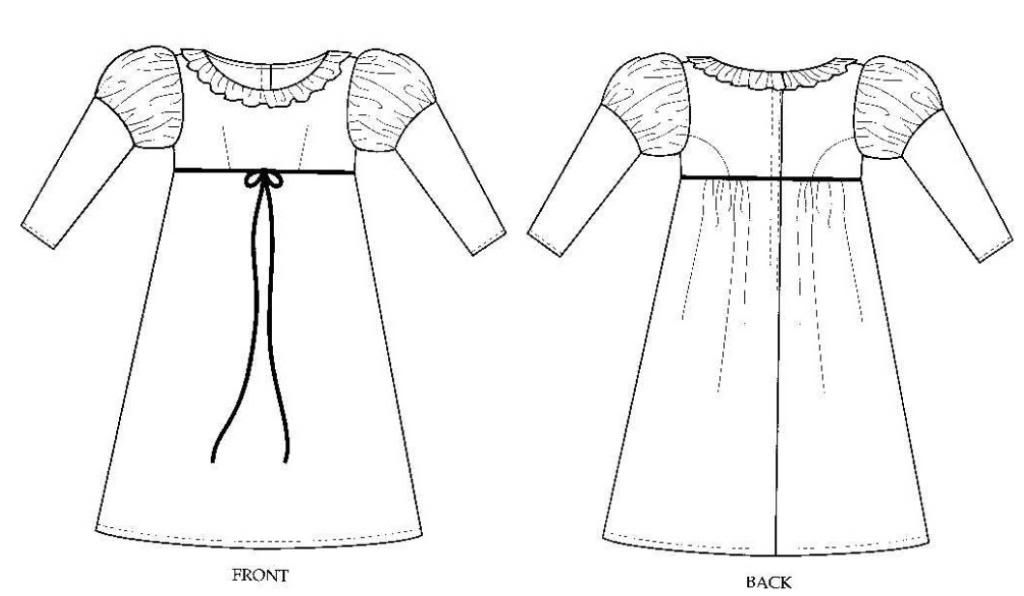
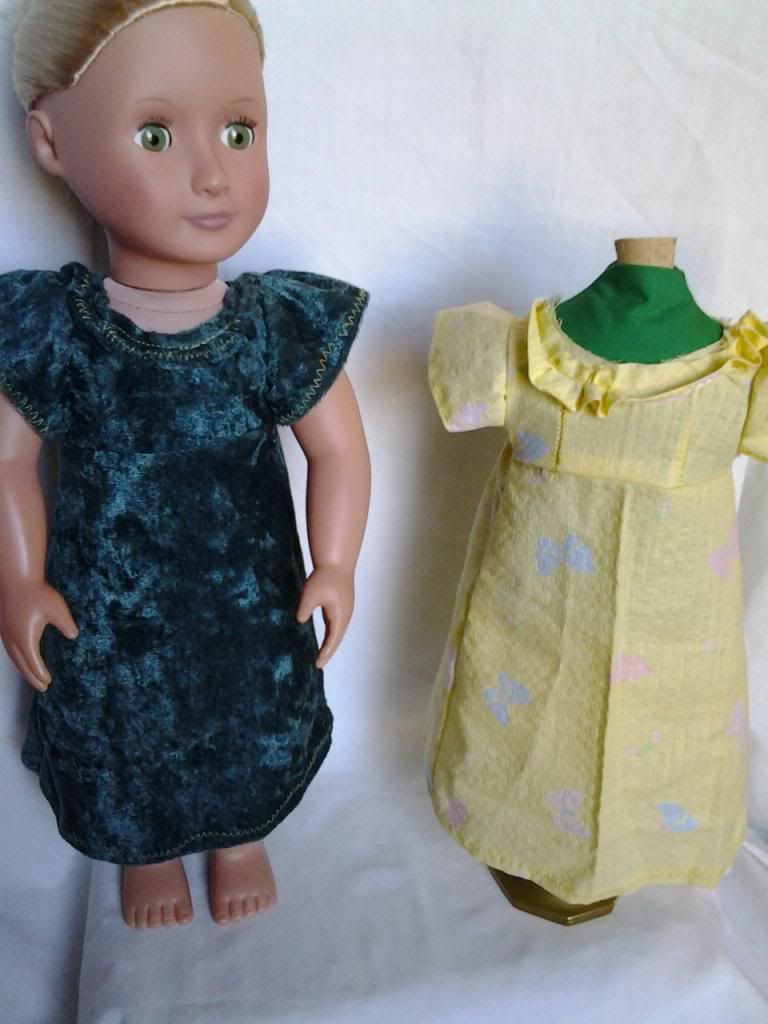
I selected another pattern from the American Girl collection, this time I went with Josefina’s Christmas dress.


I think Josefina’s clothes are on the simple side, I looked through all the choices and kept coming back to her wardrobe because it looked the easiest. The ironic part is, when I save up to buy my American Girl doll, it’s actually Josefina I will be buying, so it’s funny that I’m making her clothes…J

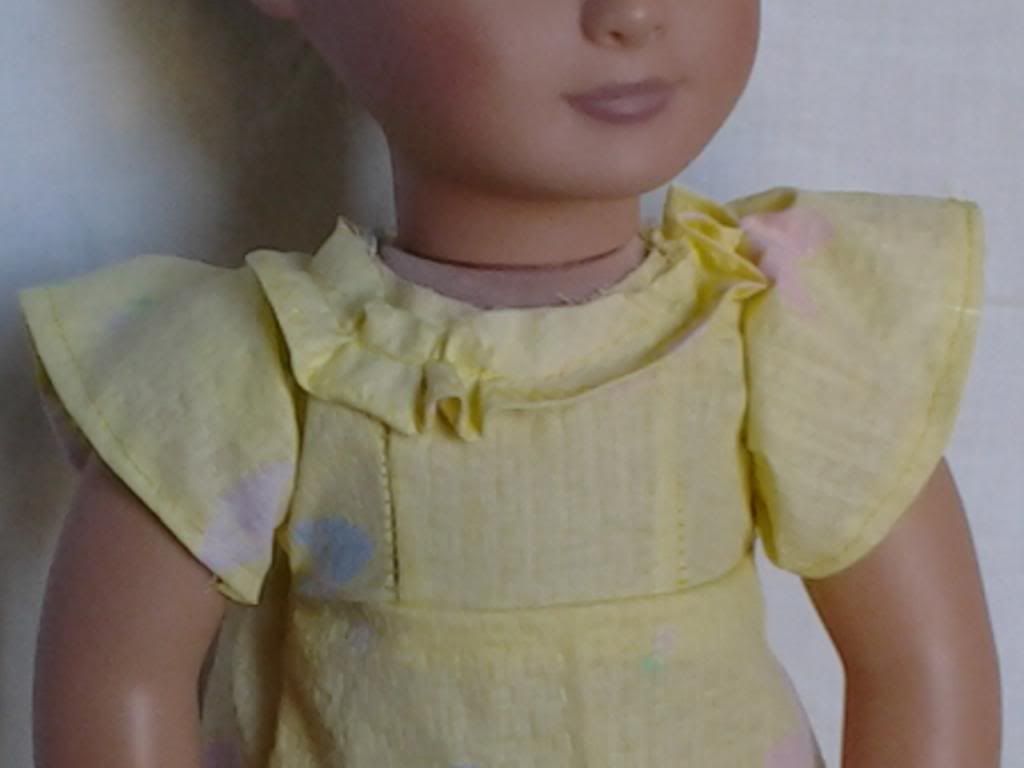
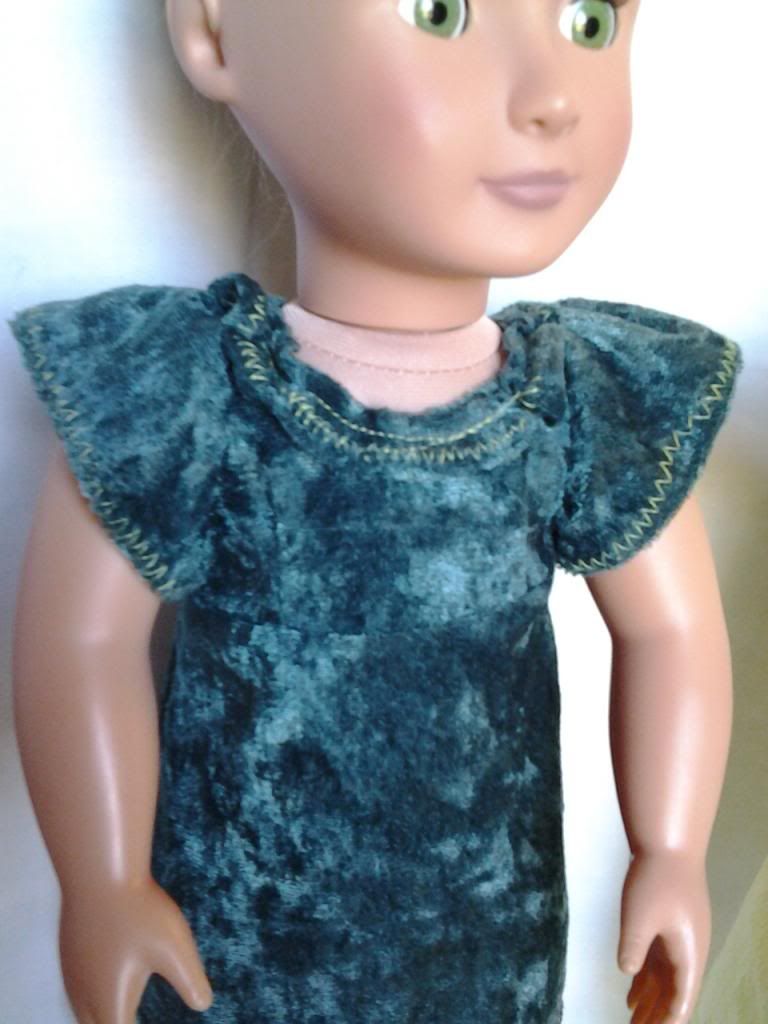
I decided instead of doing long sleeves, I just wanted to do the upper portion of the sleeves. It turned out to make the sleeve “flutter”, which I really wasn’t expecting (but tells you how little I know about how clothes are put together) It makes sense to me now because the bottom of the sleeve is not gathered but for some reason I was thinking that if left off the long part of the sleeve, I would be left with a poufy cap sleeve. You live, you learn, right?

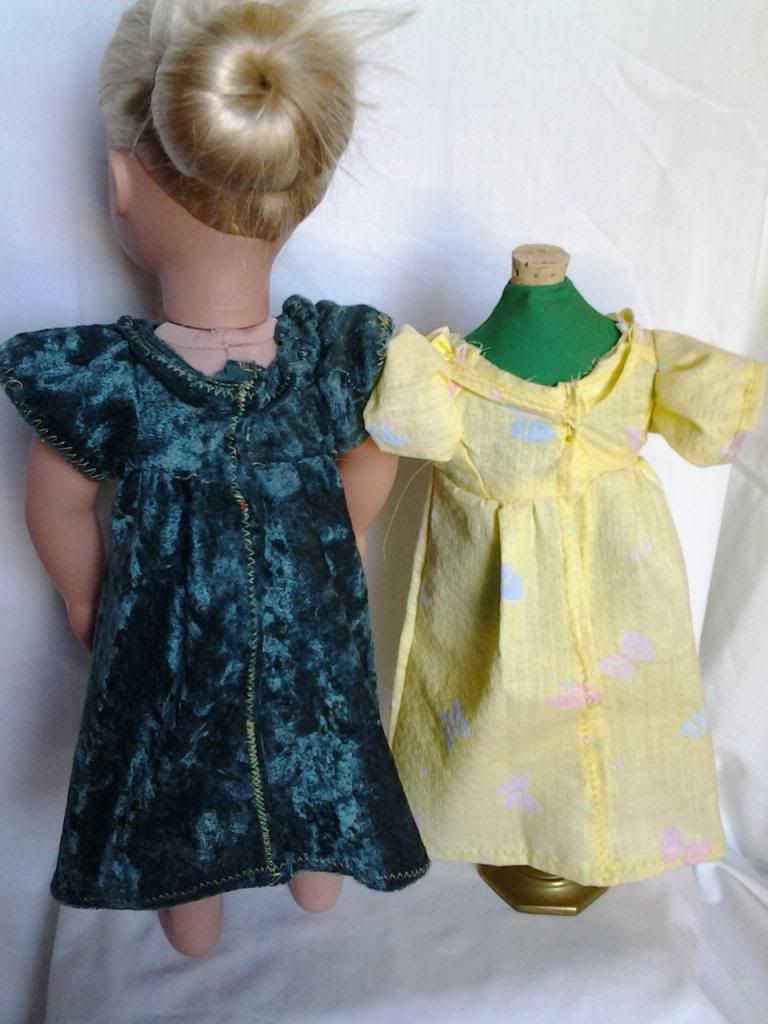
For this dress, I actually couldn’t decide between 2 fabrics – 2 very different fabrics, I might add. SO I decided to heed my mom’s advice: she told me it is just as quick and easy to make two garments as it is one because you do each part twice but at the same time, so both garments are made in nearly the same amount of time.

The first fabric is a great spring yellow with little butterflies, thin and textured, not stretchy. I’m not so good with fabrics yet, so I don’t know what kind it is, but it kind of was like seersucker (maybe it is seersucker, I don’t know – Aunt C will have to help me out on that one J)

The second fabric is…I don’t even want to say it…crushed panne in a dark green. Now this stuff is just as glorious and scrumptious as it comes, but I CANNOT sew with it. You must remember, my confidence was all high from making those tights though… I am...SUPER SEAMSTRESS!! Bwa ha ha ha!!

I started putting together these simple, simple dresses…I even understood enough to do the sleeve the way I wanted it instead of doing the full long sleeve. The problem came when I attempted to do the neckline. Now I’ve discovered that I’m not so good with tiny ruffles. When it comes to hemming and gathering tiny strips of fabric, mine kind of coil up and go funny on me, so I decided after this fiasco to either make bigger ruffles or stop hemming them until I get some more experience under my belt. The neck ruffle on this dress SUCKED. I didn’t understand the part in the directions about attaching the neckline (I do now, but at the time, I thought I was doing it right) The instructions seemed to say to attach it so that the raw edge was left visible and quite prominent. Obviously that wasn’t right, but I read and re read and re read and thought I was following it exactly. What I ended up with was 2 ugly dresses with unfinished necklines L


Now my rule is not to “waste” Velcro on bad outfits, so if you see pins in the back, it means I was not satisfied with my craftsmanship and did not deem it worthy of using Velcro. These dresses, unfortunately, fell into that category.

I had accidentally kept my stitch length on the longest setting for these dresses, so the yellow one is kind of sloppy looking (to me after using that short stitch on the nightgown) plus you can see in the picture above that the stitching is actually starting to come apart on the chest :( and the panne was soooo slippery and stretchy, I used the zig zag – I went with yellow for the thread and you can really see my lousy stitching on that green dress…I was not real happy with how they turned out. The sleeves turned out cute, but overall, I give both of these dresses the thumbs down L


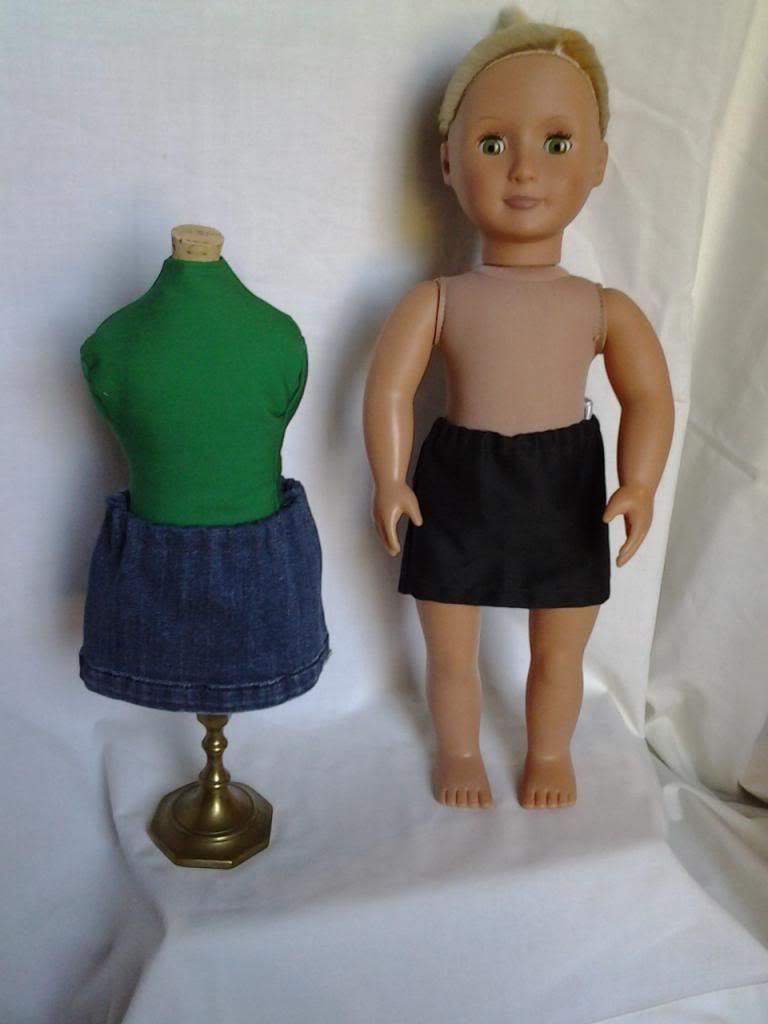
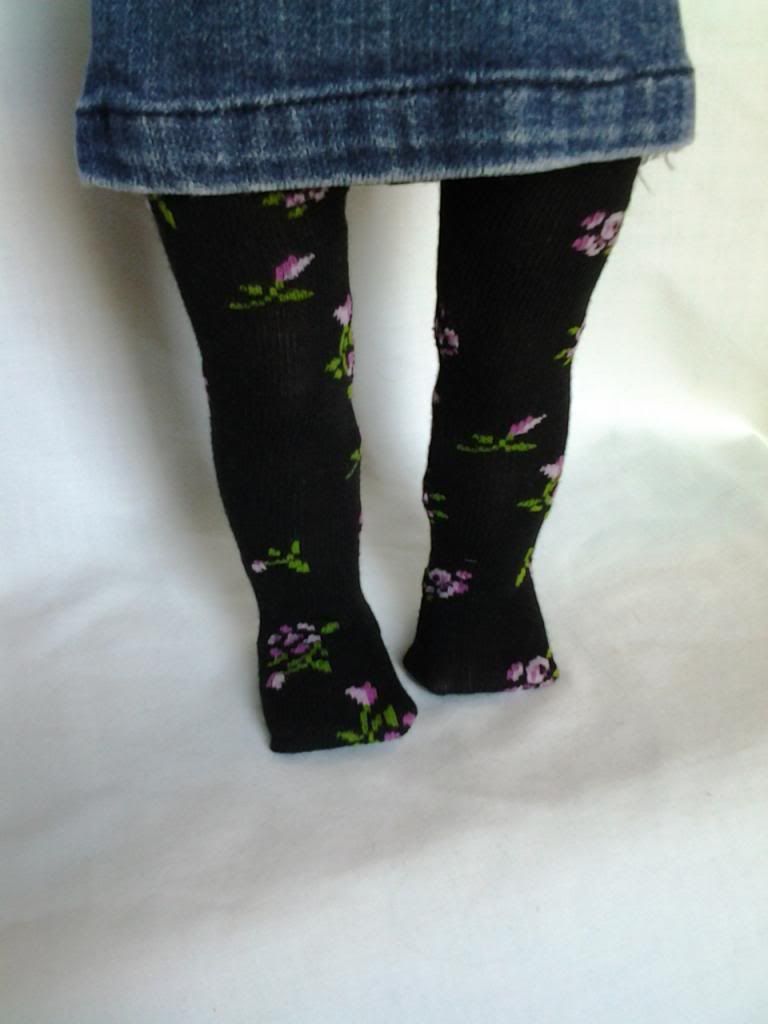
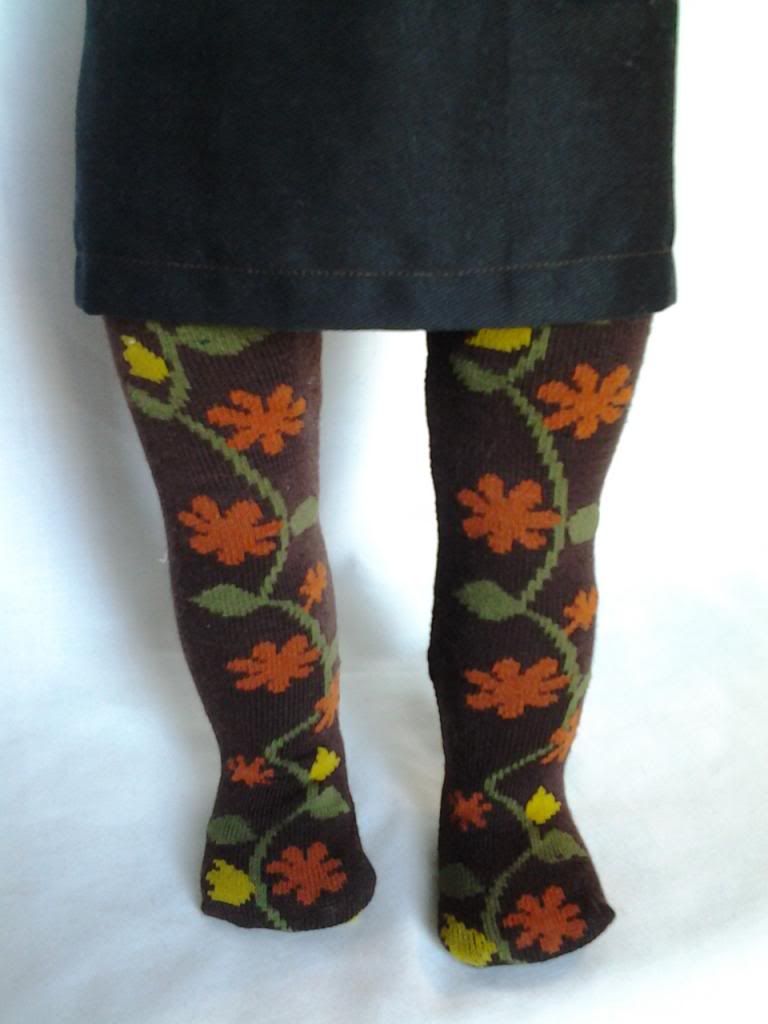
On a positive note, because I needed a way to showcase my positively adorable tights, I made two miniskirts. (I took all the pics of the tights after I made the skirts but made the skirts after all the tights were done – that’s why most of the tights pictures show them with the skirts)

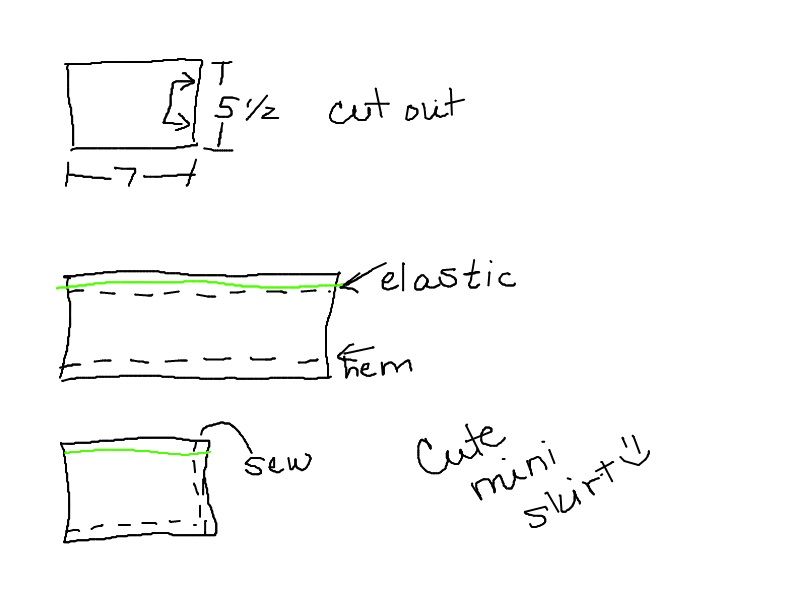
The skirts were sooo easy J I just cut out a rectangle of 7 inches by 5 ½ inches (I just eyeballed it to make them, but then measured afterwards) out of paper, put one of the short sides on the fold and cut out. Then I hemmed the bottom, “hemmed” the top (I don’t know what it’s called, but I put the pocket for the elastic in) then added the elastic, then stitched up the side seam. Super super easy. And the denim skirt I made out of a pant leg of pants that were too small for me. YAY!


Friday, March 15, 2013

FABULOUS tights!!

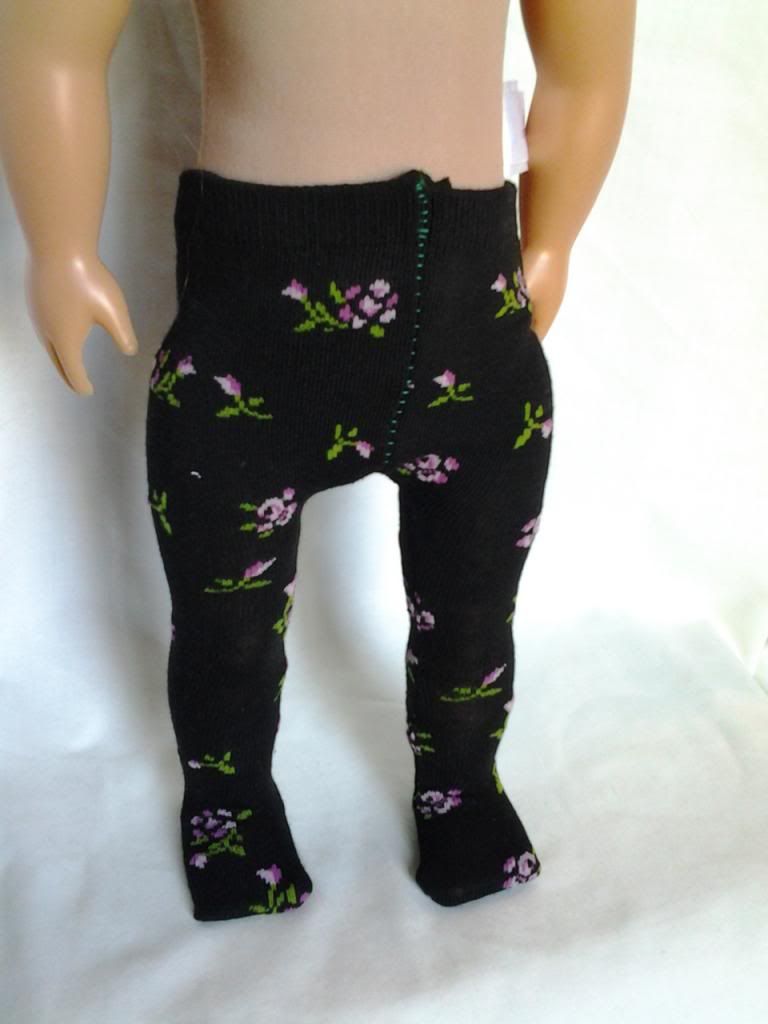
Well, I was pretty discouraged with the nightgown. I’d been surfing the internet looking for more free stuff and came across an amazing tutorial for making tights out of socks. I’d been back to it several times and was a little hesitant to try it because I’m not good at sewing knits and I didn’t want to ruin a perfectly serviceable pair of socks. I am hooked on great socks and try to wear as colorful and crazy socks as I can every day. So whenever I am out, I keep an eye for socks. Well, as the fates would have it, I was at the dollar store and found a cute pair of black socks with lavender flowers. I thought, you know, I can waste a dollar trying, right?


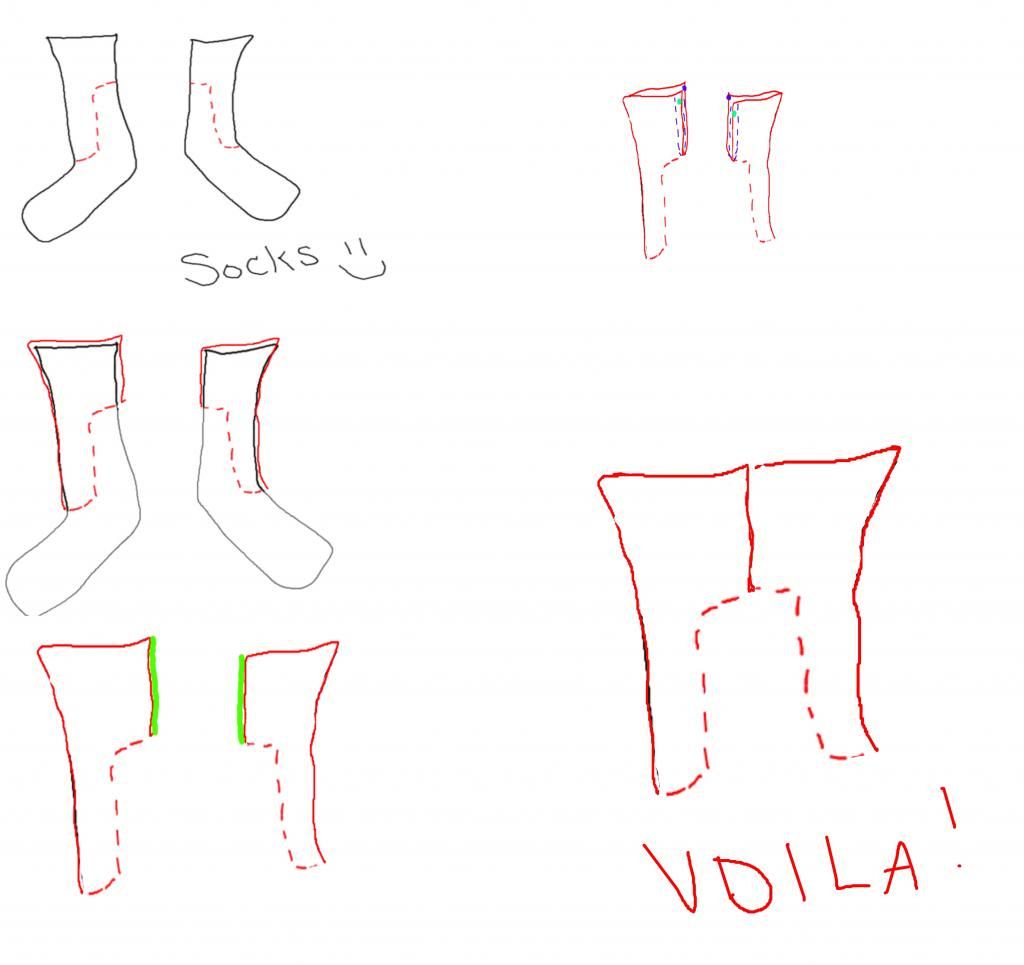
I finally just did it. I followed the tutorial exactly and was super impressed with how they came out. Basically, you sew, then cut an ‘L’ shape in the sock – see below


Then you cut the top edge (the green) then sew the top of the sock together to make the waistband.


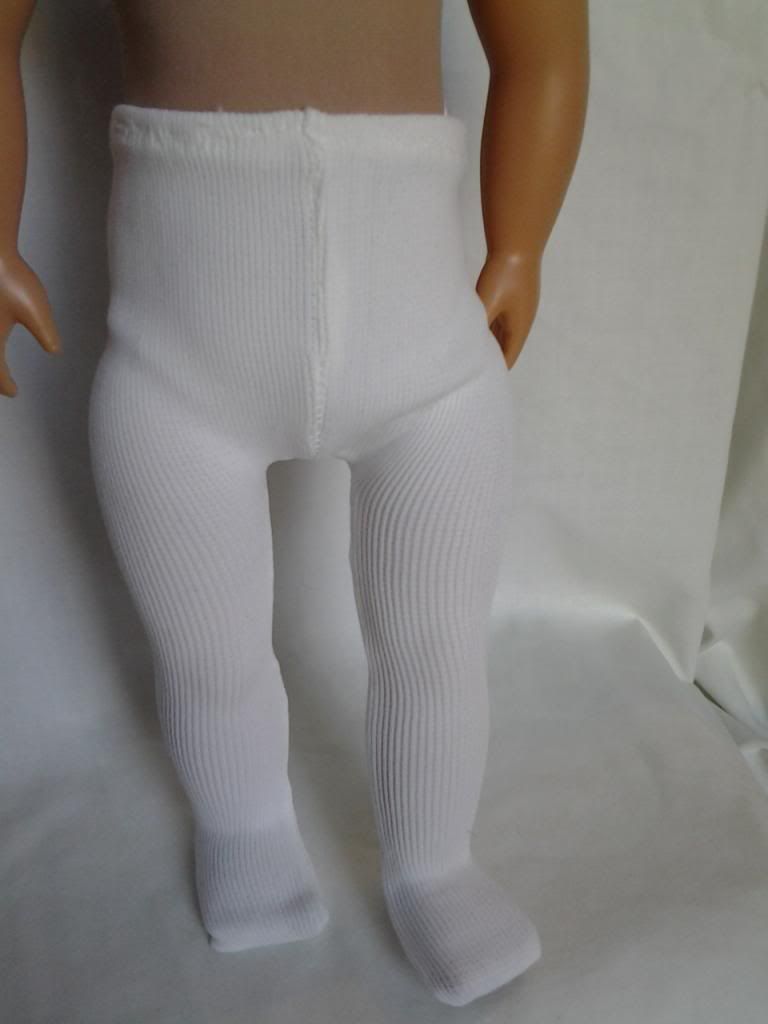
They look great, they fit great, and I have a new hobby J I made tights out of every pair of socks I could get my hands on after that J


The flower tights


I did white tights out of a pair of thick knee socks


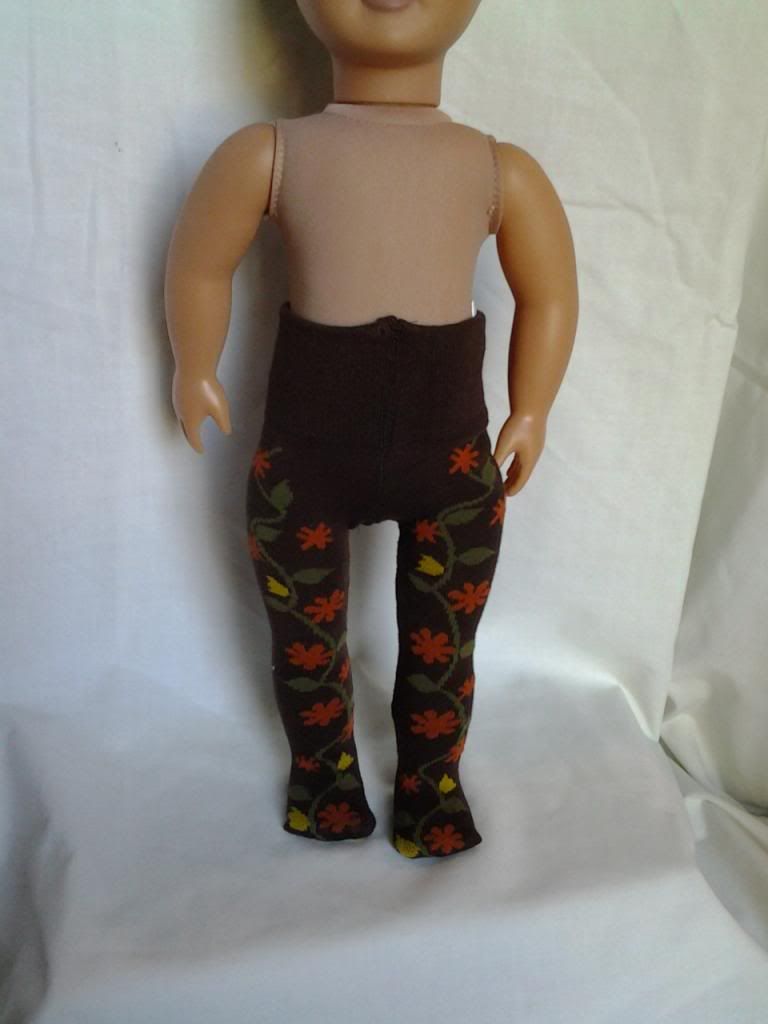
I did brown with pretty fall leaves


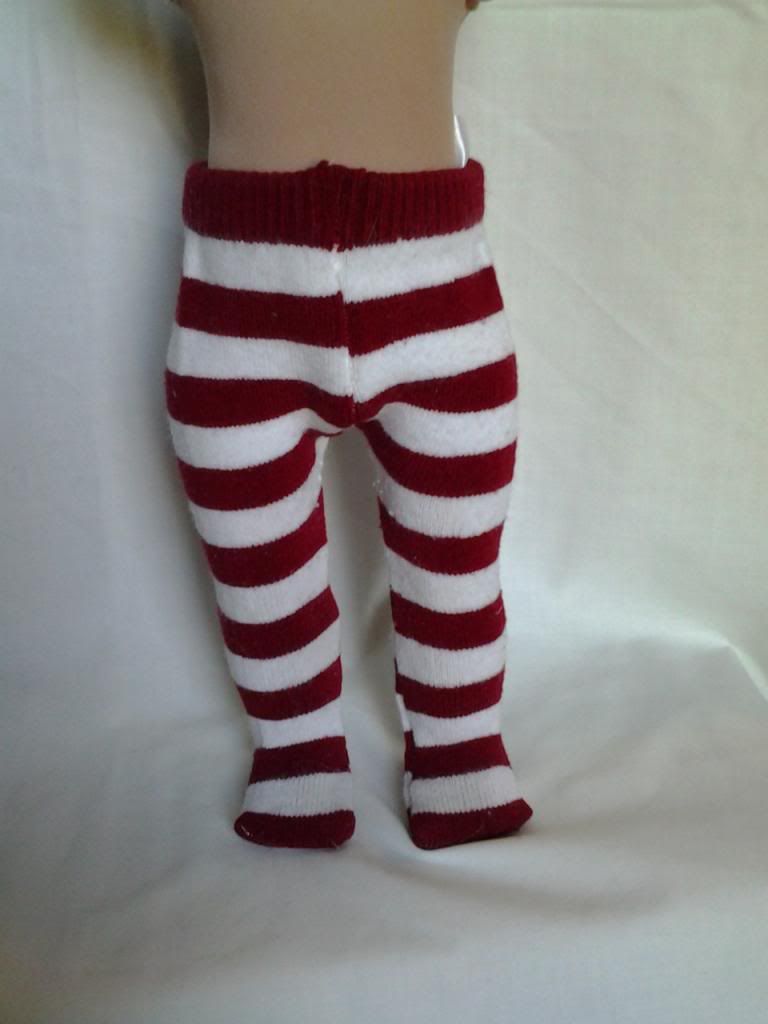
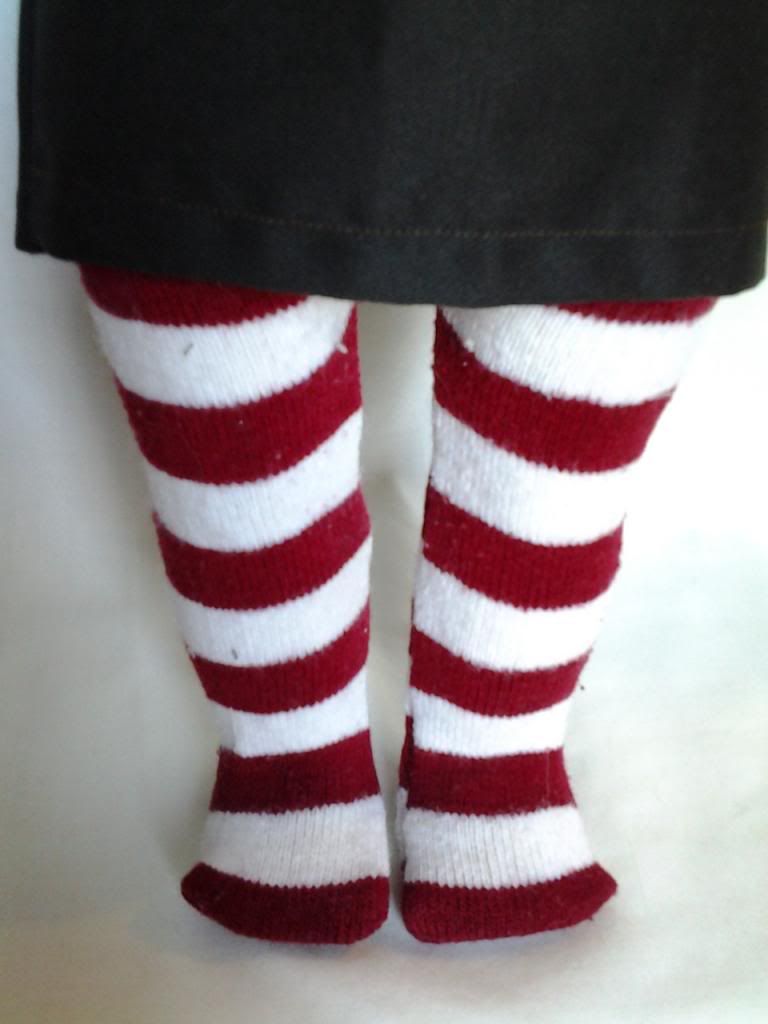
I did red and white stripes (these used to be toe socks J)


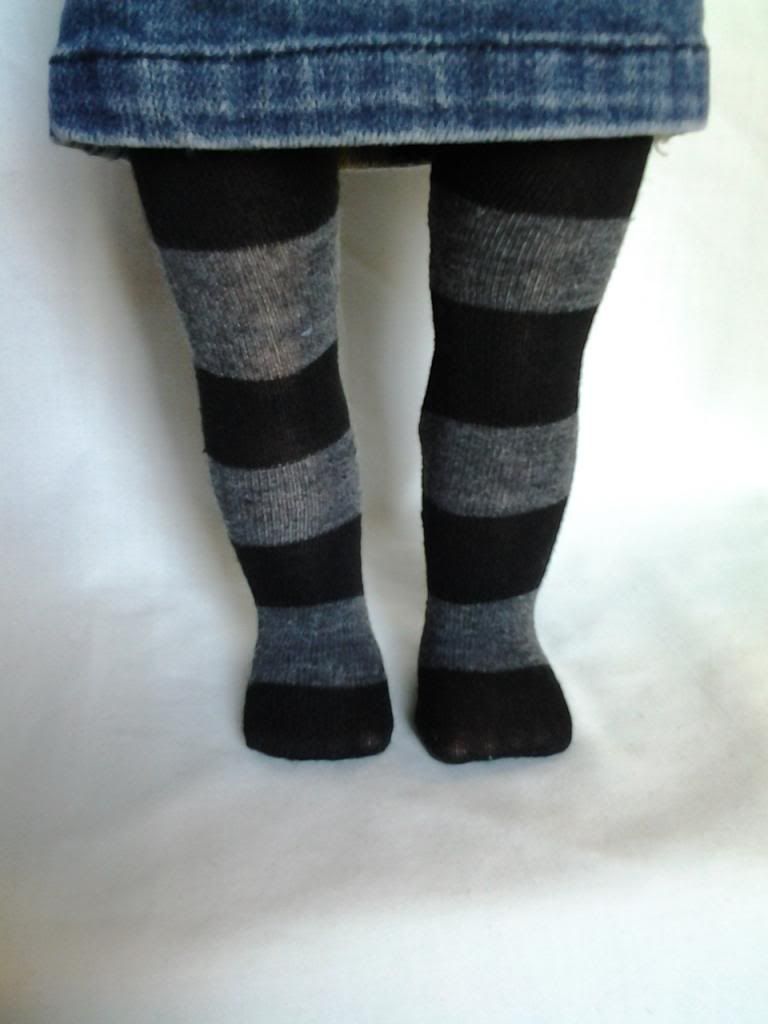
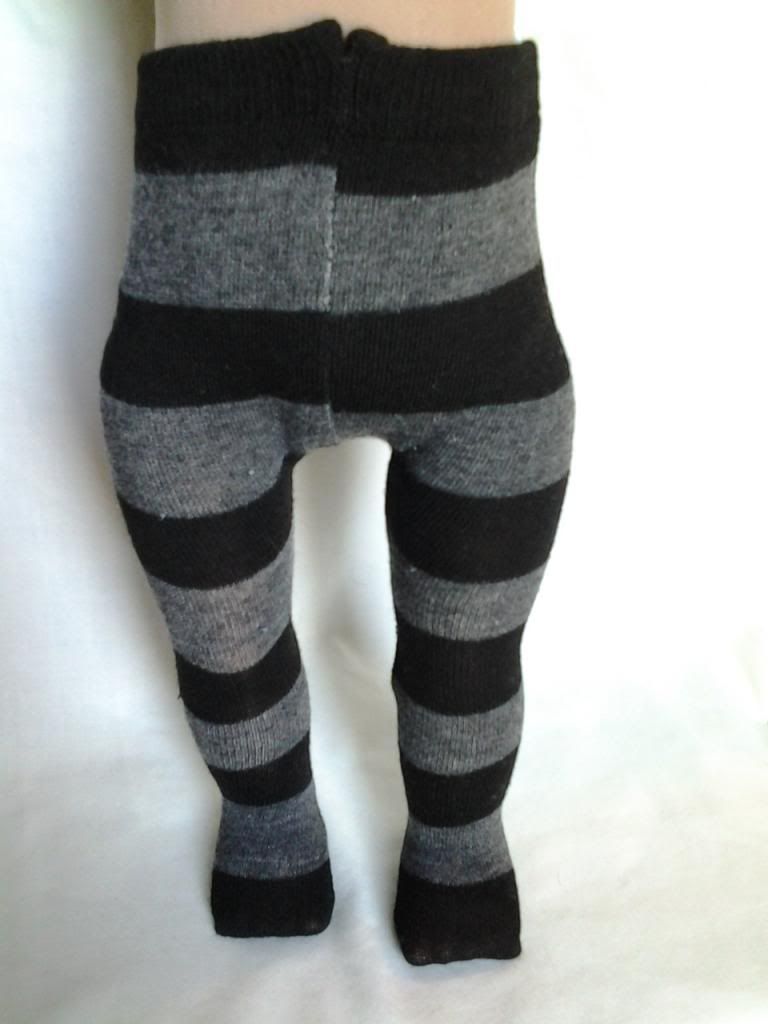
I did black and grey tights


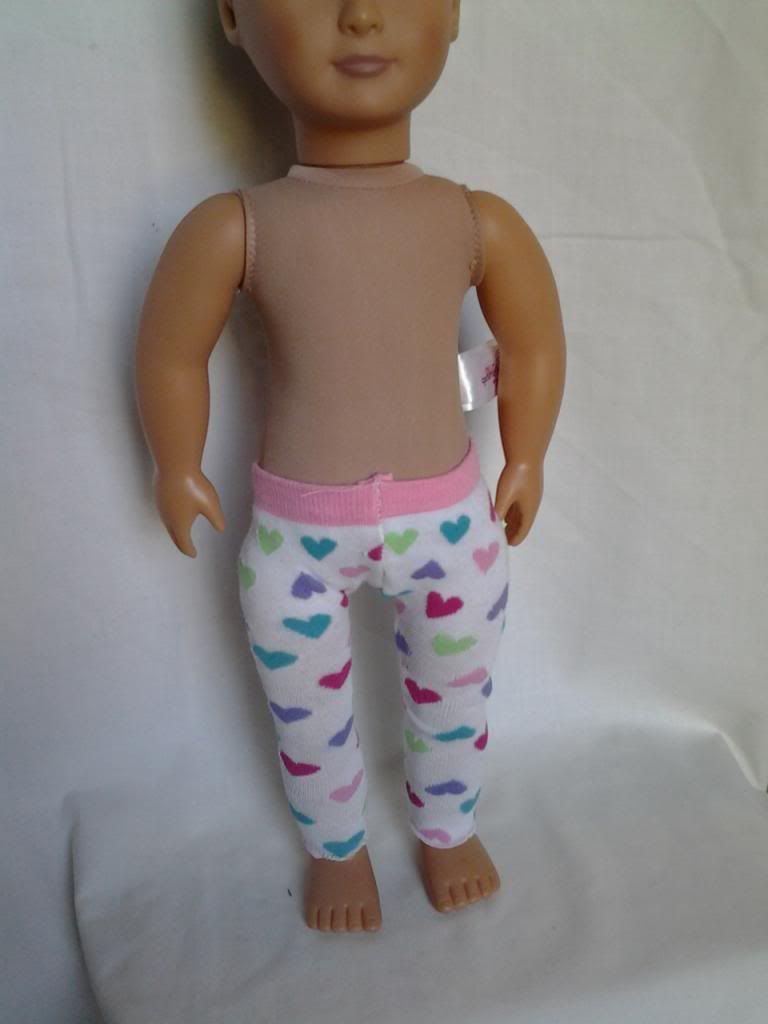
Now you guys know by now that I can’t quite call a project mine until I’ve messed something up… so here’s that part: I got carried away doing tights and since its not really a “measured” piece, its just “eyeballed”, I ended up making some of the ‘L’s (the legs) too skinny and too short. Because of that, they don’t look quite right on the doll – they are obviously too “small”, so I cut the feet off and made them footless tights, or leggings J


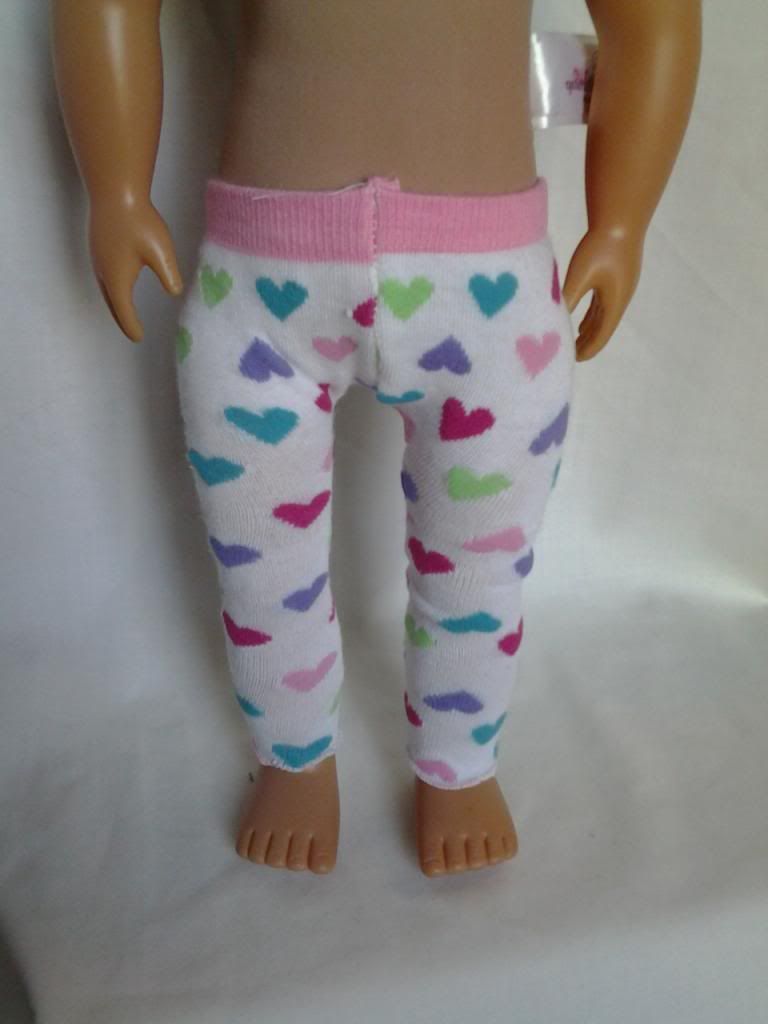
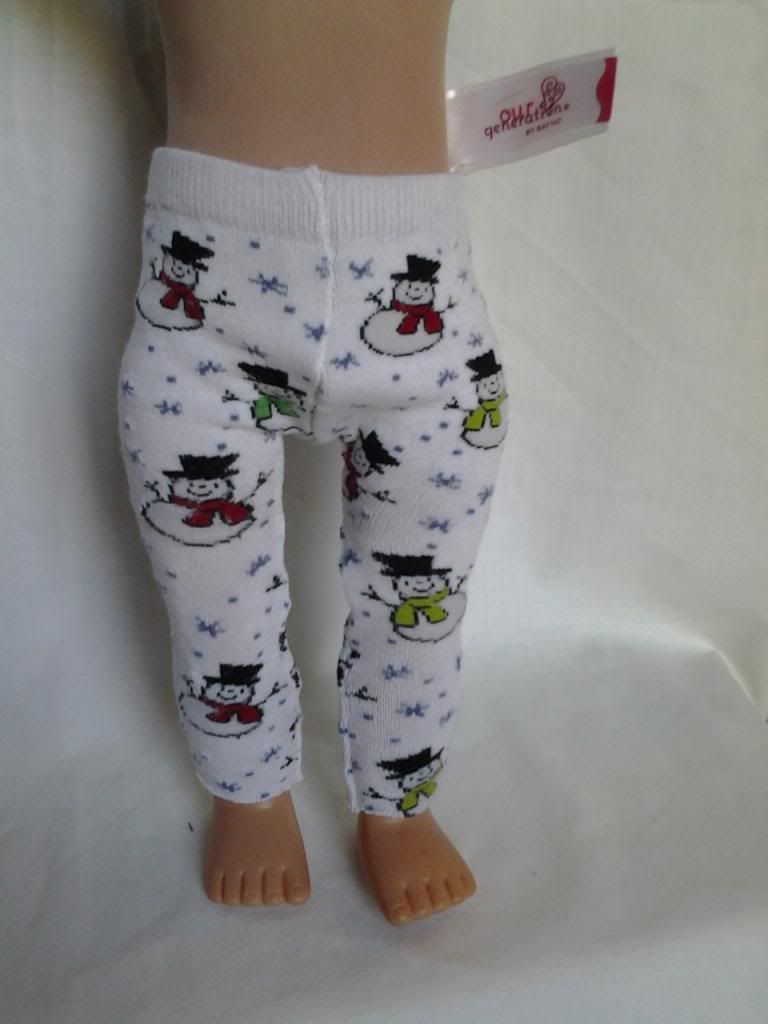
If you look closely, you can see in the one with the hearts that on the lower left leg (on the right in the picture) the hearts are all stretched out compared to closer to the waistband. That’s because I cut them so badly. They look good as leggings though, and were great practice! The snowman socks were mine – holes in the heels and toes – gosh I loved those socks!


By far my 2 favorites are the black and grey ones and the brown fall leaves ones. Those were a taller sock, which gave me a little more room for error – knee socks are perfect, crew-length are just fine but ankle socks just don’t cut it.


I give the tights huge thumbs up – even the tights-turned leggings J