Showing posts with label sewing. Show all posts

Monday, March 25, 2013

SUCCESS...and Nancy Zieman


I’d like to take a moment to share a recent discovery: Sewing with Nancy. Nancy Zieman is by far the most remarkable seamstress and teacher I’ve ever seen. For those of you who have never heard of Nancy, she has a tv show on PBS and teaches sewing, topic by topic, 26 minutes at a time. I am enthralled. She also has a store: Nancy’s Notions, which sells sewing materials and supplies.

Nancy is not only the most accomplished seamstress I’ve ever seen (sorry Aunt C. L I’m seeing other seamstresses on the side… J) but she teaches in the most remarkable way: so beginners like me can understand!!

She has a very soothing, modulated voice and explains things in a very simple, real, basic way. She is warm, funny, and doesn’t come off plastic or fake, like she’s on TV. She talks to her audience as if she is sitting in the living room with them.

You can watch her shows here. I watched all of the doll clothes ones J I watched the A to Z (which was AWESOME!!!!) and I watched the anniversary 3 part show, which was heartwarming and hilarious.

Do not go another moment without watching Nancy! She is awesomely awesome. J

PART 2

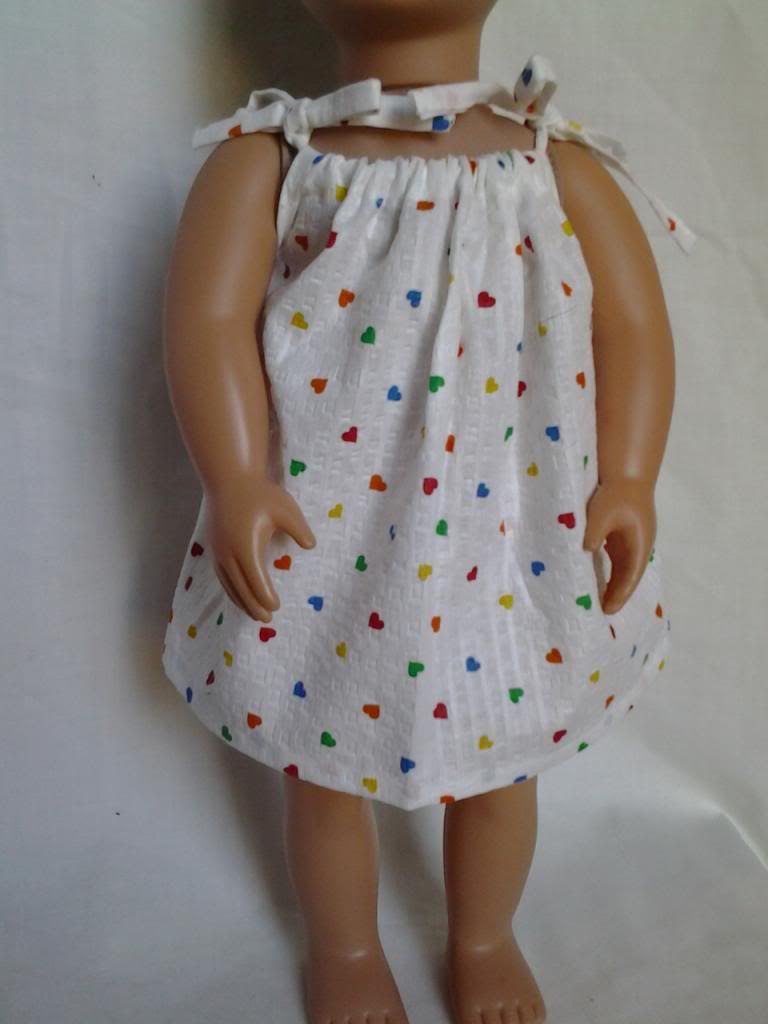
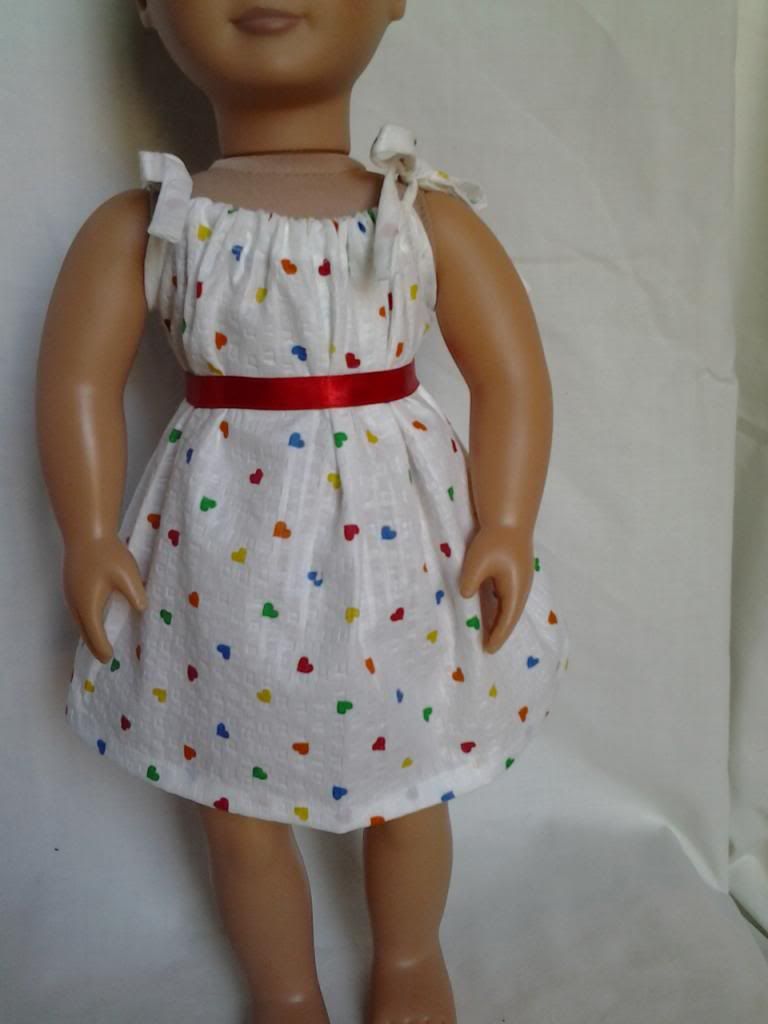
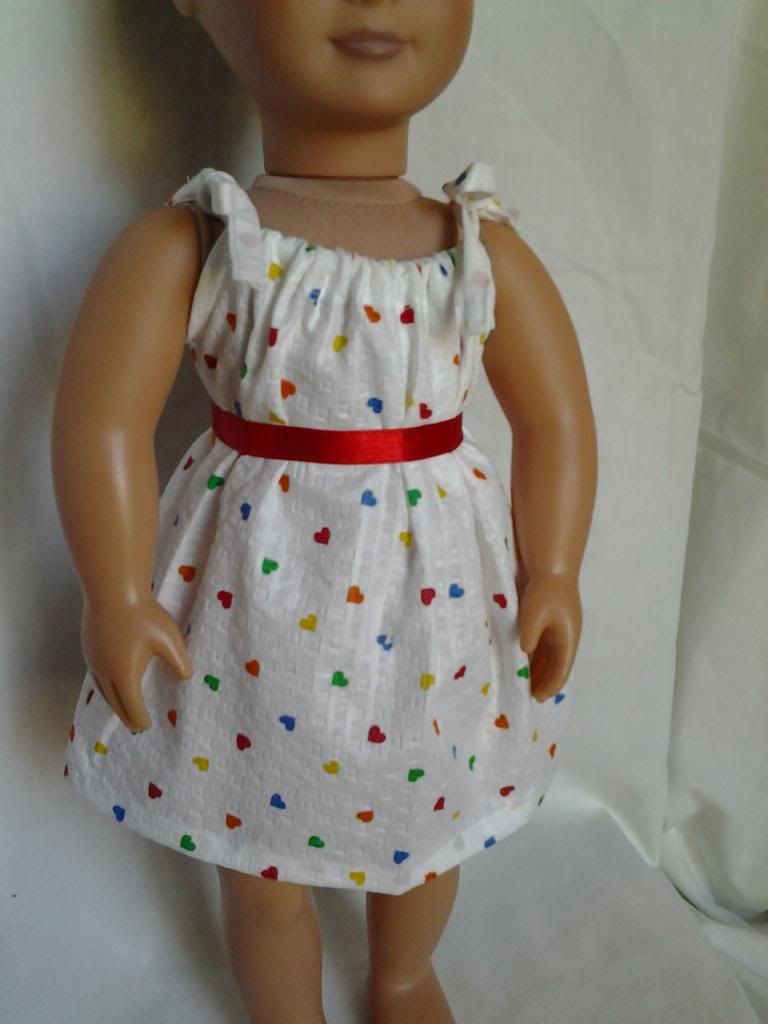
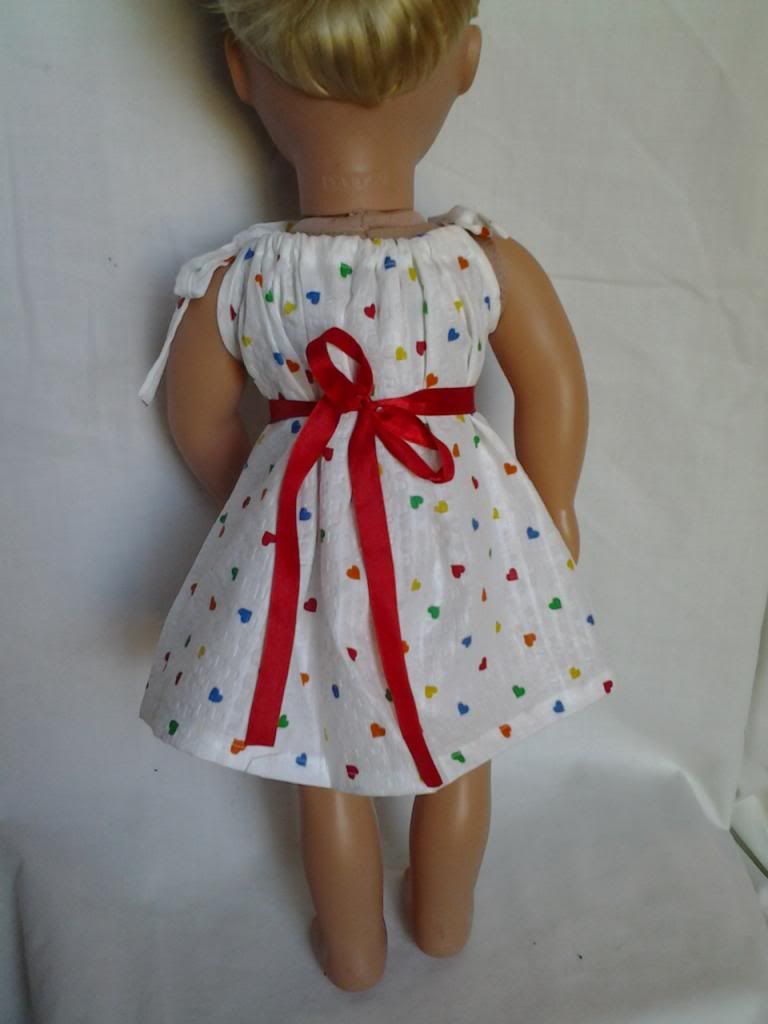
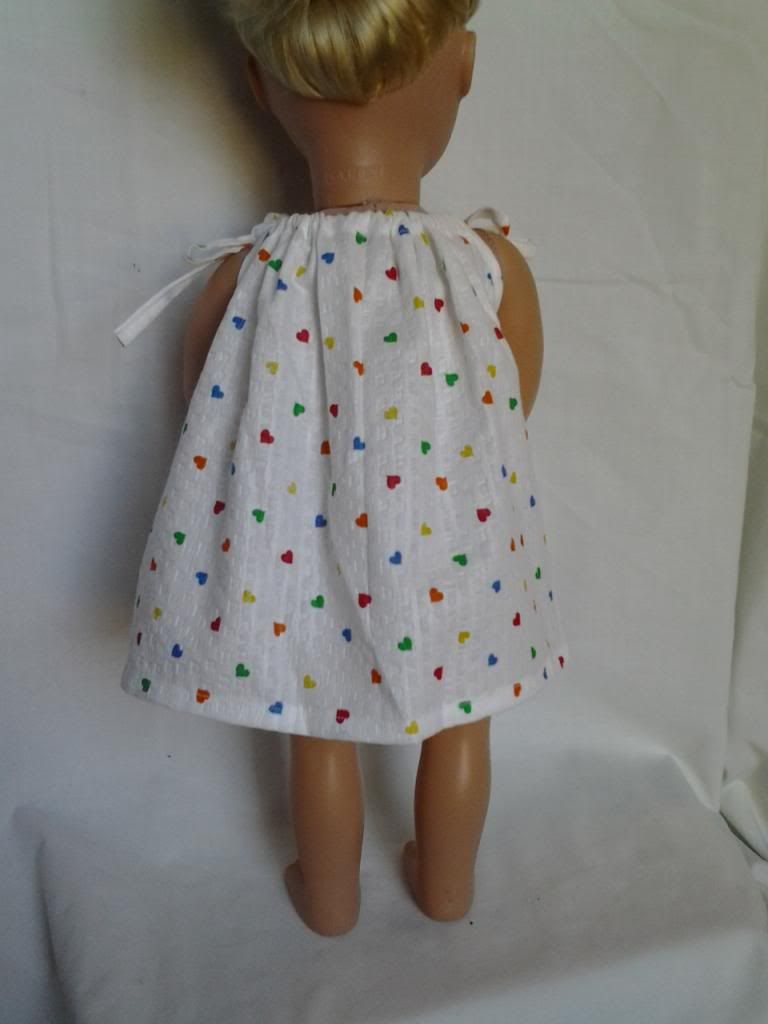
I also decided after the successes and failures I have had, my next project needed to be a sure success. So I backtracked. I used the free drawstring dress from Liberty Jane and a totally adorable fabric that my mom bought to make me something cute when I was a little girl (did I mention one of my children will be an adult next year??? More loved fabric came my way J) The fabric is white with little colored hearts all over. So cute!

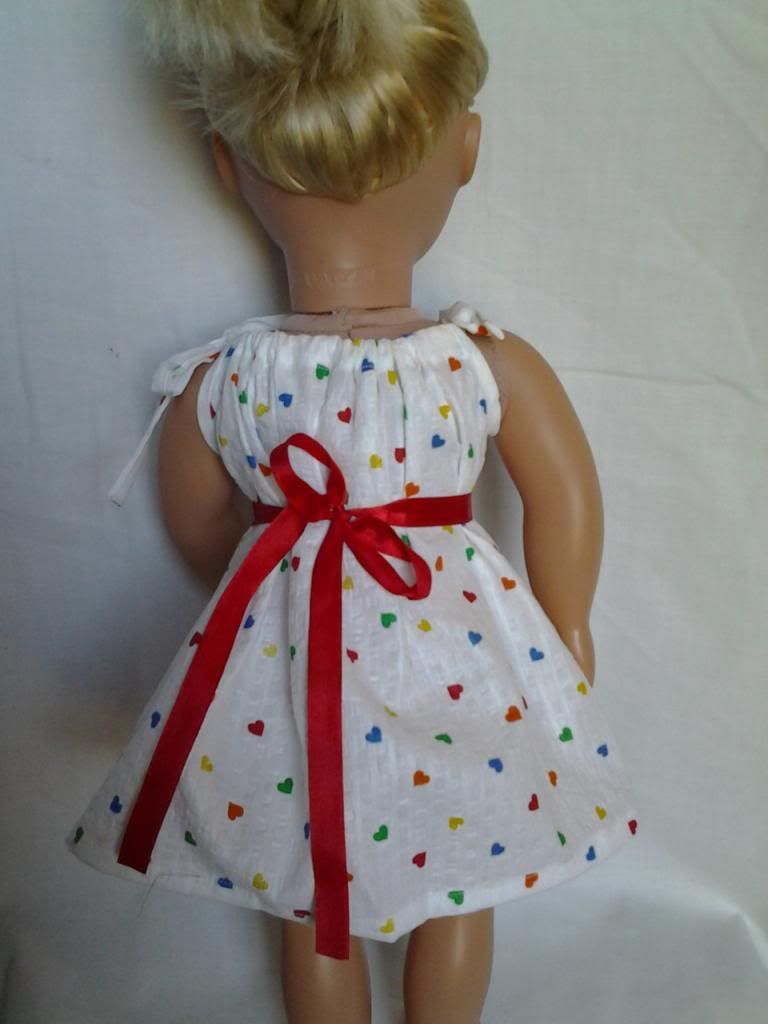
This one was too easy. It’s a free pattern, but those of you who know how to make a pillowcase dress already know how to make this. I did know how already but used the pattern for measurement. The dress “whipped up” really quickly and since the fabric was so easy to work with, my stitches looked good, my seams were even and straight, the whole dress was just a good experience.

The pattern suggestion was to tie a ribbon around the waist, so I used a nice red ribbon I had laying around, but I have to say, I like the dress both ways.

What do you think? Instant confidence booster! I am sewer, hear me sew!! (sewer? Wait… is that right? Tee hee)


Tuesday, March 19, 2013

Felicity, Samantha, and boy do I need more practice!


I was moderately pleased with the dance outfit. I enjoyed working with the non-stretchy material, but I did not like how the end raveled so much. I am going to have to learn about that…

The next project I tried my hand at was Felicity’s outfit from the American Girl patterns.
 
This is the first project I really tried to make a polished finished product on. By this I mean: I normally just pick whatever fabric appeals to me that day to make a lot of these outfits because it is all practice and I know that chances are the item might turn out pretty dismal. But for this one, I actually selected fabrics that I thought looked nice together and was looking forward to seeing how the finished pieces looked together. 

I really enjoyed working with all of the different fabrics on this project. I picked a green broadcloth for the skirt – I looove broadcloth. Its easy to sew with, doesn’t stretch, and doesn’t ravel. This broadcloth is extremely thin. I picked a slightly stretchy burgundy/maroon for the cap – it was soft on one side and slightly coarse on the other side. I don’t normally like the stretchy ones, you guys know that, but I thought a simple hat and small to boot maybe I could handle… The last fabric I picked was a really pretty green and burgundy floral print – non stretchy, very soft.

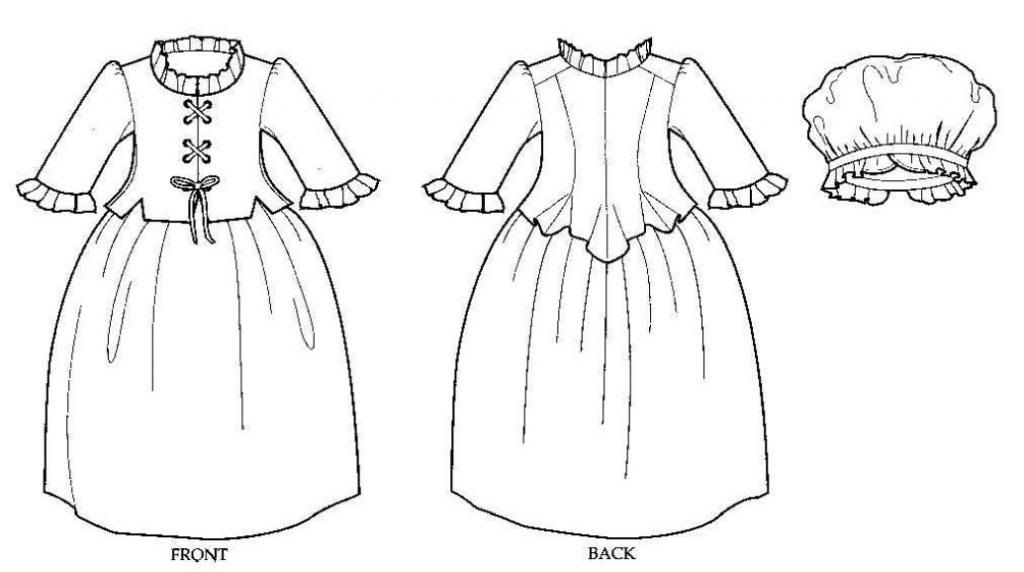
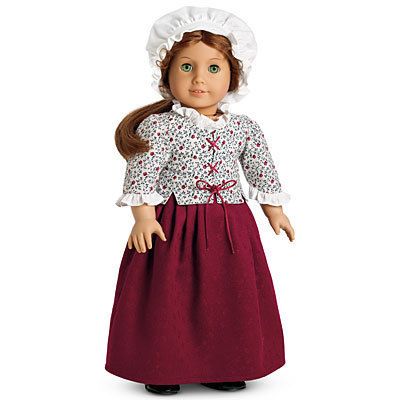
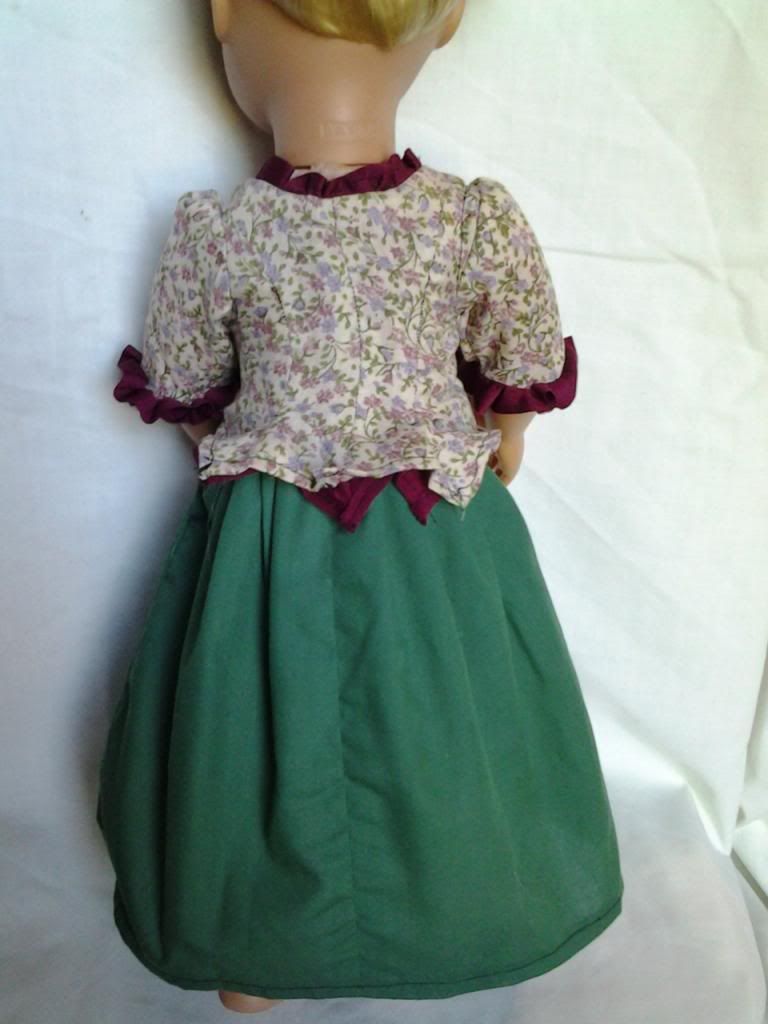
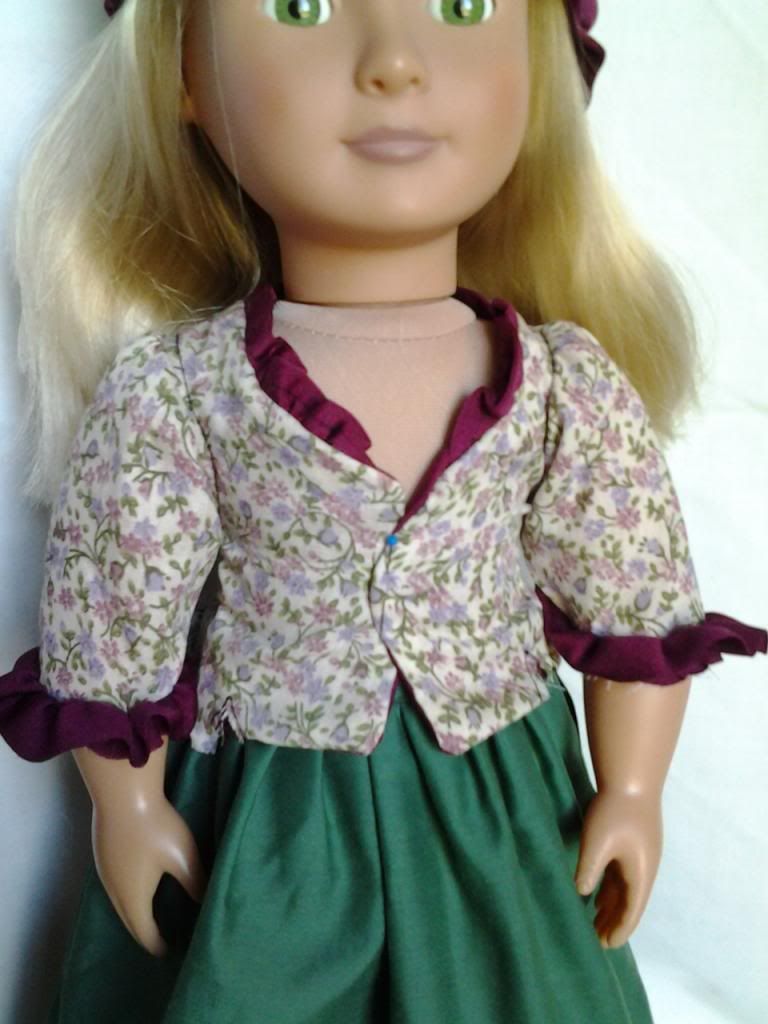
I started with the top. (optimistic? J) It says it’s a laced jacket, but there is no shirt under it, so its just a top to me. I had a lot of trouble with this one. I tried to follow the instructions carefully, but I didn’t find a lot of pictures of what the outfit should look like, completed, on the internet. I found a lot of good front views, but not a lot of back views.

This is what the outfit was supposed to look like:

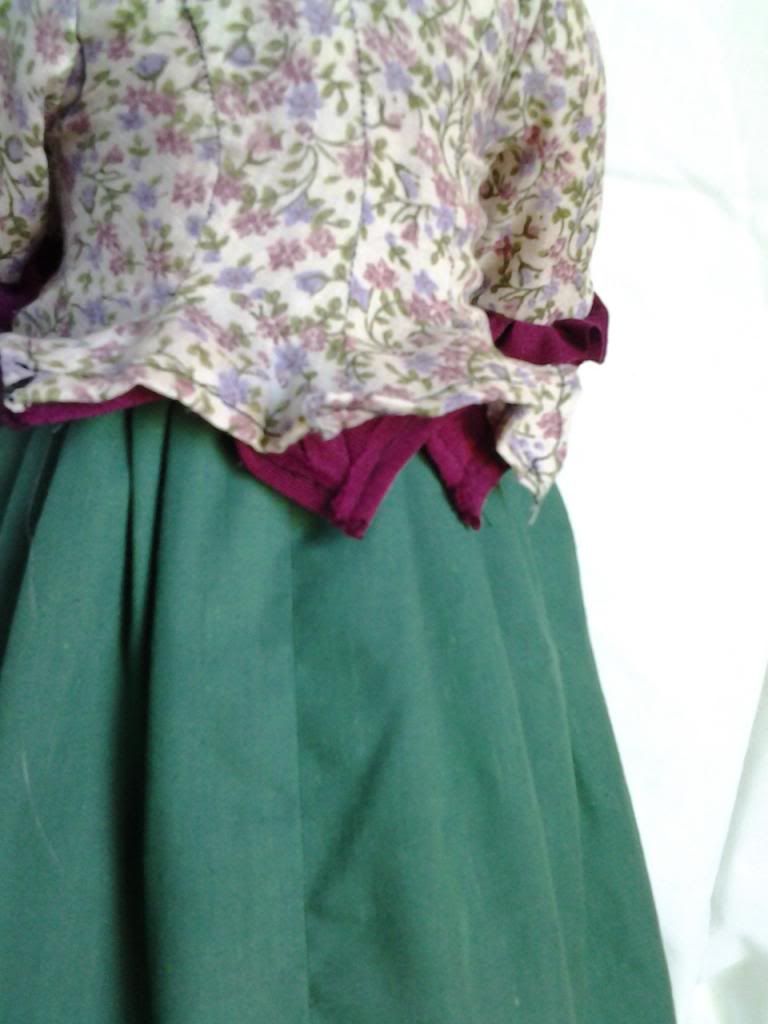
I started out OK, but when I got to the ‘peplum’ part, there seemed to be no instructions for “finishing” it. I didn’t know if the lining and the outer piece were supposed to be connected or not but couldn’t find where it said either way. I opted to hem them separately, thinking that they, as “stickie-outie” pieces would naturally sit together? Not so much…

The other part I had a lot of trouble with was the ruffle on the neck and the wrists. I do have a lot of difficulty with tiny ruffles, and since they were of the stretchy material I chose for the hat, by the time I got through with the neck piece, it was itttttty bitttttty and there just wasn’t a whole lot for me to work with – its like it shrunk or something. So for the wrist ruffles, I opted not to hem them. They stayed a good size, but they don’t want to stay down. L all in all, the top was a big fat failure for me L I also don’t have an eyelet thingy, so I knew this piece was going to remain unfinished. I just don’t think I did a very good job on it and without the front being laced, it actually doesn’t even come close to staying closed. It was a struggle to get the pin in to show it closed. L Bummer on that one.

The skirt was super easy and I learned how to pleat. (well, I knew a little about pleating from the mug thingies I made for my mom and aunt C, but this really brought the point home because this is a wearable garment.) The material was super awesome (I may have said that already J I like broadcloth) and I think it turned out nice. The only thing I didn’t like on it was the way the instructions said to do the Velcro. I did it and it worked ok, but I would have done it a bit differently.

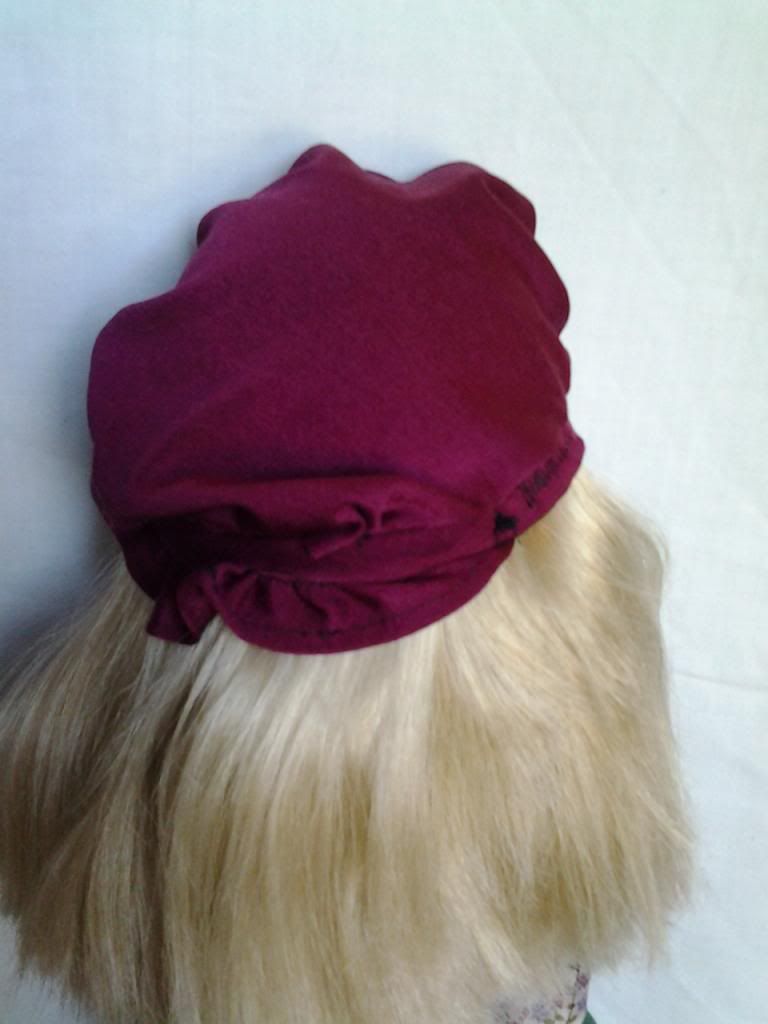
The last piece I did was the hat and let me tell you, this piece was doomed from the start… I thought I could work with the slightly stretchy material but it turns out that working with material you are not so good at and is tiny is hard…go figure, right?

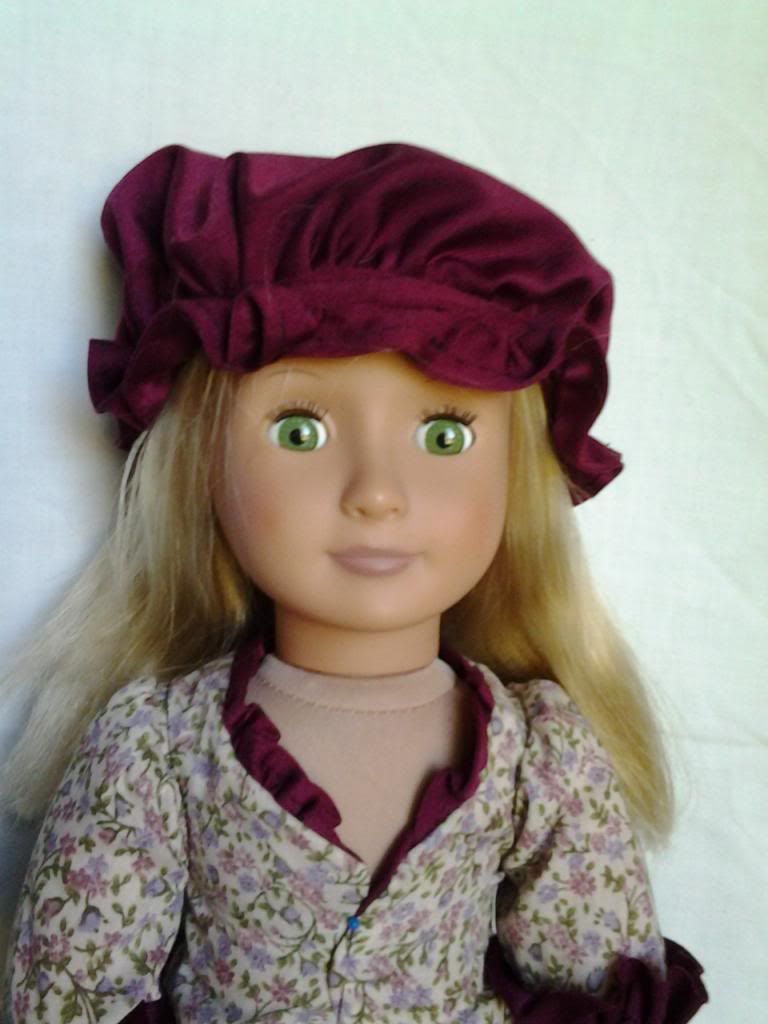
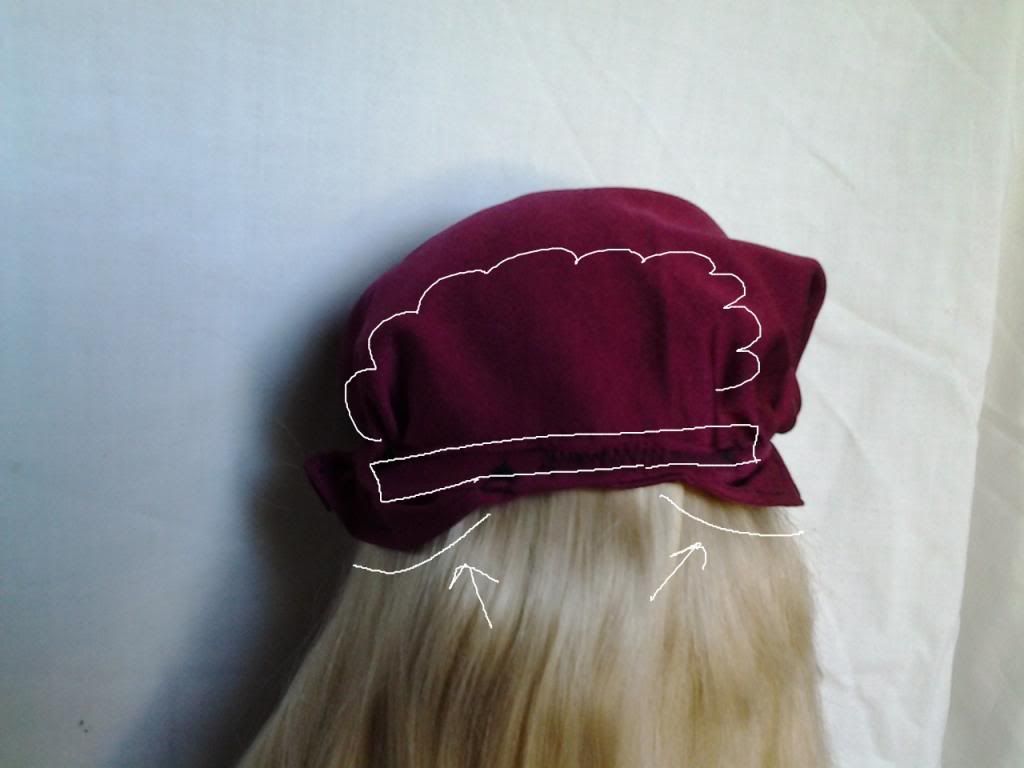
I again followed the instructions exactly, but I am not so good at gathering, so my whole hat is lopsided. You can see in the picture that one side is taller than the other. If I put the hat on her head crooked, it looks okay in front and really really bad in the back
 
(because the back is supposed to look like this:)

But if I put the hat on straight and the back looks like it should then the front is really crooked and lopsided.

The bands were just so tiny and difficult to work with! L

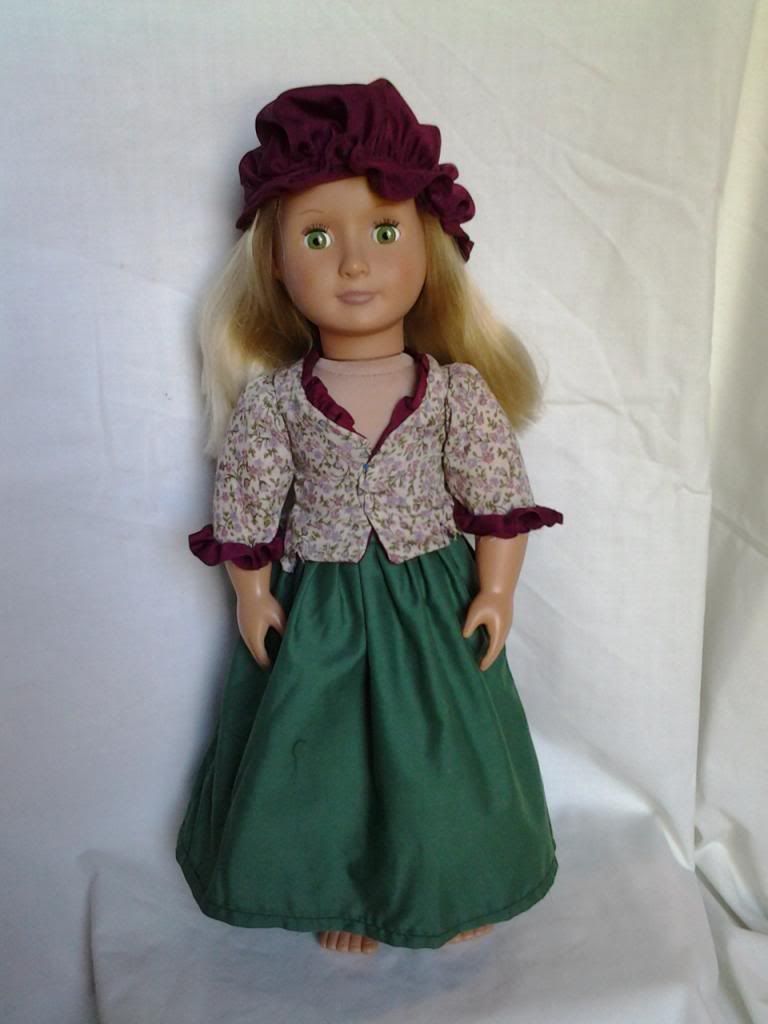
So here is my finished product:

I’m real disappointed in how it turned out but from a distance, it doesn’t look too bad J The stitching is nice and even (except on the hat) and it’s constructed moderately well.

My next thing to learn is how to do the things I don’t understand in directions J

PART 2

My mom cleaned out her fabric bins again J I always get lots of good fabric when my mom and my aunt clean out their fabric stashes. They come across fabric that was bought with love and they sigh and say “I wanted to make [fill in the blank] for [fill in the blank] but its too late now. Here, you do something with it.” For example: my mom’s favorite is “I was going to make this into pajamas for your brother” (the fabric in question being the softest snuggliest little ½ yard of ABC blocks fabric, the brother in question being now 28 years old J) Sometimes your heart and plans are bigger than your free time, amirite? So I am super happy to give the fabric a new home J One day, I will clean out my fabric and give some of the gorgeous pieces to…a daughter in law? A granddaughter? Back to my mom? And I will say “I was going to make this cute outfit for my doll, but its too late now. Here, you do something with it” J

This is where all of my fabric has come from. I am the luckiest girl in the world to have such wonderful crafty women in my life. They are so supportive and excited to share their stash with me, especially the smaller doll size pieces J Thank you thank you thank you!!

So I came home with a grocery bag full of remnants from my mumma. We had a good laugh too because 2 of the pieces were tagged “So Fro Fabrics”. Does anyone remember So Fro?

In my bag was some beautiful patio furniture material: kind of like canvas? It’s a really pretty red, green, and white that I will use to make shoes out of. Also, some nice thin denim-look soft blue fabric, some Christmas fabric (!!!) and some really thick broadcloth. J

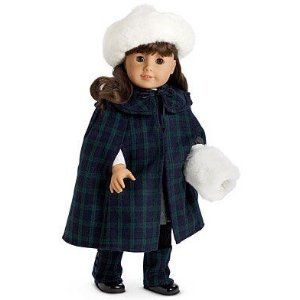
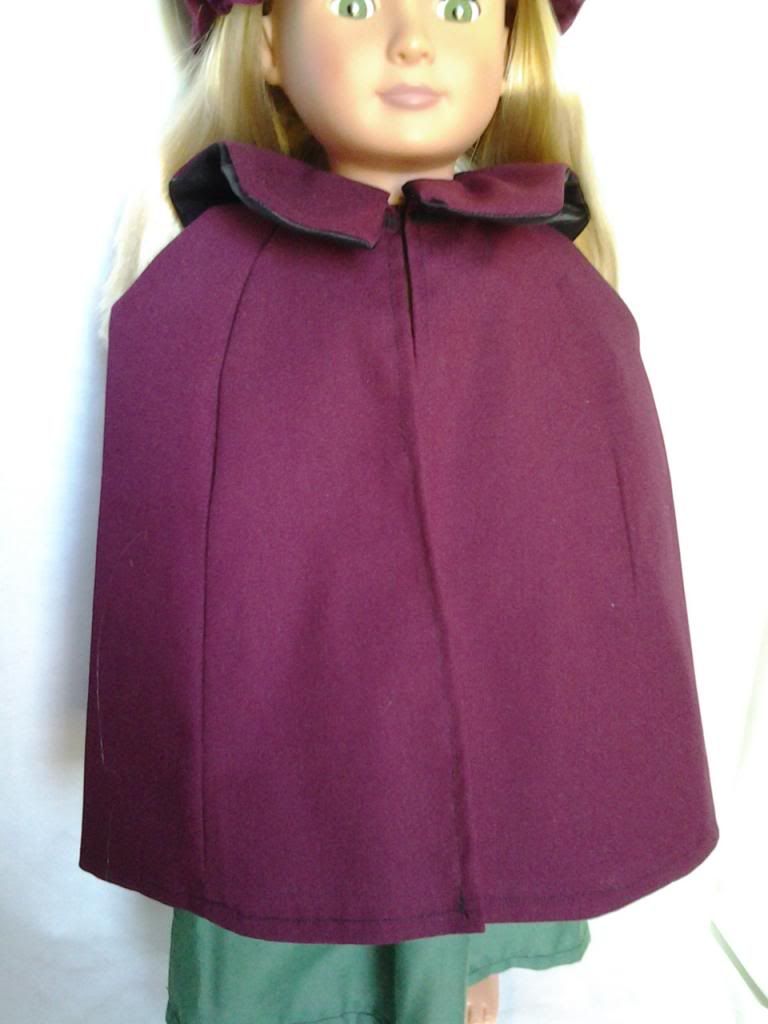
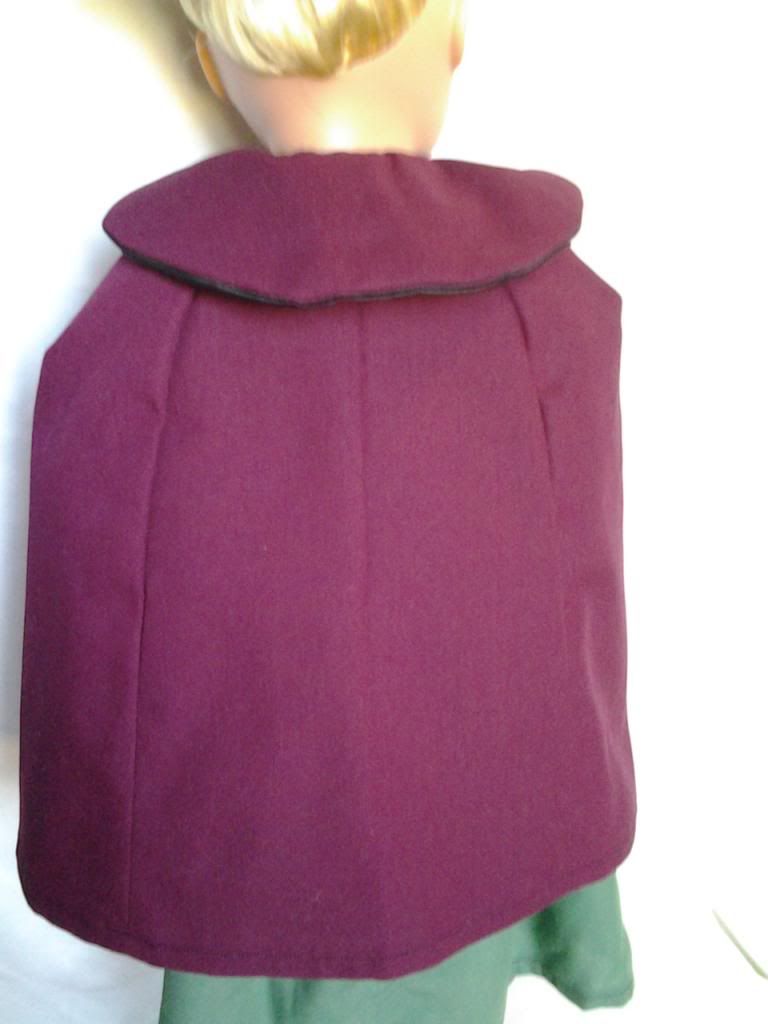
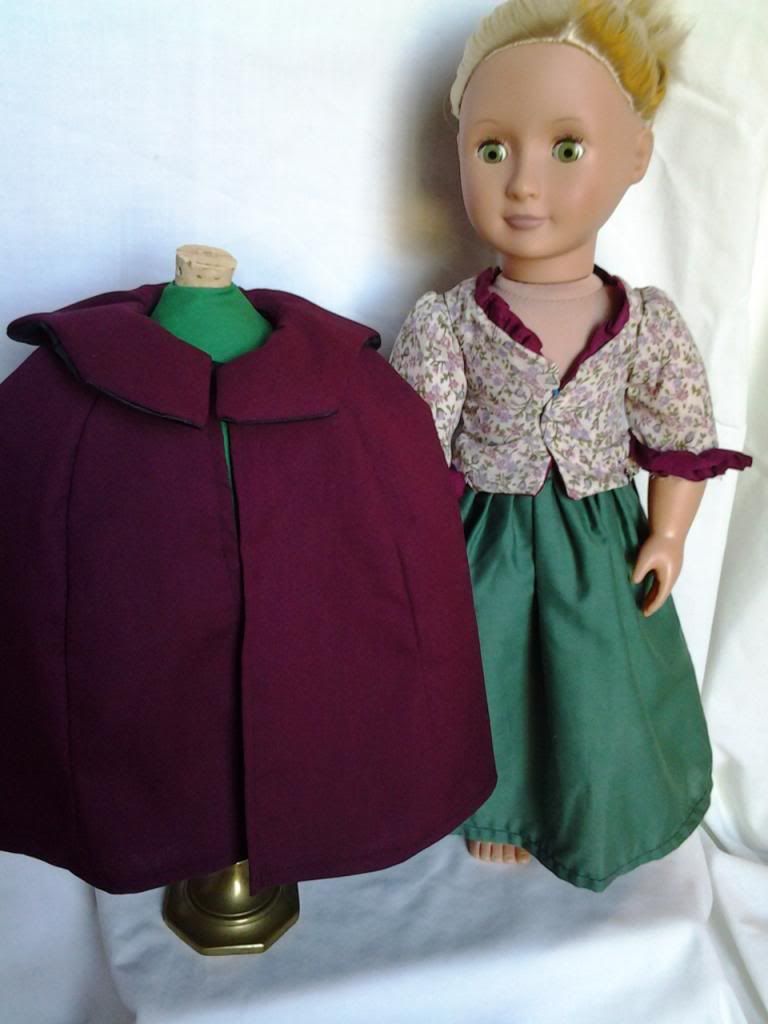
Well, I eyeballed this broadcloth and realized it was just the right ‘heavy weight’ to try the cape I had been wanting to make – Samantha’s cape from the American girl line.

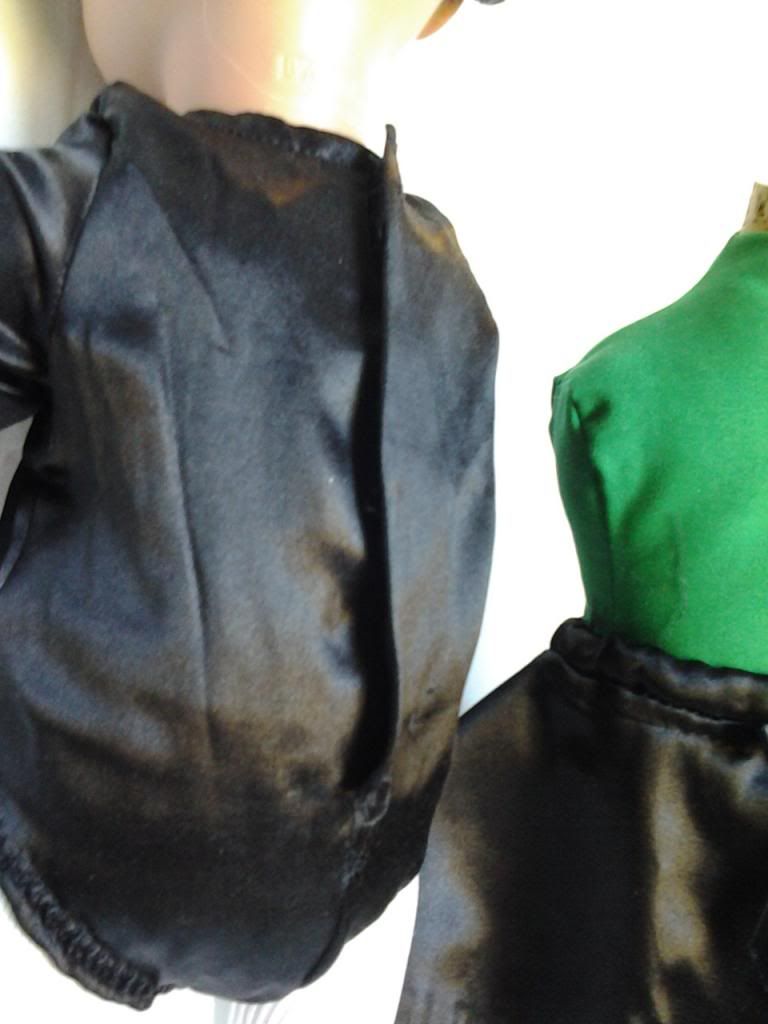
This seemed like a simple enough piece, especially because I wasn’t going to be adding trims or anything. (I just did the cape, not the hat, muff or boot pieces) I laid it out and cut out the pieces – I used the satiny black from the ballet outfit for the lining – and just constructed it piece by piece. Since it was fully lined, I didn’t have to worry about the satiny material raveling, which was really nice. And I opted to exclude the arm holes. In retrospect, I should have put in the arm holes because it would have looked much better, but the instructions seemed a little confusing to me, and I was having such good luck with the material that I just didn’t want to mess it up J

I think the piece turned out really nice and was just the right color to go with Felicity’s outfit!! How cute!!
 

Monday, March 18, 2013

Dance, ballerina, dance...then let's fix your shoe


Well I was ready to try my hand at another pair of those shoes I had made out of the stripy fabric – a nice black satiny pair. Plus I definitely wanted a nice non stretchy material to work with. I also got to thinking that I didn’t have much luck with the 2 attempts I made on the American Girl patterns, whereas I had a little bit of luck with the commercial pattern.

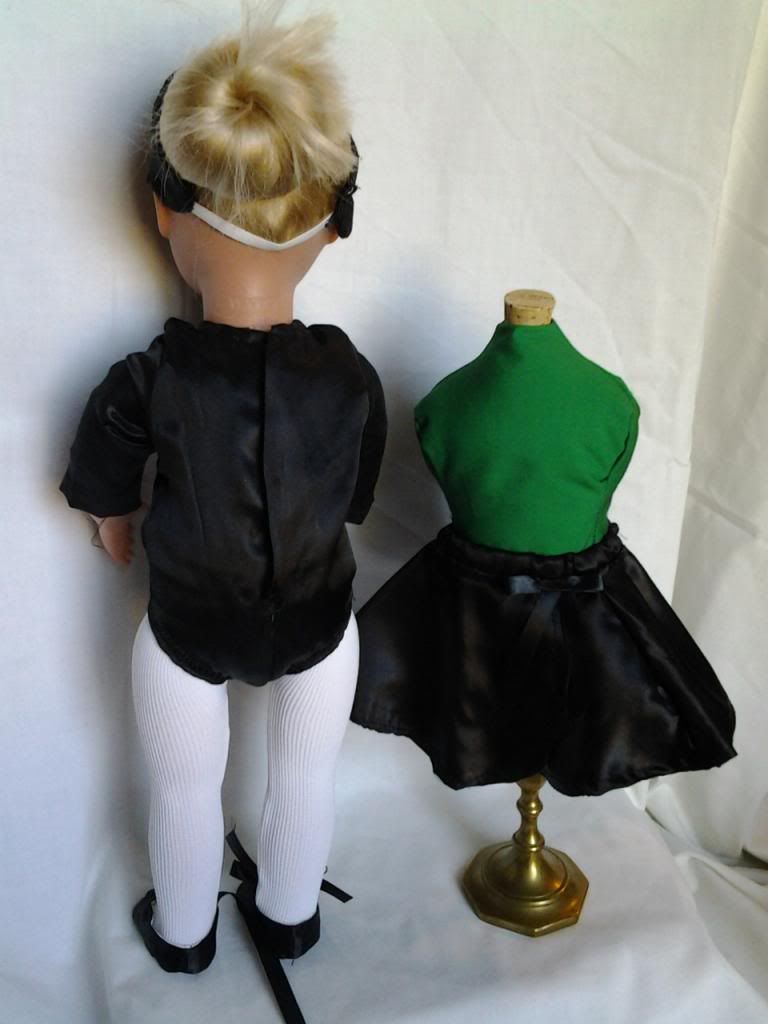
I chose the same McCall’s pattern as the winter outfit. This time I went with the ballet outfit in the lower right hand corner.

I had a nice black satiny material. I don’t think it was actually satin because one side was a softer, non-shiny while the other side was satiny and shiny. Not sure though.

I laid out my material, cut out my pieces and began to construct the garment. I think I did a pretty good job on the leotard, but again with my inability to follow directions well… I didn’t understand the back piece where the Velcro goes – at the bottom. I don’t know why I just can’t seem to get some of this, but I “winged it”. For some reason, it seemed to indicate that there should be a notch or something cut into the back and then I couldn’t figure out what to do with the notch, so I ended up just ironing it crisp and then adding the Velcro.


The leotard did come together fairly well. I liked doing the leg elastic and had all kinds of visions of making doll swim suits and people underpants. And I’ve discovered I have a knack for sleeves. For some reason, my sleeves usually turn out really good J

When I got to the skirt, I discovered that I am NOT good at hemming in a circle…I have a lot of difficulty with that. I can hem straight all day long, but hemming curves has proven a bit difficult for me. I’m gonna need some tips and advice on that, for sure.

I liked that this was a ‘wrap-look’ skirt – and I LOVE the little bow. I bought the black satin ribbon to make the shoes and it was just the right size for the skirt bow.


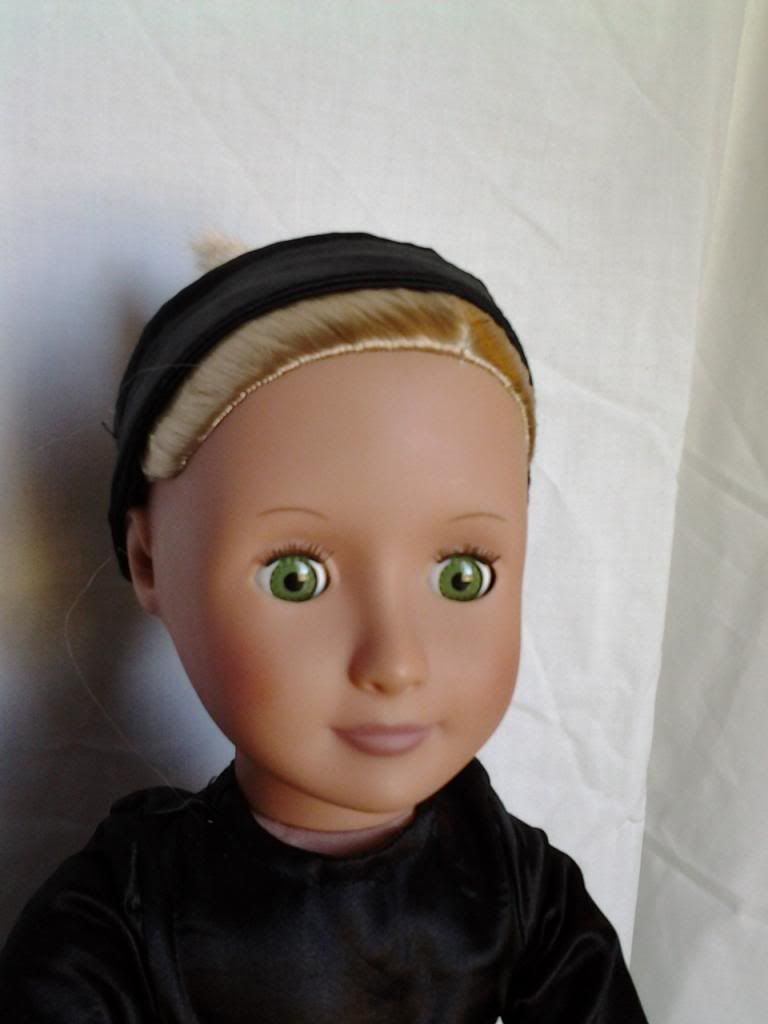
Then I did the headband. I know that shouldn't tickle me as much as it does, but I just think this headband is super cute. Unfortunately, I did one of the sides kind of cruddy and it already has come loose, so the headband doesn’t look as impressive as it did when I made it.


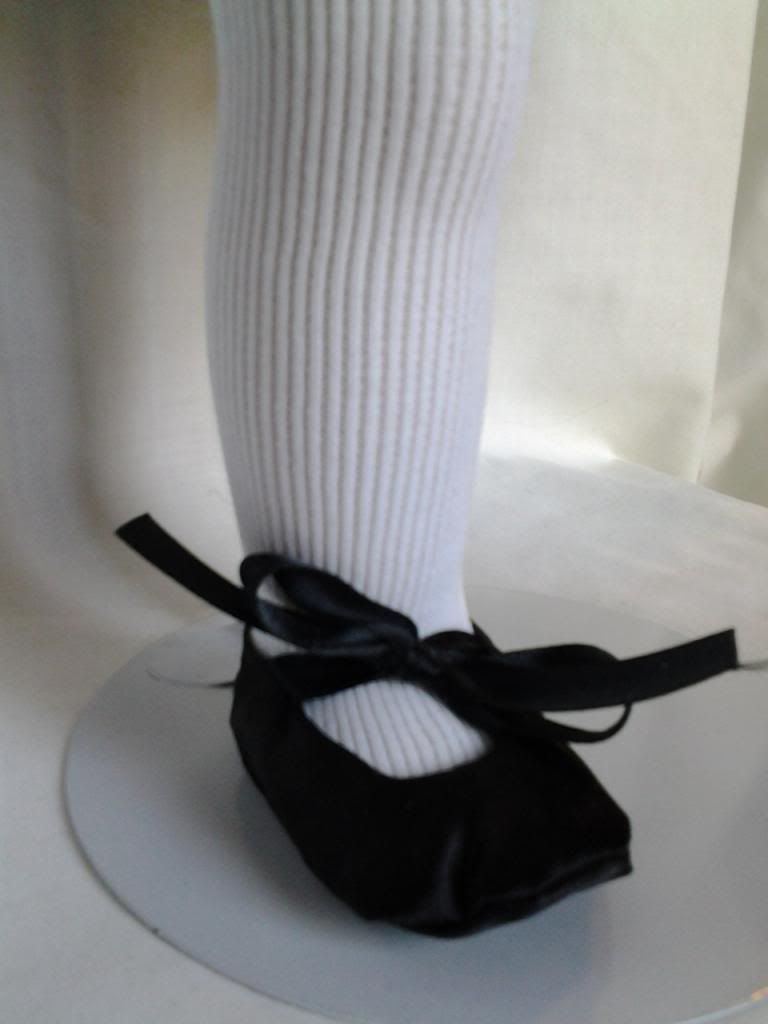
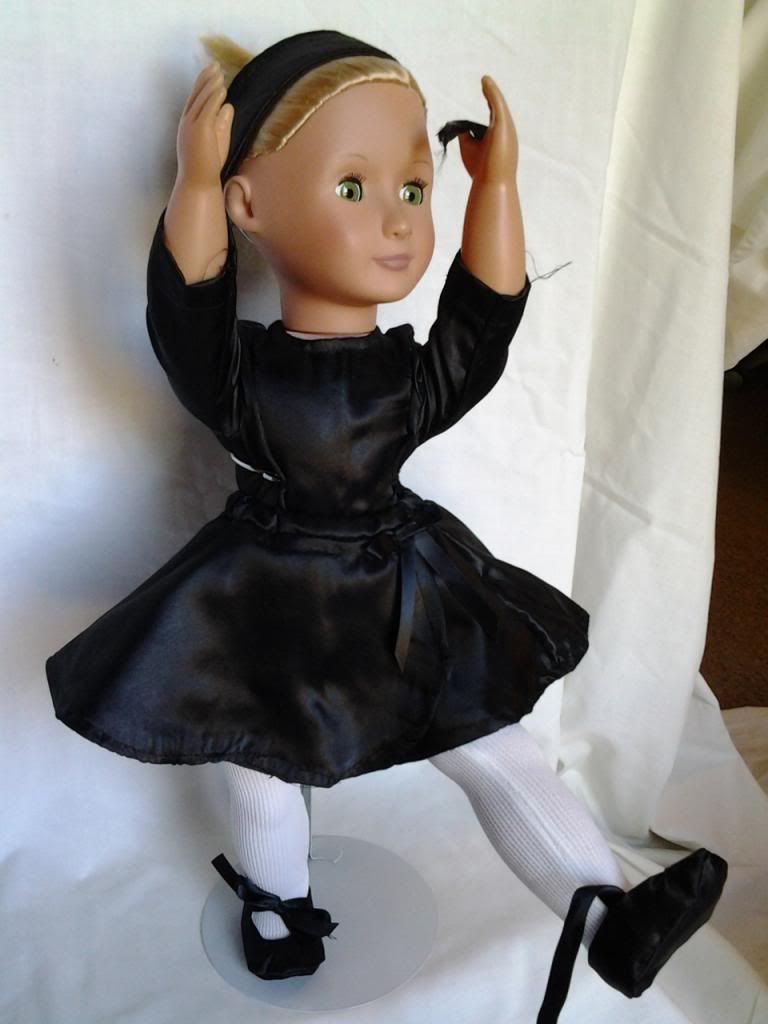
Then I did the shoes – I chose to do the shoes from the shoe pattern instead of the shoes that came with the ballet outfit. I followed the instructions really carefully but I don’t think they came out as nice as the stripy ones. I have found that I have difficulty shaping the toes well. I also didn’t realize until I took these pictures that I did not sew the ribbon on well, as one came off. See she’s holding it in that bottom picture… as if to say “tsk tsk such poor craftsmanship” ha ha ha


That’s ok. I give this outfit a strong, resounding sideways thumb. I think I did a mediocre job on the outfit, but I tried my best and am pretty satisfied with the final product.

Friday, March 15, 2013

FABULOUS tights!!

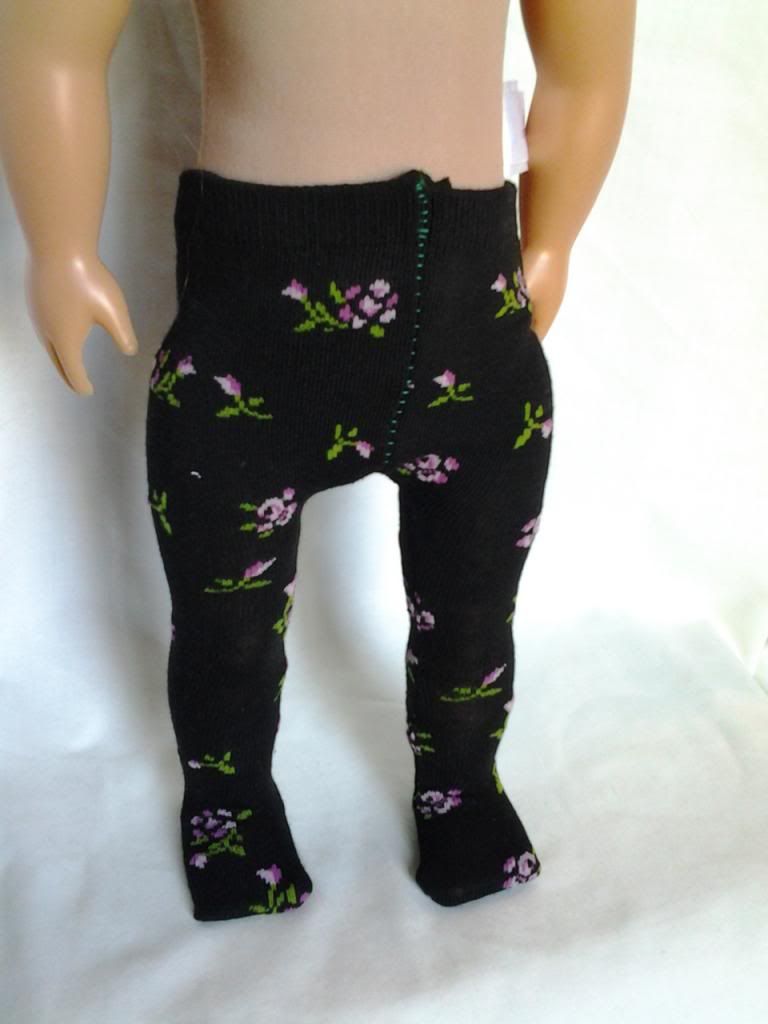
Well, I was pretty discouraged with the nightgown. I’d been surfing the internet looking for more free stuff and came across an amazing tutorial for making tights out of socks. I’d been back to it several times and was a little hesitant to try it because I’m not good at sewing knits and I didn’t want to ruin a perfectly serviceable pair of socks. I am hooked on great socks and try to wear as colorful and crazy socks as I can every day. So whenever I am out, I keep an eye for socks. Well, as the fates would have it, I was at the dollar store and found a cute pair of black socks with lavender flowers. I thought, you know, I can waste a dollar trying, right?


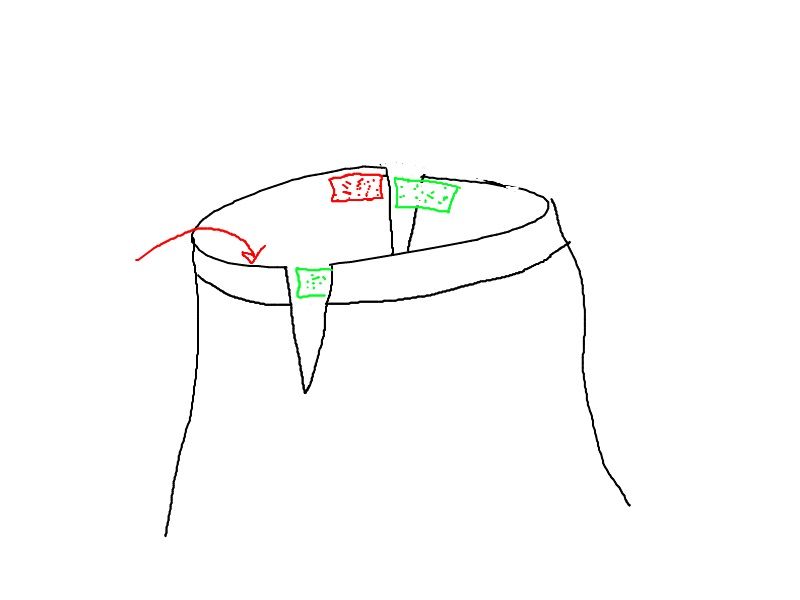
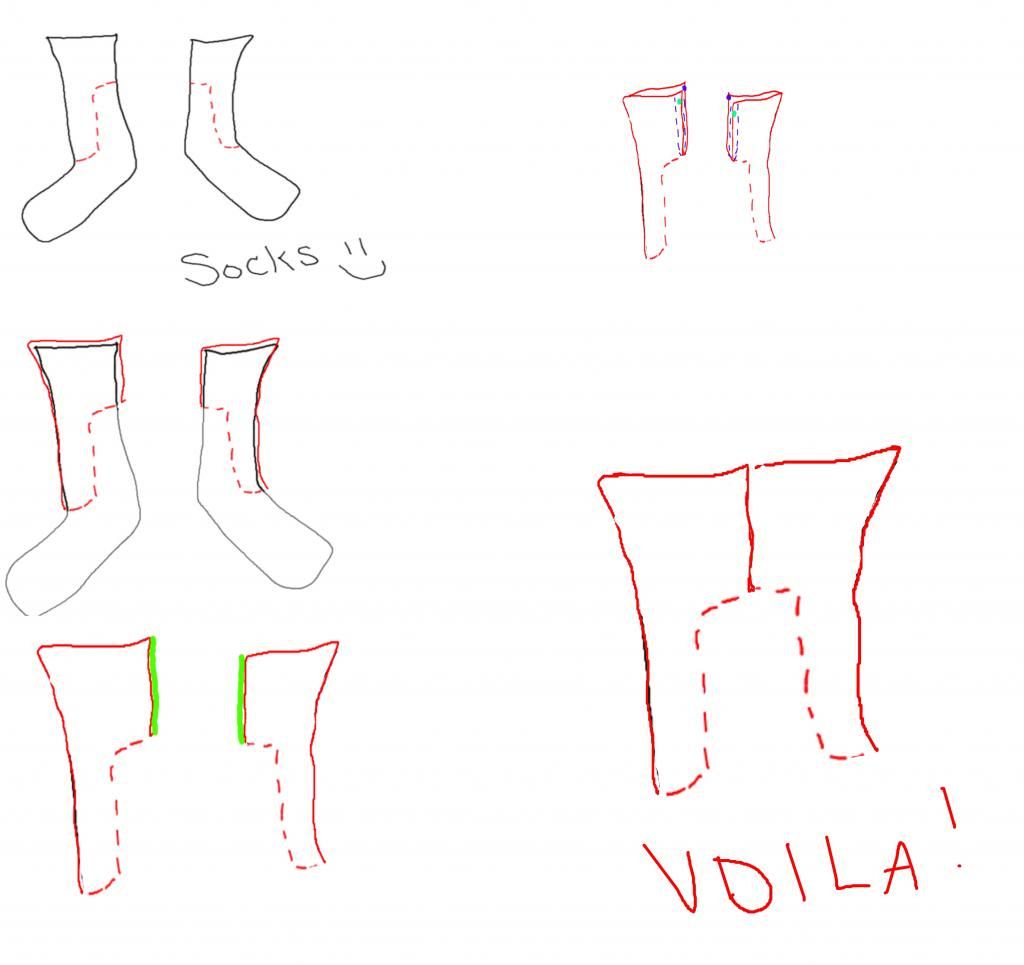
I finally just did it. I followed the tutorial exactly and was super impressed with how they came out. Basically, you sew, then cut an ‘L’ shape in the sock – see below


Then you cut the top edge (the green) then sew the top of the sock together to make the waistband.


They look great, they fit great, and I have a new hobby J I made tights out of every pair of socks I could get my hands on after that J


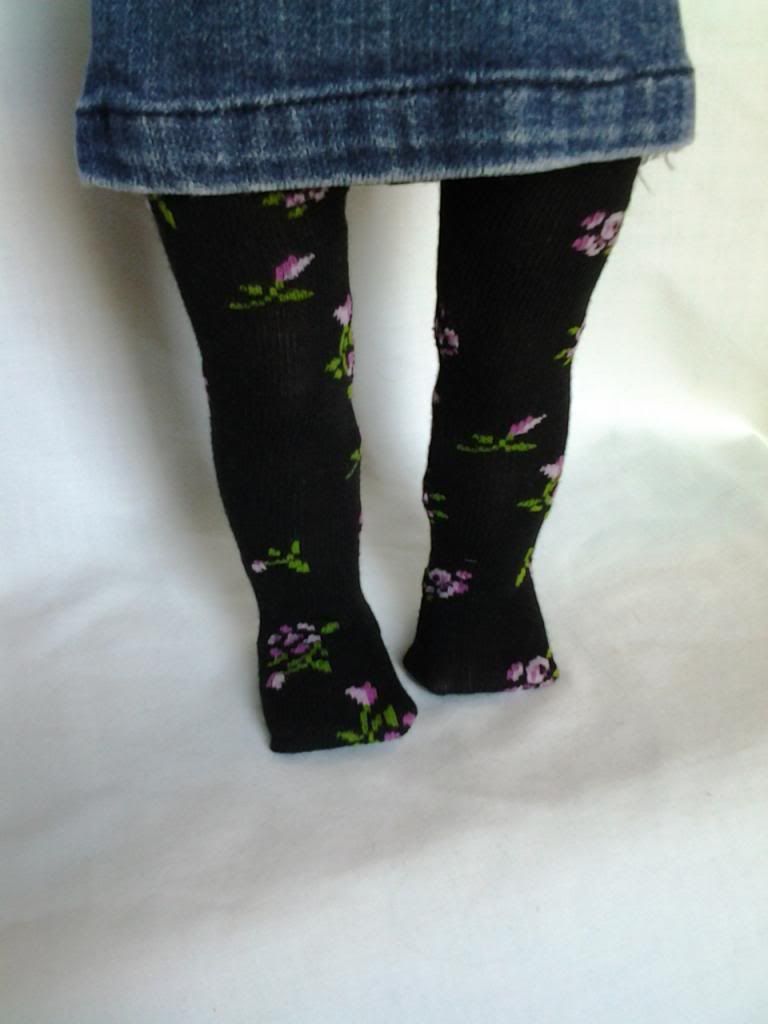
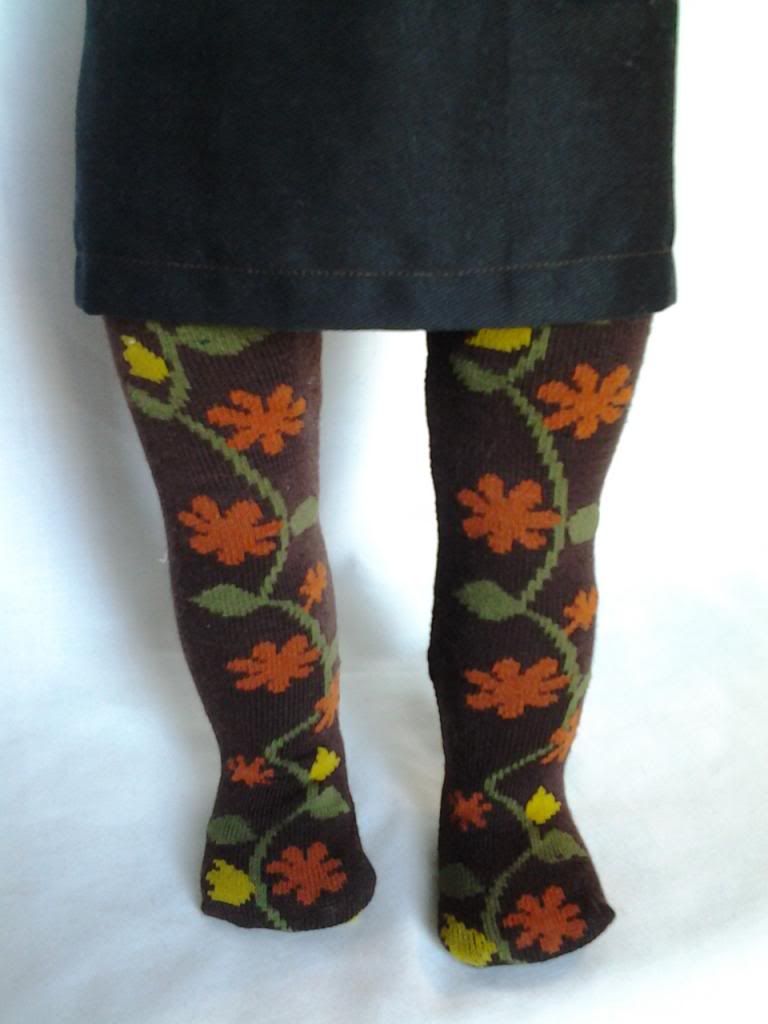
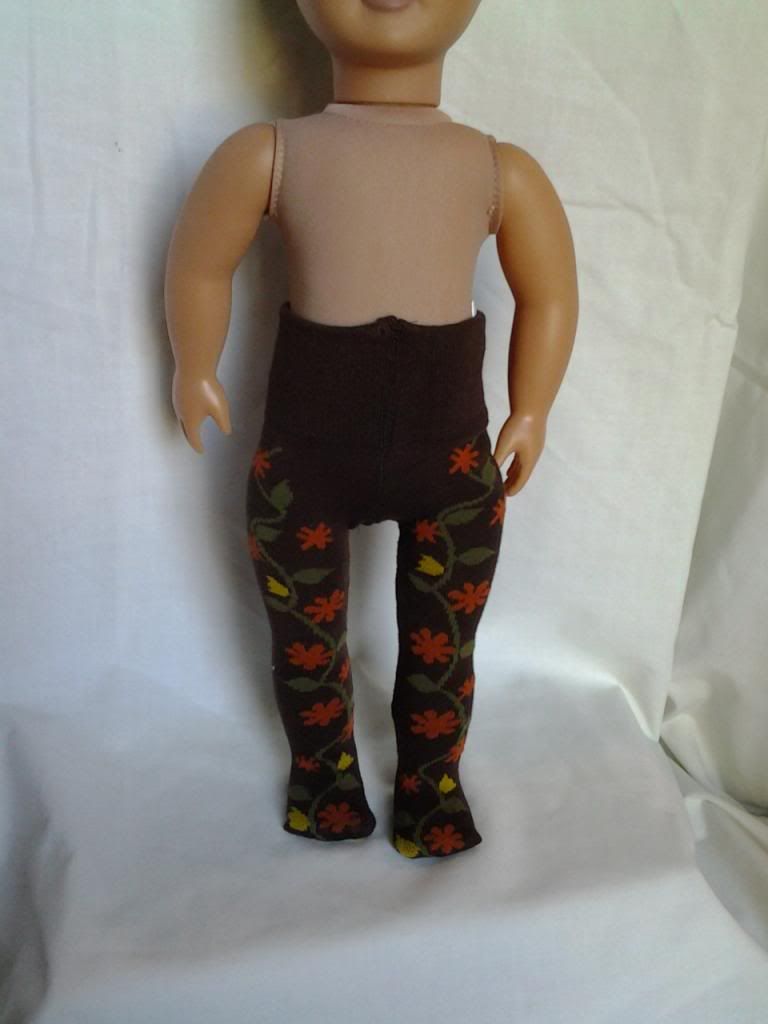
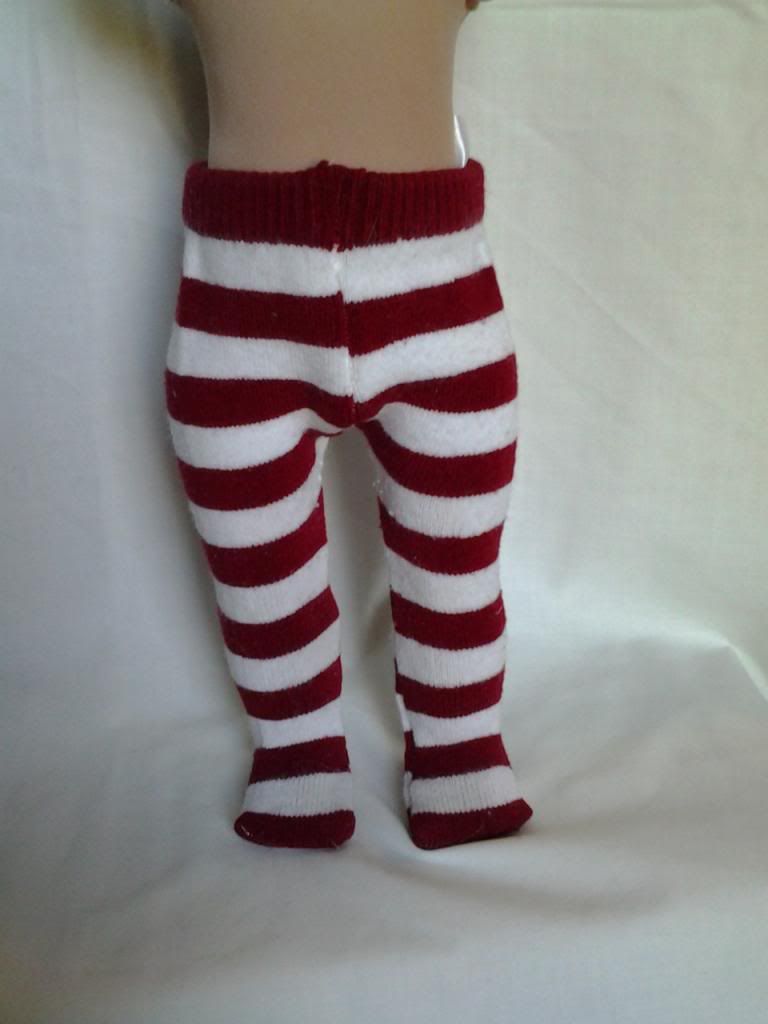
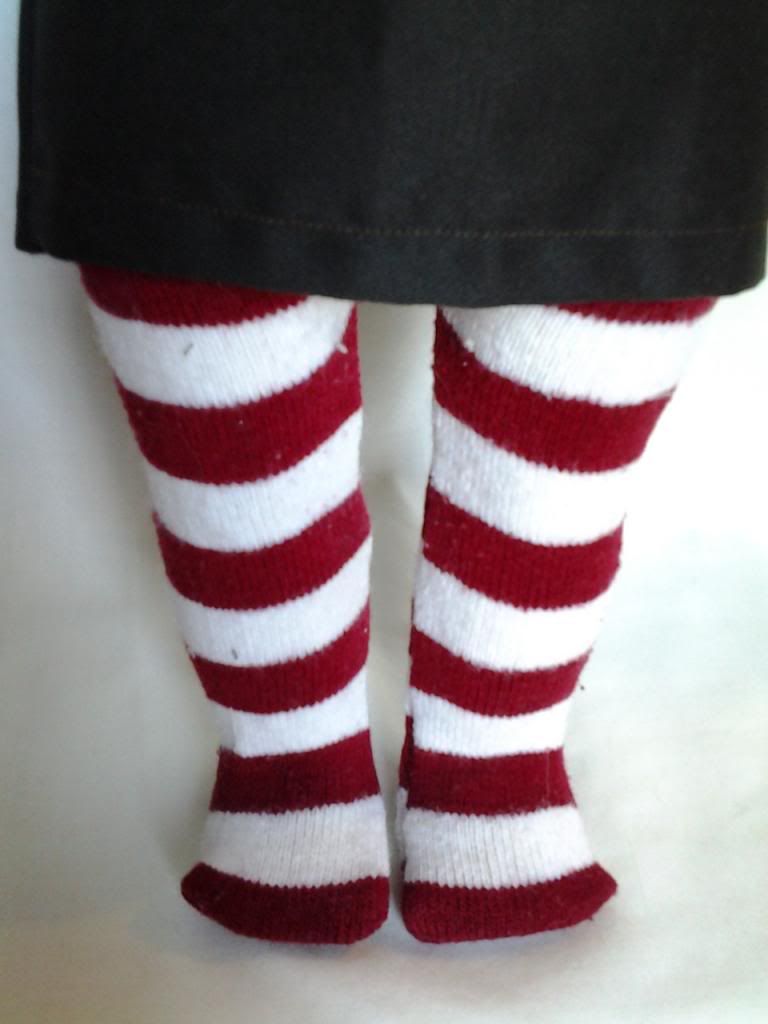
The flower tights


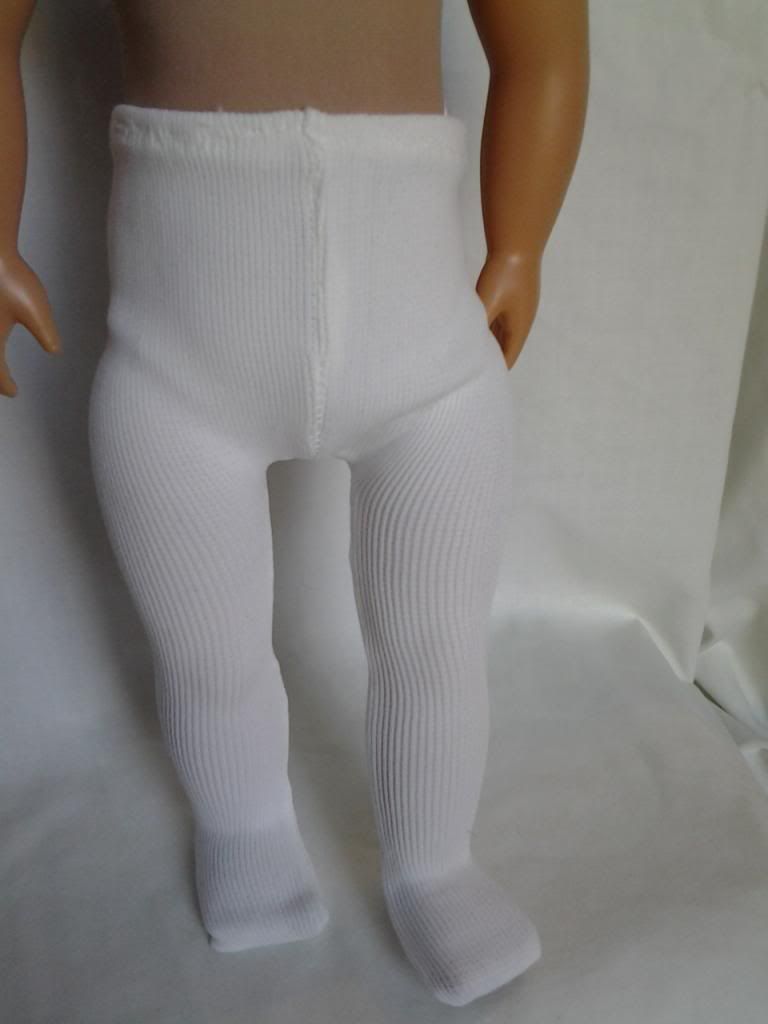
I did white tights out of a pair of thick knee socks


I did brown with pretty fall leaves


I did red and white stripes (these used to be toe socks J)


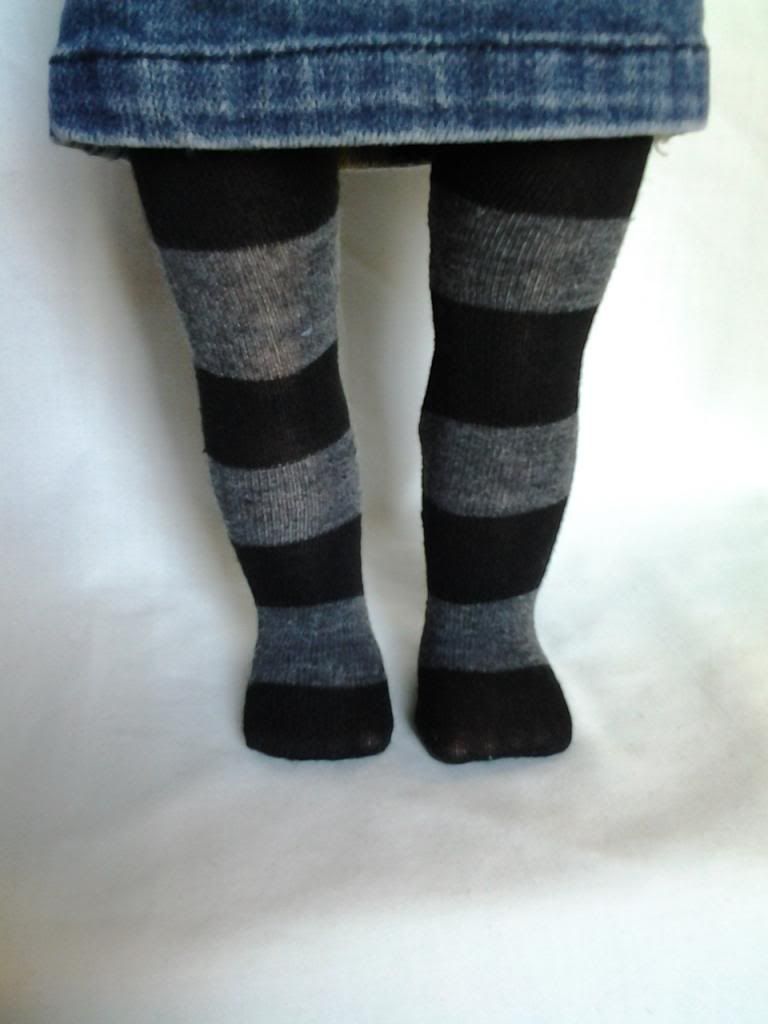
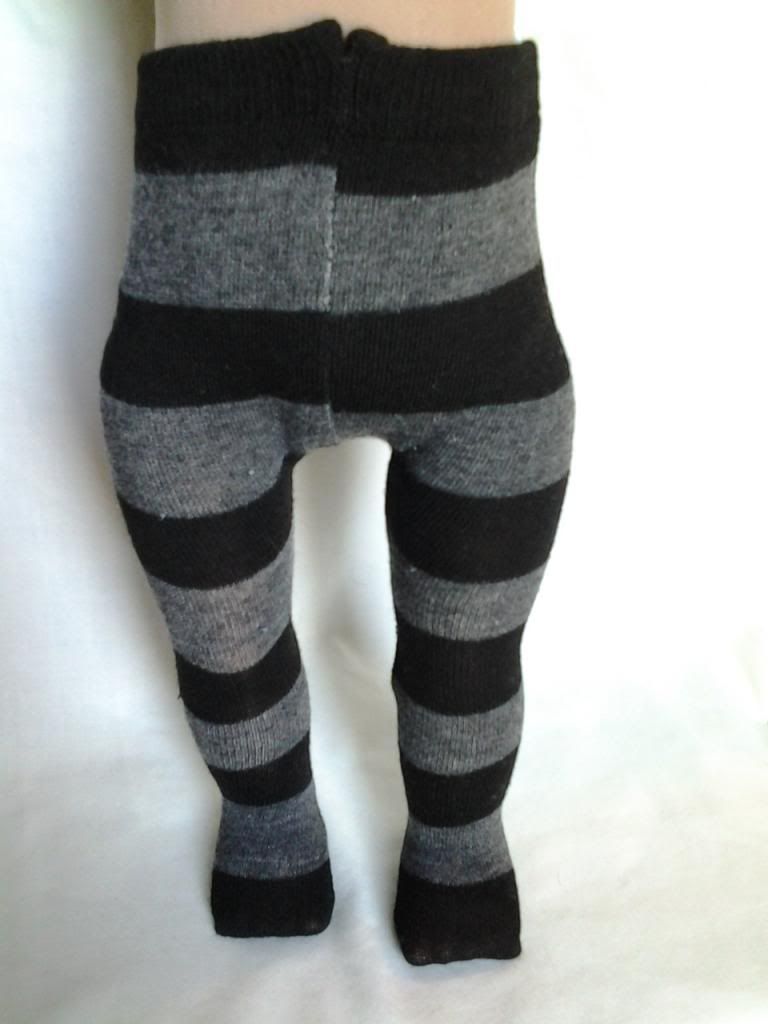
I did black and grey tights


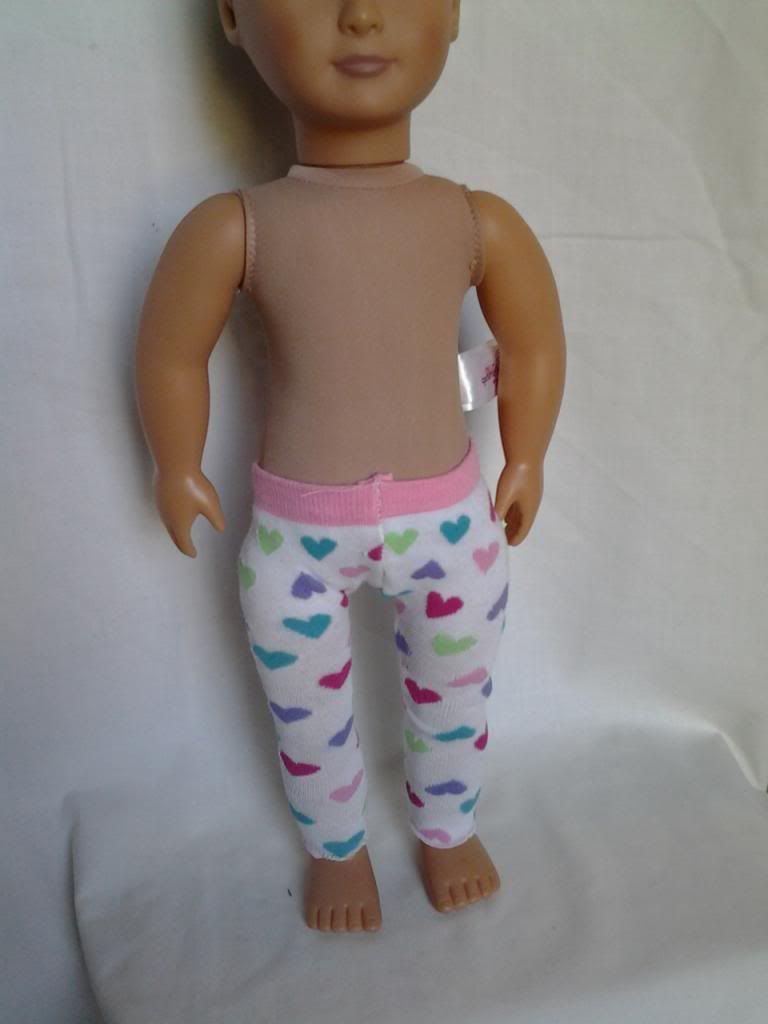
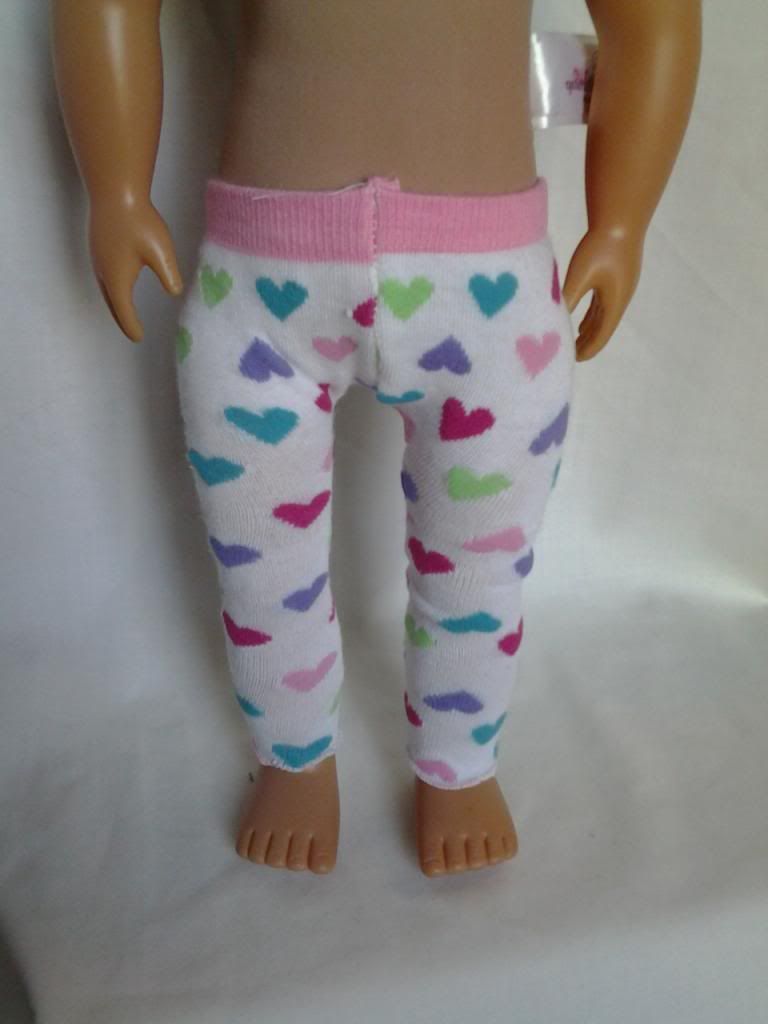
Now you guys know by now that I can’t quite call a project mine until I’ve messed something up… so here’s that part: I got carried away doing tights and since its not really a “measured” piece, its just “eyeballed”, I ended up making some of the ‘L’s (the legs) too skinny and too short. Because of that, they don’t look quite right on the doll – they are obviously too “small”, so I cut the feet off and made them footless tights, or leggings J


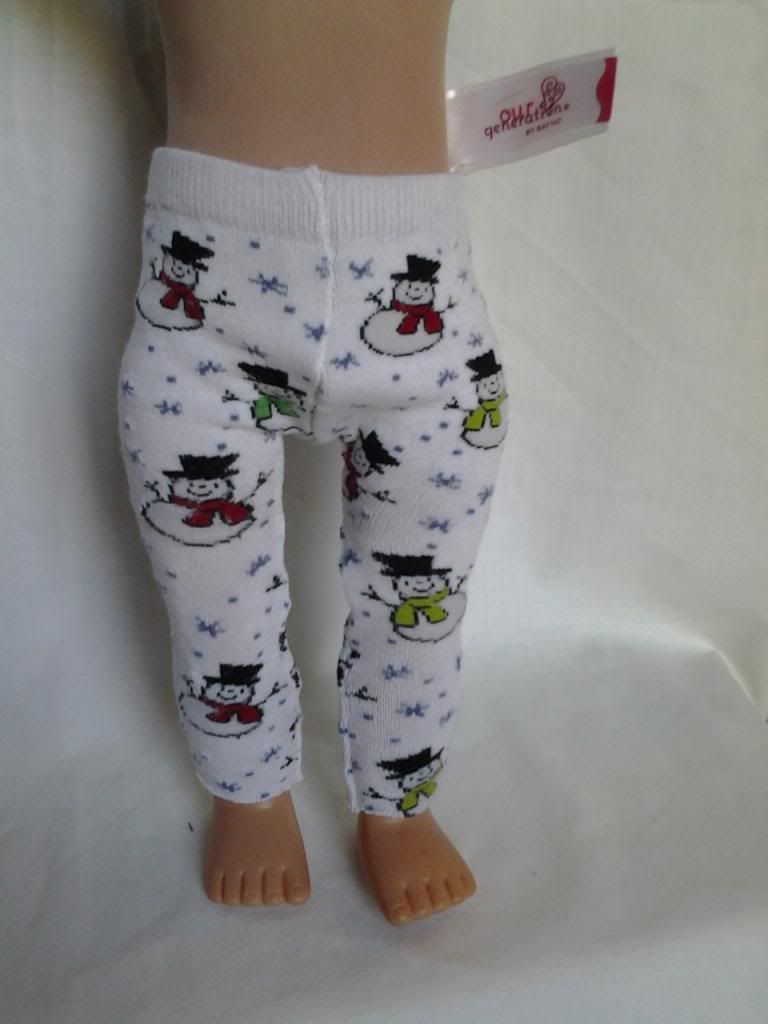
If you look closely, you can see in the one with the hearts that on the lower left leg (on the right in the picture) the hearts are all stretched out compared to closer to the waistband. That’s because I cut them so badly. They look good as leggings though, and were great practice! The snowman socks were mine – holes in the heels and toes – gosh I loved those socks!


By far my 2 favorites are the black and grey ones and the brown fall leaves ones. Those were a taller sock, which gave me a little more room for error – knee socks are perfect, crew-length are just fine but ankle socks just don’t cut it.


I give the tights huge thumbs up – even the tights-turned leggings J


Thursday, March 14, 2013

Too good to be true


Well, working with the fleece and the dress form really bolstered my confidence so I decided to move forward with my next project. In my searches for free doll clothes patterns on the internet, I have come across so many wonderful blogs devoted to dolls, doll collecting, doll clothes, and best of all (for me J) doll clothes making!

I’m not too good at this whole blogging thing yet, but as I get better and learn more, I will be adding those places to my blog.

One of the things I came across is a fantastic page that has all of the original American Girl doll clothes patterns the company released. For free. I am in 18 inch doll clothes making heaven!

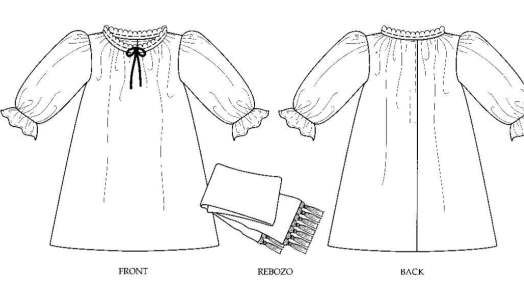
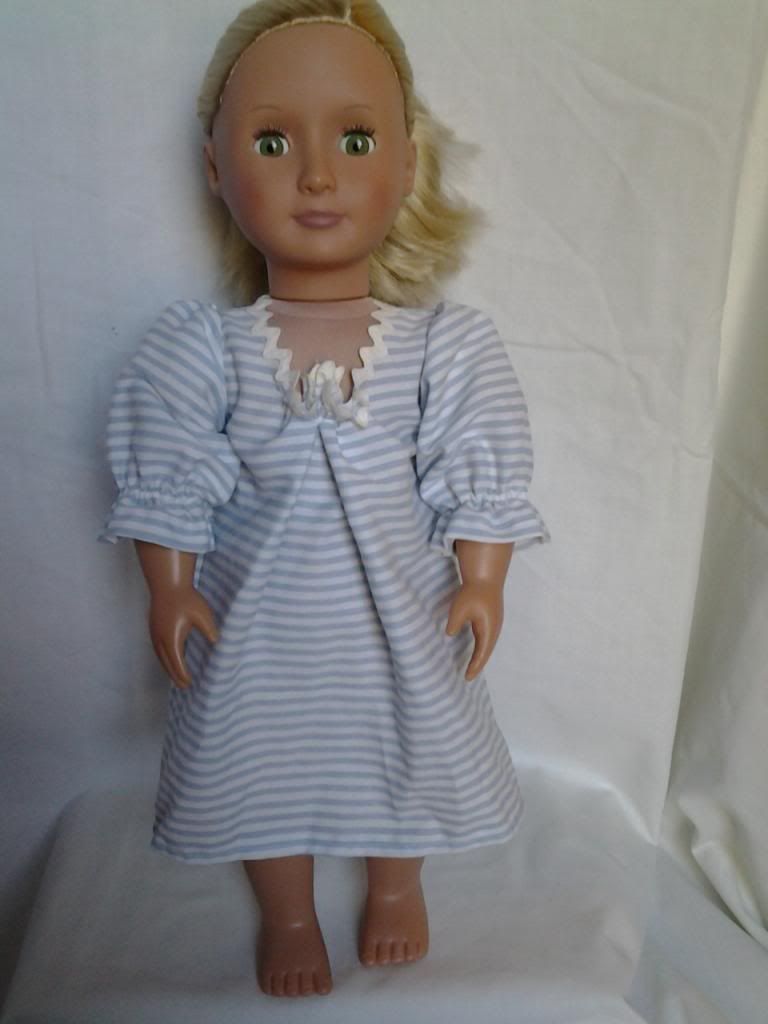
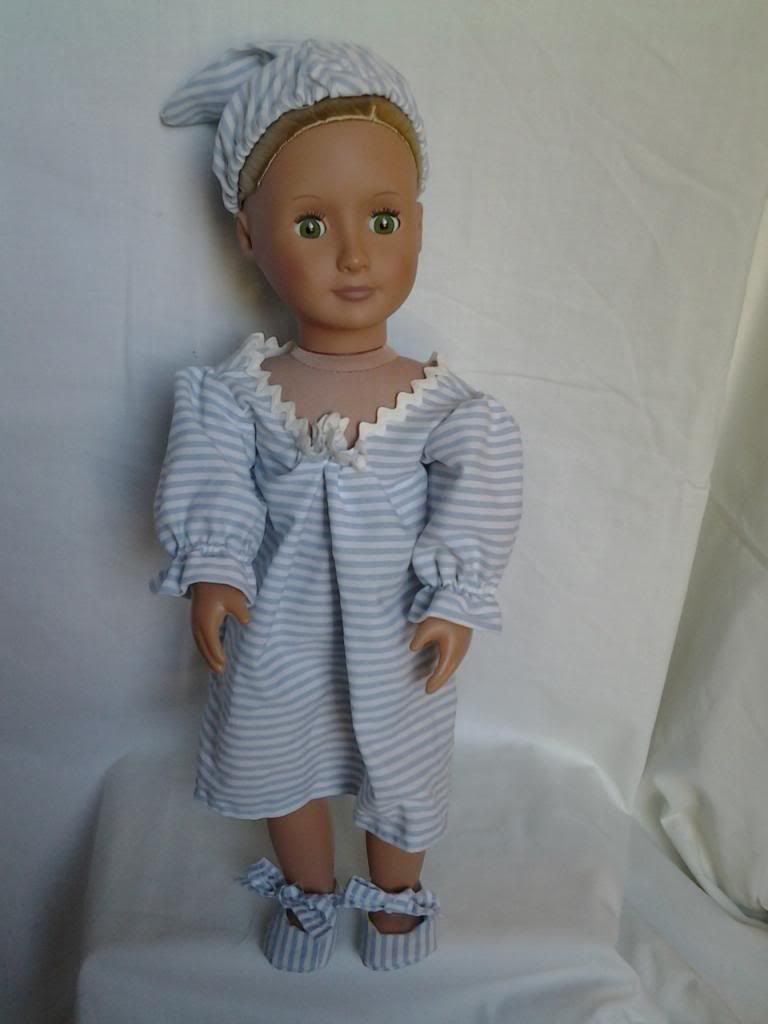
The first piece I decided to make is Josefina’s nightgown.
I didn't do the rebozo
 
It seemed fairly simple and straightforward. My mistake? Not reading the directions thoroughly… I know, I know, if I am a beginner, I really need to be paying extra close attention to the directions.

I have a stash of top sheets in my fabric collection – I chose a white and light blue striped sheet that I had been using as a cover for my fabric shelf. (I just threw the sheet over the messy shelf when company came over J)

I cut out the fabric, making a real effort to keep my stripes in the right spot – you’ll see what I mean when you see the pics! Then I started to construct the garment.

Now I must pause a moment to talk about confidence. I read that as your confidence in sewing increases, your stitch length should decrease. A larger stitch, like a basting stitch, is easier to take out. Beginners know that ‘easier to take out’ means ‘when I make a mistake’. And since I make LOTS of mistakes, my stitch length has always been set to the longest possible.

My machine, for whatever reason, doesn’t have a good ‘baste’ stitch – my longest stitch is actually much shorter than a baste stitch and it has been the only length I sew on  - I need all the help I can get when it comes to fixing my mistakes J

But if you remember my machine broke and I was using a loaner – that machine has a nice long baste stich. I was surprised to see how long; it made me realize that I shouldn’t be sewing on the longest stitch length always.

Also, the shorter stitch length makes a more professional-looking garment that is “held together” better, obviously.

So for this project, I decided to shorten my stitch length. I figured if I needed to use the seam ripper, I needed to use the seam ripper, right?

So I am starting to sew this nightgown together, and not only are my stitches perfect, but all of the seams are straight, the stripes line up, I mean this piece was getting ready to be my magnum opus here! Since I felt so satisfied and confident of this piece, I felt OK to change something: the instructions say to sew lace to the neck line but since I have never sewn with lace before, it was a bit intimidating to me, so I opted to just hem it instead. No biggie, right? Here I am thinking that NOT using the lace would make the project “simpler” – ha ha on me…

I completed the nightgown and was just so impressed with myself that I decided to add a bit of rick rack to the neck instead of lace, congratulating myself on doing such a neat and careful job. So I continued to follow the instructions to the end and then I got to the part where it says to “add a ribbon to the lace” (some of you more experienced seamstresses probably see what’s coming, right?) I had absolutely no idea what that meant, but since I wasn’t using lace, I figured that part didn’t apply to me…

Let me use this opportunity to say that when I chose this pattern, I didn’t pull up the website to see what the “store bought” version looked like. Had I done that, this project would not have gone as awry as it did L here is the nightgown that American Girl sells.
Anybody figure out what I did wrong?
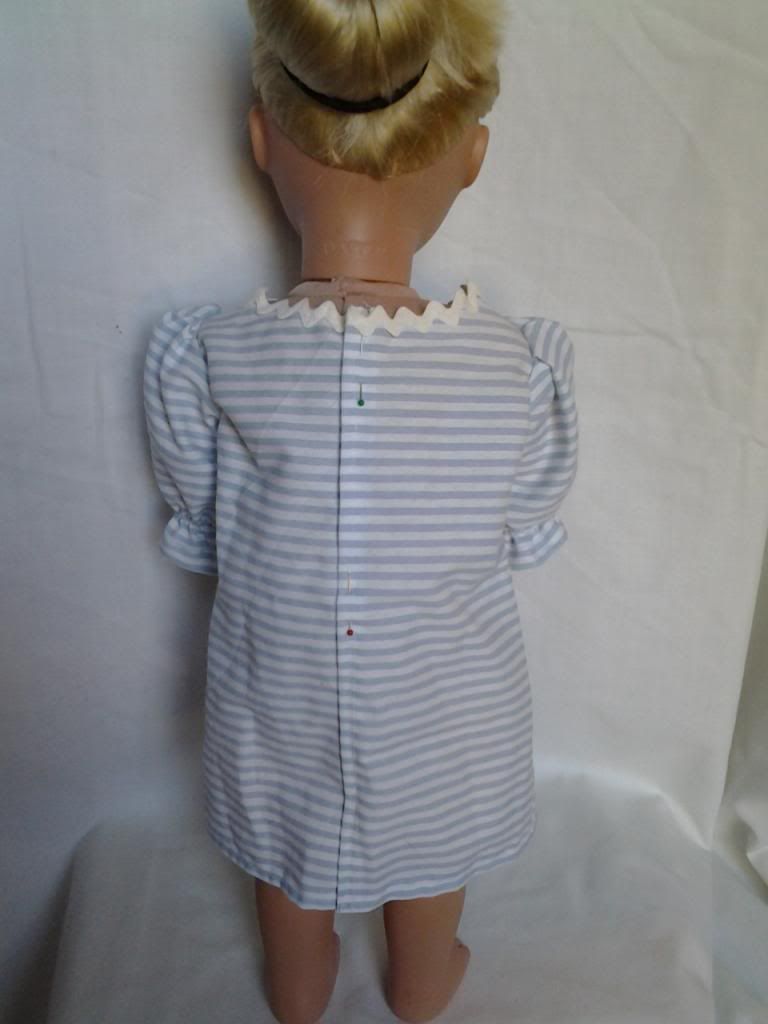
I sewed in the rick rack, still congratulating myself on a job well done. Check out the stripes in the back: do they not line up perfectly?


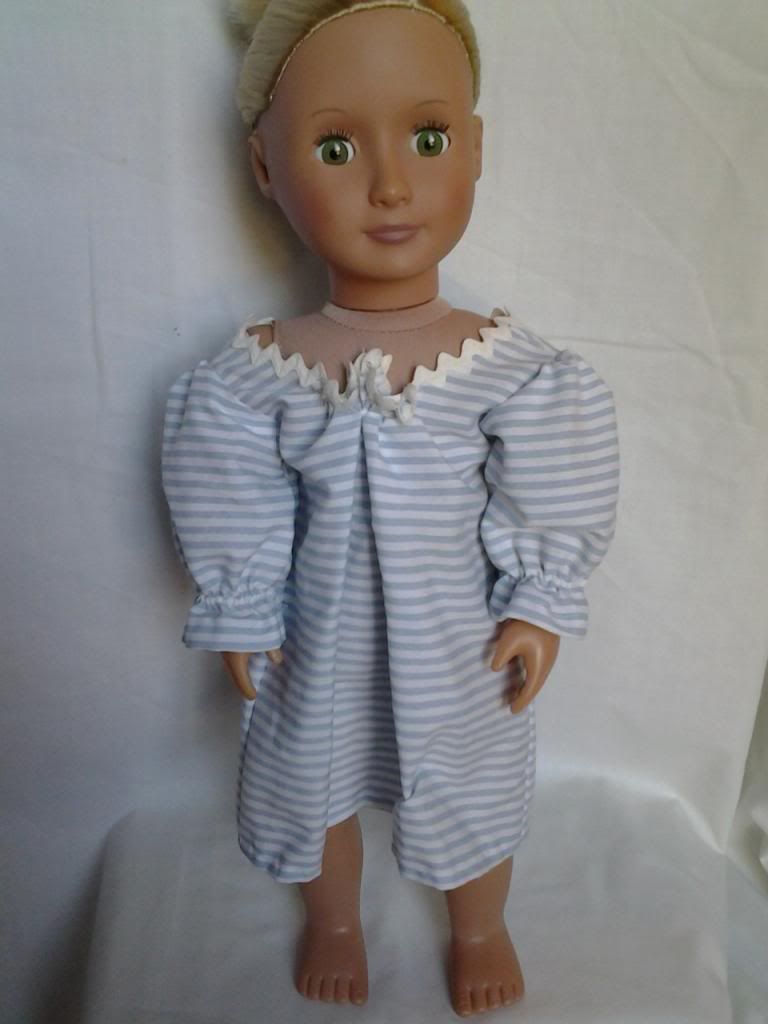
Well I finished and gazed upon this lovely garment I made, not really noticing how big the front seemed to be in relation to the back… I put it on the doll and was shocked!! You could have fit 2 dolls in this nightgown!! It looked terrible!! Unfortunately, I did not take any pictures of this catastrophe – I wish I had. I was crushed! The back was perfect, the front was perfect, the sleeves looked great, where did I go wrong??

Well, apparently, the part I didn’t understand about adding the ribbon was that the ribbon was meant to weave in and out of the lace, creating a drawstring for the neck…
So here I am with this massive front (gorgeously sewn…) perfectly fit back (gorgeously sewn) and me not wanting to even fix it because I’ve never sewn anything so neat and tidy before. L
Now, I have learned a bit since this sewing disaster, so I know now I have some options to fix something like this, but at the time, I was flabbergasted. I chose to add a small piece of elastic to “suck in” the neck line. It only brought the neck line in marginally. So I added a second piece of elastic, thinking it might help. It didn’t.
 So I had a good cry at my beautiful garment that turned out ugly and told myself that if I could sew so nicely on this one, I can sew just as nicely on the next one! Back on the horse, right??


PART 2

In the meantime, one of the projects I was interested in was making some shoes. This is kind of funny to me because I refuse to buy this doll any store bought stuff since I am making the doll stuff to practice sewing, not clothing a doll for fashion purposes, you know? The thing is, I’m still a woman, and the thought of not having a good pair of all-purpose shoes to wear with the outfits I’m making just bothers me for some reason. When I make an outfit, I’d like to see it showcased well…

So I decided a good, plain pair of black mary jane style buckle shoes would be a good shoe to go with many of the outfits I plan to make and I’d been debating whether or not I want to buy a pair just to be able to put shoes with the outfits, or if I am really adamant about not buying stuff for this doll. Not wanting to buy shoes when the purpose of even owning the doll is to practice sewing, I opted to make a practice shoe, similar to the type I wanted.
While pattern shopping, I had picked up McCall's 3469
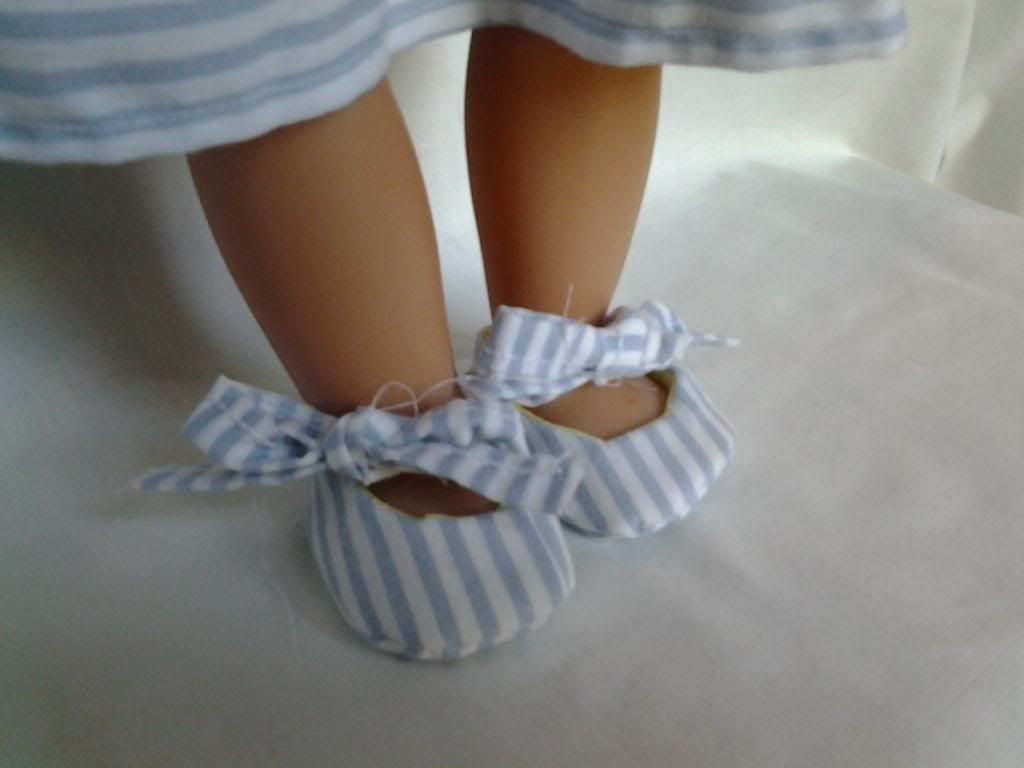
I chose the shoe in the lower left corner – the pink ones. I thought they looked simple enough and in black, would sort of look like a buckle shoe – with ribbon instead. I didn’t want to waste the black satiny fabric I had in case I botched them badly, so I decided to practice with “practice” fabric – my striped sheet.
The shoes were relatively simple, pretty straightforward, and gave me an insight into the basic concept of a how a shoe is put together. I used the fabric cut into strips and folded in half instead of ribbon and they came out really nice.


When I realized I had a nightgown and little “slippers” out of the same fabric, I went ahead and cut out 2 triangles, sewed them together, and hemmed the edge with elastic to create a sleeping cap. I didn’t measure or anything, so the cap turned out kind of dumb-looking, but altogether, the pieces look pretty cute together.


I give the nightgown a sideways thumb, the cap a thumbs down, and the little shoes a thumbs up!

Whattya think? J
Wednesday, March 13, 2013

A two-for-one


The next project is a two-fer J
I enjoyed working with the fleece so much and had stocked up during the 99 cents pattern sale that I decided to make my son something.

Lately my younger son has been taking the kitchen glove (that you pull the hot stuff out of the oven with?) and putting it on his hand and doing hilarious hand-puppet voices. What makes this particularly funny is that this child is too old for the whole hand-puppet thing and he knows it, so his hand-puppet antics are not cutesy little skits, but the observations of a slightly cynical, mildly incompetent hand puppet. As his mom, I find this both adorable and hilarious, but don’t tell him I said adorable J
Now what usually happens is this: he grabs the glove and starts chatting. We all laugh and because we’re usually in the middle of cooking something when he thinks to grab the glove, he’s using the only glove in the kitchen…so we have to grab it away from him to use, usually causing the glove-turned-hand-puppet to start “dying” and making gruesome noises amidst the peals of laughter from the peanut gallery…

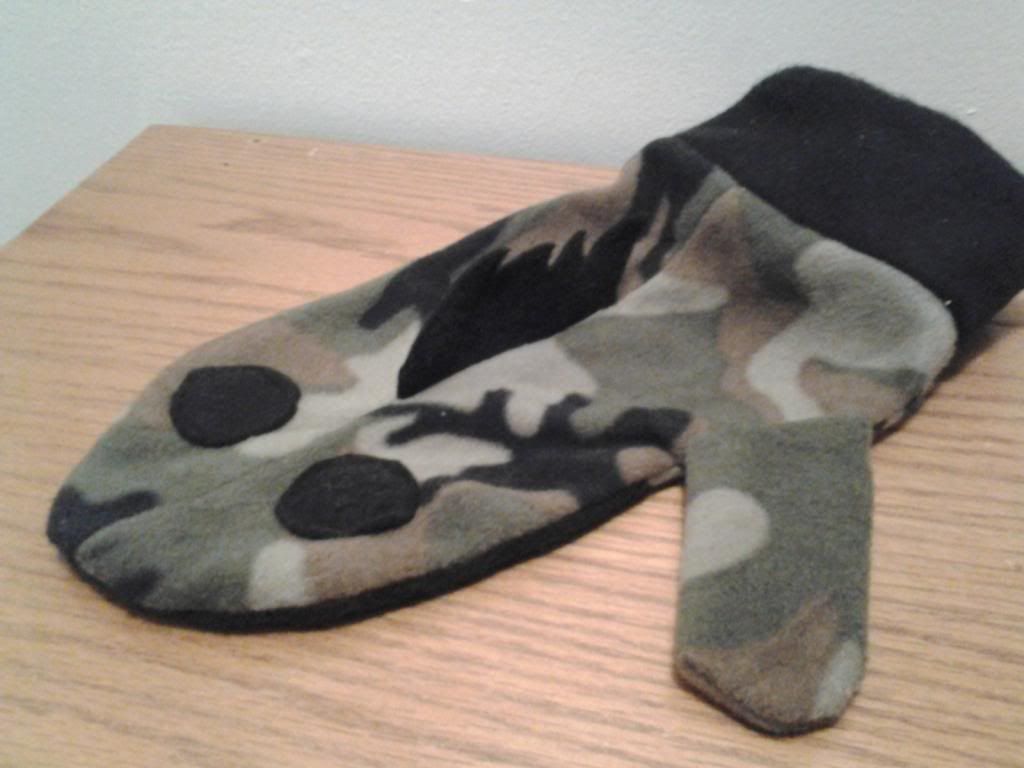
So I thought I would make him an actual glove to use. Its part serious (I made you this great glove) and part teasing him (oh the wittle man wants a cute hand puppet). I found the greatest pattern: McCall’s M6667 and just had to do this to make him laugh. The one I did was the gold fish-looking one (second picture in, with the froggy :))

I had gotten a lot of fleece from the remnant bins (remember less than a yard J super cheapJ) and chose a great camo fleece. I figured if I was going to make him something, even something partially making fun of him about, the camo would at least make it a little manlier J

I made a mistake in choosing the size. I assumed (and what do we all know about assuming???) that the pattern was sized for a child, so I chose the largest size – my youngin’ is a big ole preteen, you know. When I laid out the fabric and cut out the pieces, I thought they seemed a little big, but I knew that sewing them would reduce the size quite a bit, so I didn’t really think anything was wrong at that point.

The second part I really had an issue with was understanding how the thumb part fit into the glove part. I’ll tell you what; I scratched my head for a long time before I finally got it. Now I am no dummy, but for some reason, I just could not make it look like a glove! I pinned it every which I could, including the way the instructions told me J and it just didn’t look right. So I finally resorted to basting – I just pinned it as best as I could, even though it did not look right, and just sewed it in.

Well it worked J you ‘d think I’d have remembered sewing the mittens for the doll outfit not how many days ago?

The finished product was ADORABLE! By far one of the greatest things I’ve made to date. The only issue I had was that after seeing how huge the mittens turned out, I went back to read the sizes and they were sized for children and adults. I made the largest adult size…hmmm…I may make myself a pair J

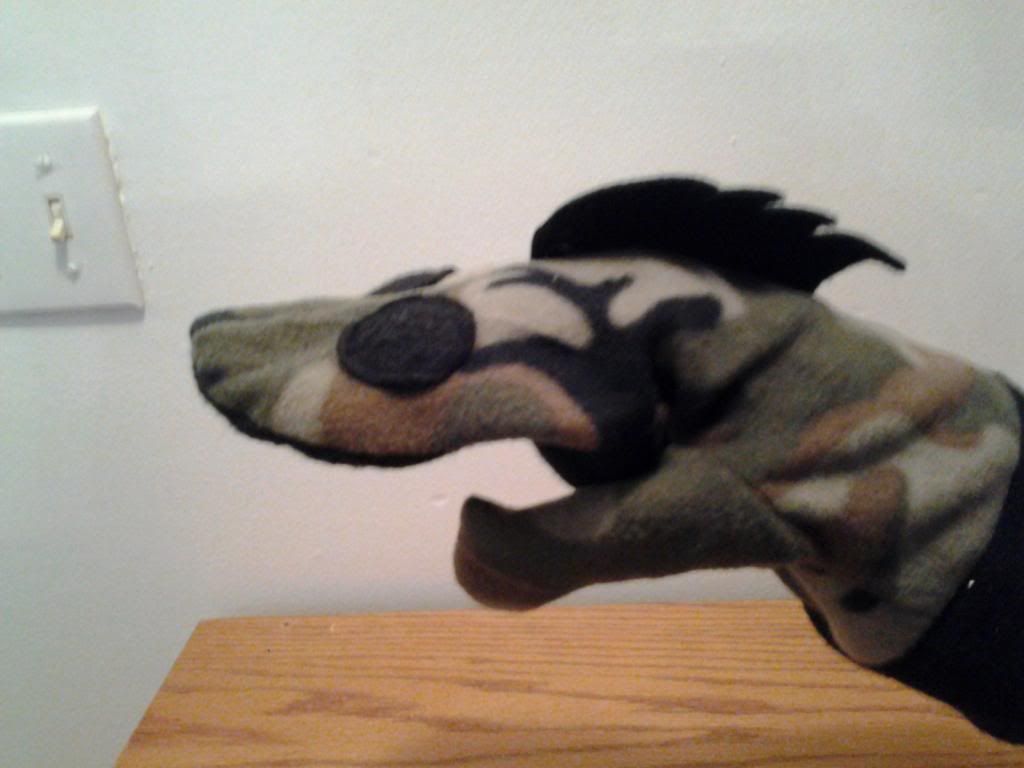
Aside from the hugeness of them, they did turn out great. My son laughed and laughed when saw them (I hadn’t told him I was making them) He put one of them on his computer over his pencil can so that it stares at him while he’s on his computer. Mom rocks!

Flat

On his hand

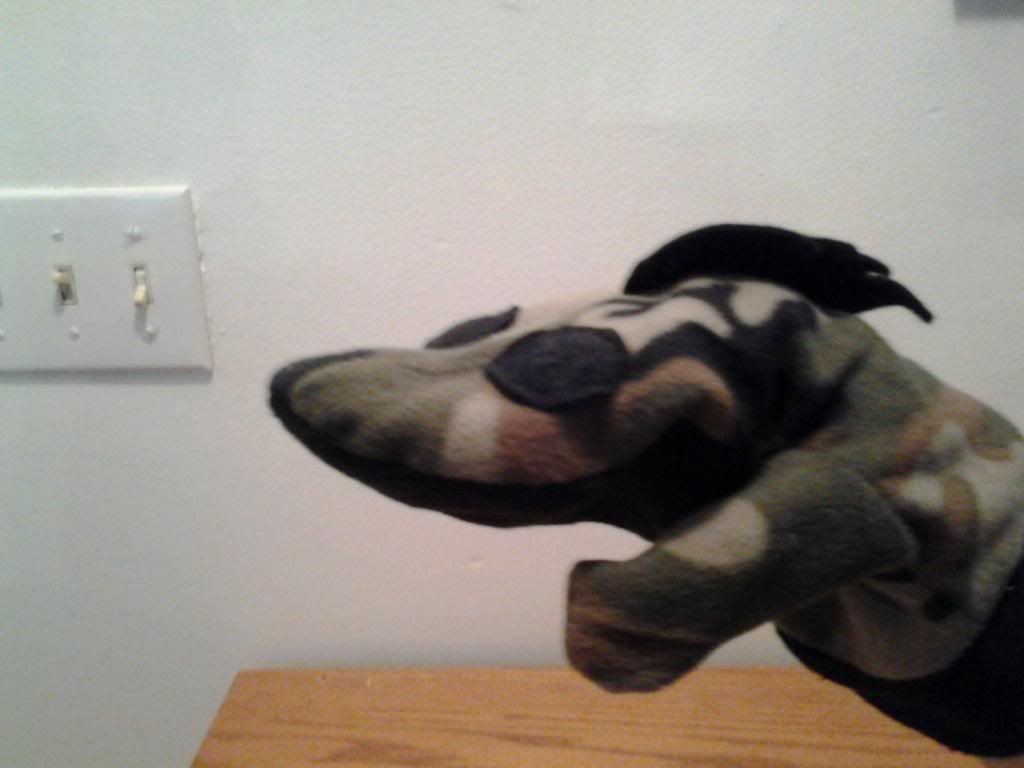
Smiling! How cute!!
 The little camo mitts for my kiddo took such a short time and I was so proud of my handy work, I decided to keep going. I’m really on a roll with these short, simple projects.

I’d been doing some shopping online looking for free doll clothes patterns that I could practice with (hey – free is better than 99 cents right?) and I came across Liberty Jane’s website. OOO MMM GGG am I in heaven. Moderately priced, fashionable, and even some free ones and support if you want to sell doll clothes one day? Oh where do I sign??

Now my only gripe is that for most of them, you only get 1 item for 3.99, whereas a paper pattern from Joann’s gives you 4-8 different items (usually) and I consider them 99 cent patterns(I know, I know, the patterns are regularly 14.99, 17.99, and up but I only buy patterns when they are on sale) However, 3.99 is quite reasonable and the folks at Liberty Jane are a family run home based business, so I am A-OK to buy her patterns J when I can…and my husband isn’t looking…ha ha ha

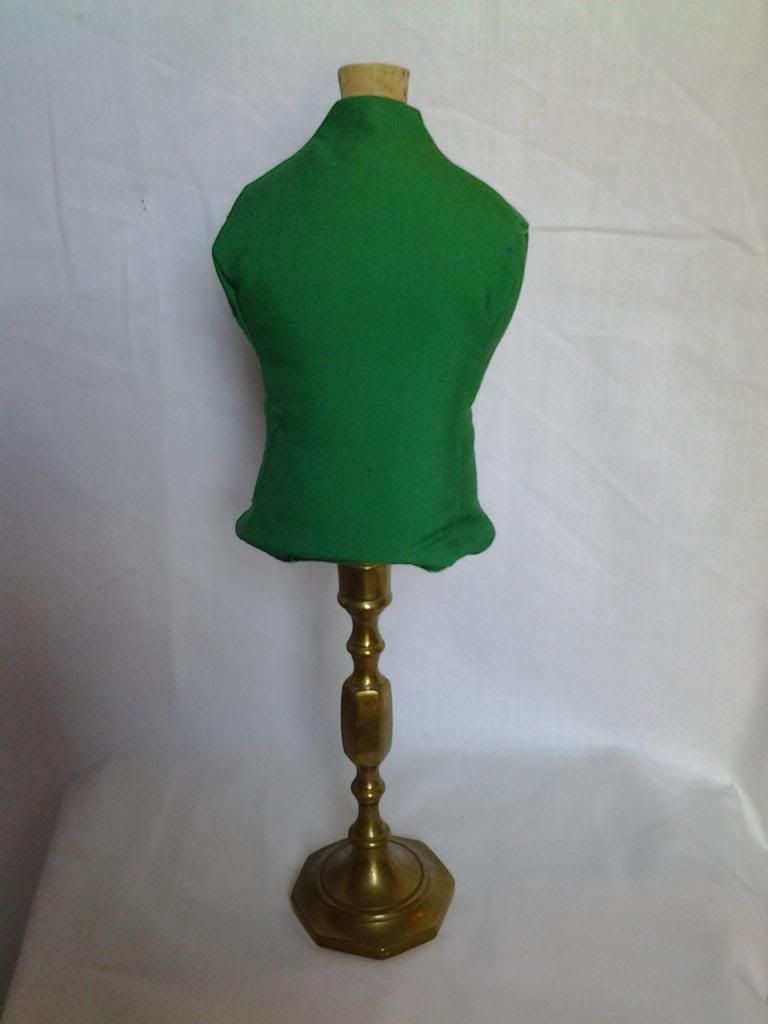
The first Liberty Jane pattern I bought was actually not doll clothes. I wanted to see if the patterns were good and since I had just gotten an actual dress form for Christmas from my mom (thank you mumma!!!!) I decided to purchase the doll dress form pattern from Liberty Jane!! (I have since purchased many patterns, but the dress form was my first J)
Side story about the dress form I got for Christmas: I was elated when I took it out of the box and set it up. It more wonderful than I imagined...then I turned the little dialies and set it to my own measurements... I was shocked!! Who is this fat girl in my living room??? The dress form didn't look so hot anymore! ha ha ha Time to trim down!!

Holy cow this pattern was fun! The pattern is set up so that you make the form, stuff it, and then put it on the “stand” which can be a candlestick holder, votive holder, or anything like that. How awesome is that? I decided I really wanted to do this all in one sitting, so I intended to go shopping for the candlestick holder beforehand, but then got to excited to start that I just made the top part and then went to the store. I’m such a goober!

I also knew I didn’t want to pay more than a buck or 2 for the holder. I mean, turning out a nice product is one thing, but remember this is all supposed to be practice so I get better, not make crummy expensive things because I need more practice.

My first stop was the nearest dollar store. I thought for sure I would find something there. NOO L I left feeling quite discouraged but then passed a thrift store on the way home J yay J I stopped in and sure enough, the most beautiful, wonderful (wax covered and dingy) candlestick holder was there waiting for me. I paid like 85 cents for it J SCORE!! It only took me a few minutes to clean it up and it was good as new!

So I had my form stuffed (the project really was just as simple as it could be) and the only trouble I ran into was learning to use the glue gun (I had never used one before J) and making sure everything was even.

And voila! Is that not the coolest dress form???? Thank you Liberty Jane!!

Monday, March 11, 2013

The ugly purple dress

Hi everyone!

Okay next up, I decided I was ready to plunge into my new hobby of making doll clothes and had researched the subject enough to realize that there are people on Etsy and eBay making doll clothes and selling them! I thought, you know, not only am I using the making of the doll clothes to practice sewing so I can sew people clothes, but if I got any good, I could sell my doll clothes. So my eventual goal is to get good enough to sell my stuff.

I don't anticipate that being any time soon...

So here we are at the next attempt. Joann's had a super-dee-duper pattern sale. For those of you who don't know me, I absolutely cannot pass up a Joann's 99 cent pattern sale. I stalk their ads, hound my aunt and show up at opening the morning of the 99 cent sales. I love me some 99 cent patterns :)

Here's what I picked: McCall's M3900 [top middle pic]

So I got a cute dress and thought the concept might be simple enough: bodice front, bodice back, skirt front, skirt back, puff sleeves – simple right?


Except you forget that I am the Shaky Seamstress and while my bravado is extremely high, my skill is still quite low and my attempts quite shaky.


I started this project by picking the fabric. Check the About Me for my behind the scenes in my fabric stash :) Thank you to my sewing matriarchs.


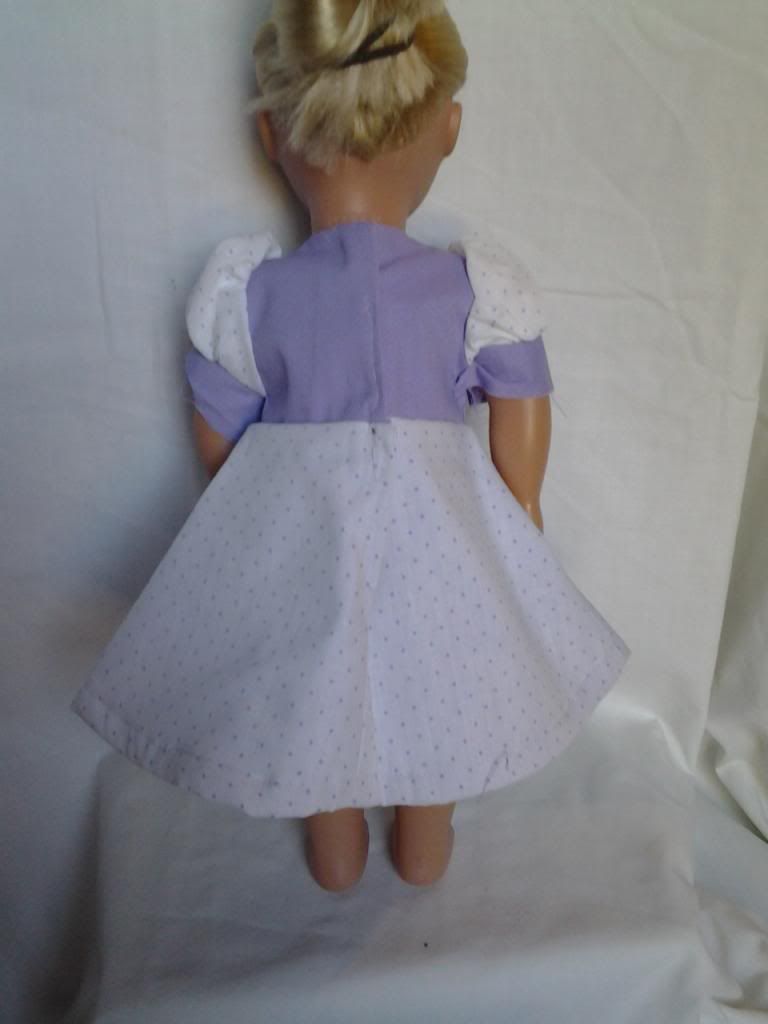
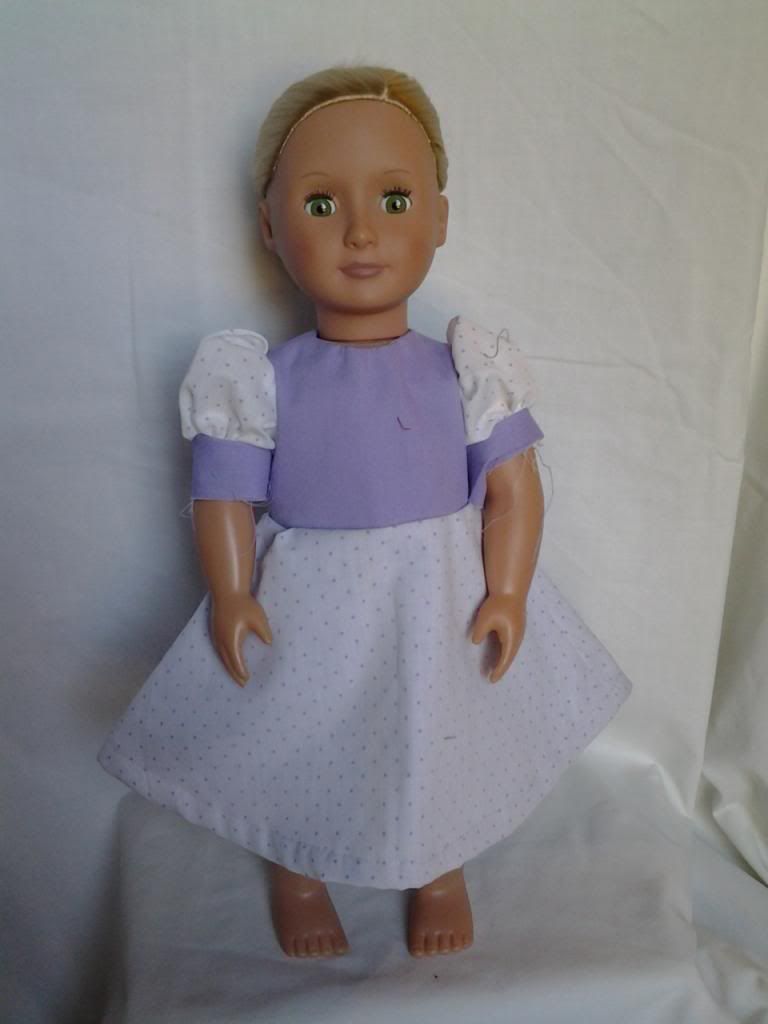
I decided I wanted to use 2 of my coordinating fabrics – so I picked a heavier purple for the dress and bodice and a lighter white with purple dots for the sleeves. I even got cocky with this one and decided I wanted the skirt piece to be the purple with the white over it for a nice “2 skirt effect”...


I've got hiiiiigh hopes
I've got high apple pie in the skyyyyyyy hopes

Sigh...


So I laid out the fabric, put the pattern pieces down – remembered what I was cutting out of what – and cut out my pieces. Boy was I on top of the world!

I started sewing the pieces together, I followed the instructions e.x.a.c.t.l.y. (or so I thought) I did the bodice okay – no problems there. I even did a pretty good job on the sleeves. I think I’m pretty good at gathering...more detail on that technique later. I even remembered to put both pieces of skirt together and follow the instructions for both...however, this is where I began to lose it.

The first thing I did wrong was sew the hems of the skirts together. I don't know why I did that , I think I was not paying attention. I intended for the skirt to be 2 separate pieces but because I sewed their hems together, what I ended up with was a purple skirt piece sewed behind a white with purple dots skirt piece. It looks like one is the front and one is the back...not really what I intended. Well thats ok...I guess...its just a practice piece, right?

Then I don't know what happened!

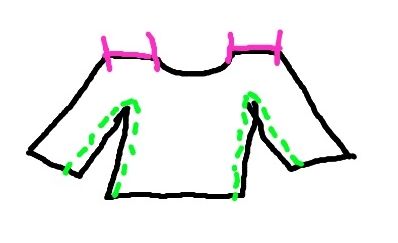
I know now how doll tops are made – sewn flat. I have been interested in learning about this from Sewing with Nancy – apparently she discusses this in some detail. I just haven't yet. The idea is that you lay the sewn front and back pieces (having been sewn together at the shoulders or something) and sew the sleeve seam and the side seam as one. Its much flatter and convenient when working with doll clothes.
 
Like this:


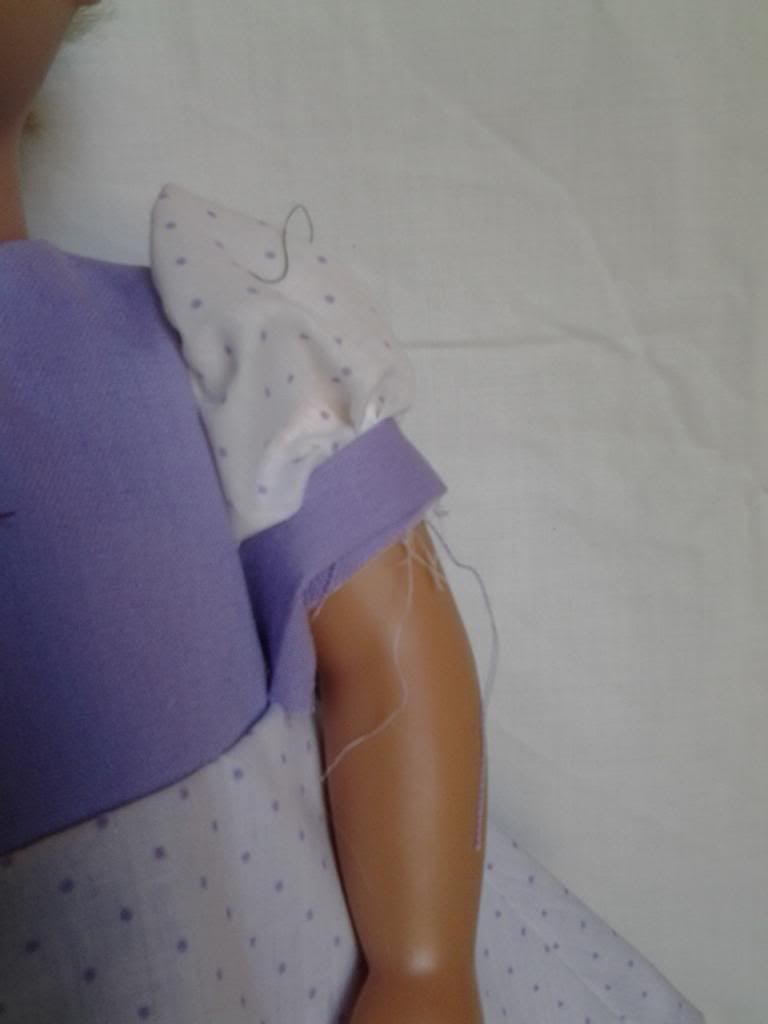
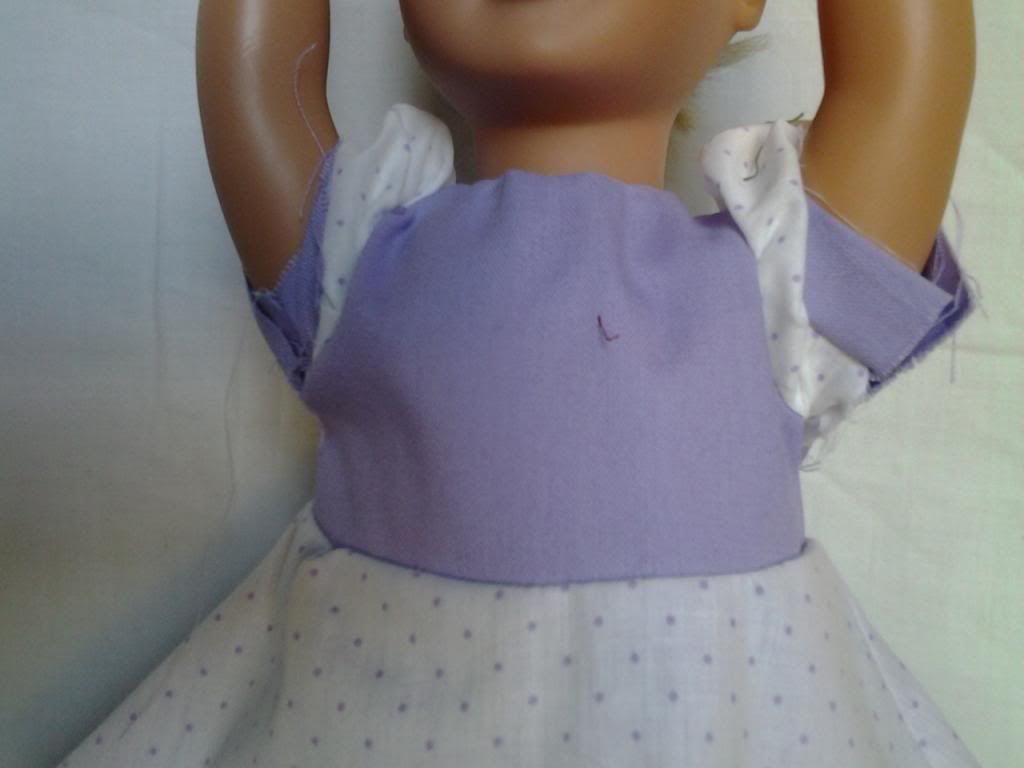
I had no idea of this technique when I made this dress and really thought I followed the instructions exactly. However, you can see from the picture that I did not sew the sleeves in this fashion and then I couldn't figure out why there weren't instructions for the sleeves! I'm a mess here!


 Aside from the skirt piece being connected when I didn't want it to be and the sleeves not being sewn...at all, I also didn't like how “big” the dress seems on the doll. I was really making tiny seams at this point and the dress just seems overall too big for her.

Okay, check it out – let me know what you think.


A good try, but I give it a huge thumbs down. The robe turned out way better...