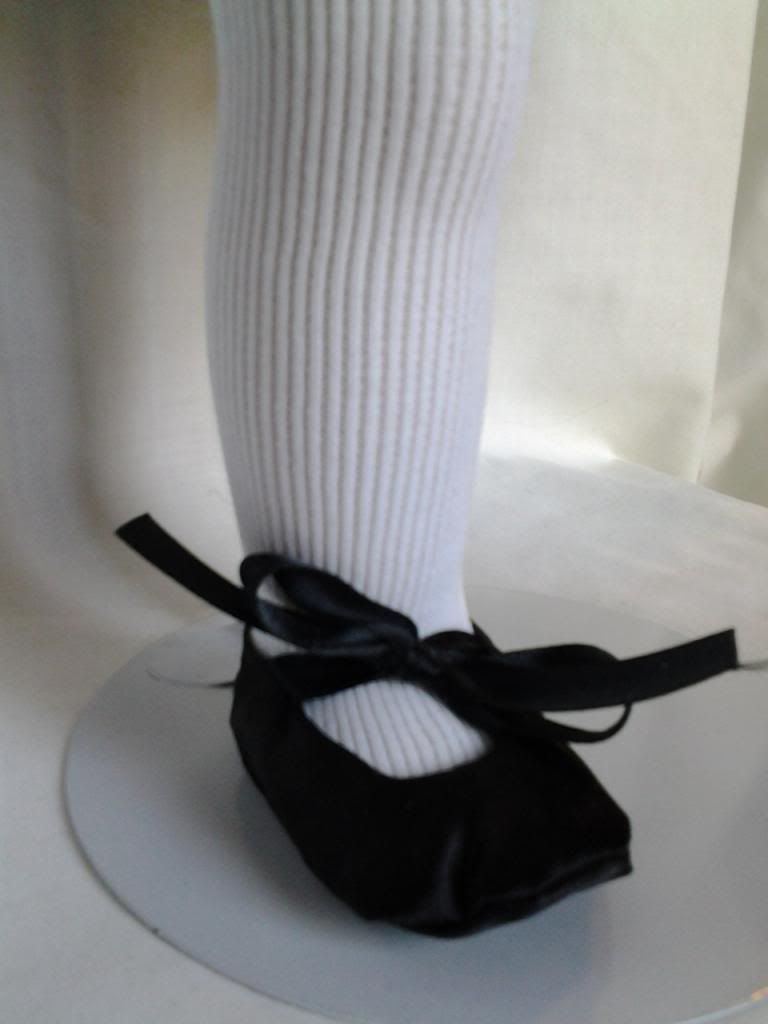
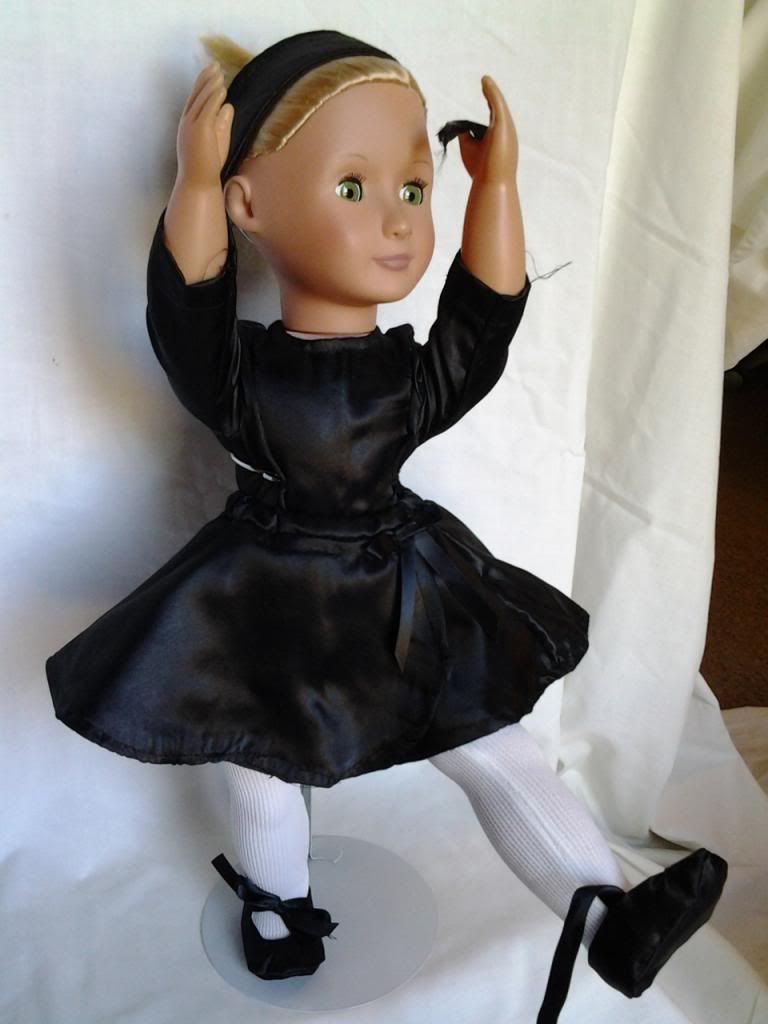
I was moderately
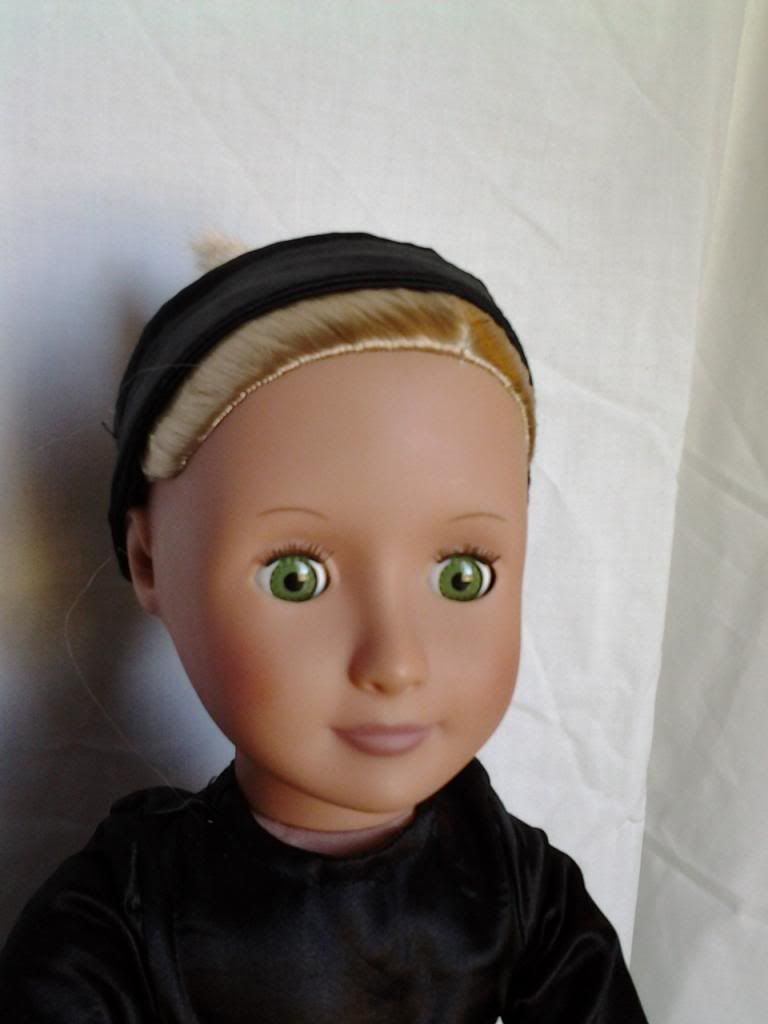
pleased with the dance outfit. I enjoyed working with the non-stretchy
material, but I did not like how the end raveled so much. I am going to have to
learn about that…
The next project I
tried my hand at was Felicity’s outfit from the American Girl patterns.
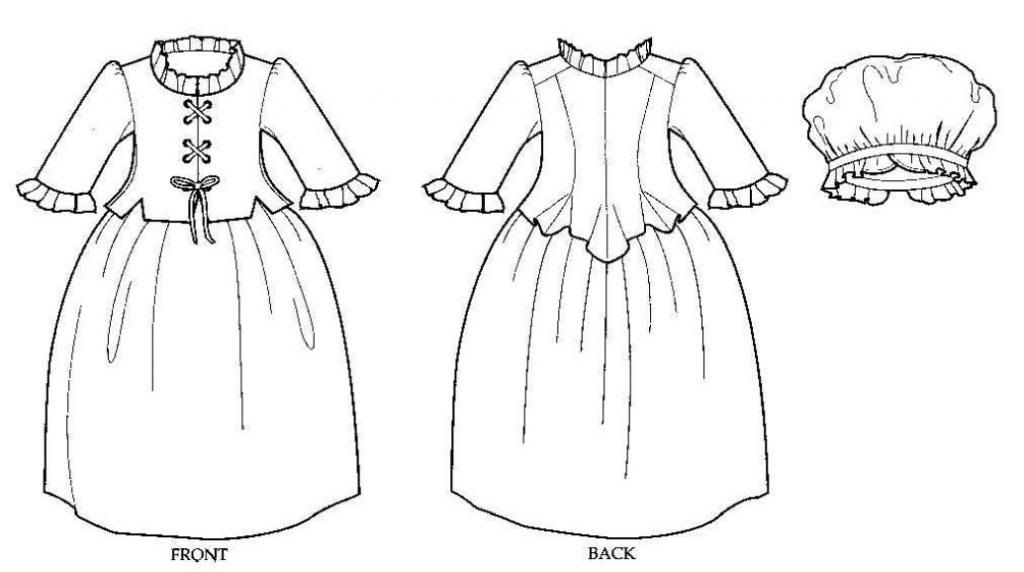
This is
the first project I really tried to make a polished finished product on. By
this I mean: I normally just pick whatever fabric appeals to me that day to make
a lot of these outfits because it is all practice and I know that chances are the
item might turn out pretty dismal. But for this one, I actually selected
fabrics that I thought looked nice together and was looking forward to seeing
how the finished pieces looked together.
I really enjoyed
working with all of the different fabrics on this project. I picked a green
broadcloth for the skirt – I looove broadcloth. Its easy to sew with, doesn’t
stretch, and doesn’t ravel. This broadcloth is extremely thin. I picked a
slightly stretchy burgundy/maroon for the cap – it was soft on one side and
slightly coarse on the other side. I don’t normally like the stretchy ones, you
guys know that, but I thought a simple hat and small to boot maybe I could
handle… The last fabric I picked was a really pretty green and burgundy floral
print – non stretchy, very soft.
I started with the
top. (optimistic? J) It says it’s a laced jacket, but there is no shirt under it,
so its just a top to me. I had a lot of trouble with this one. I tried to
follow the instructions carefully, but I didn’t find a lot of pictures of what
the outfit should look like, completed, on the internet. I found a lot of good
front views, but not a lot of back views.
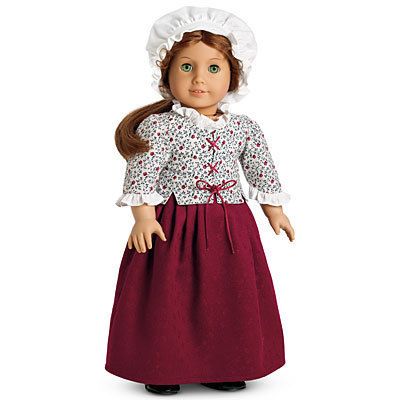
This is what the
outfit was supposed to look like:
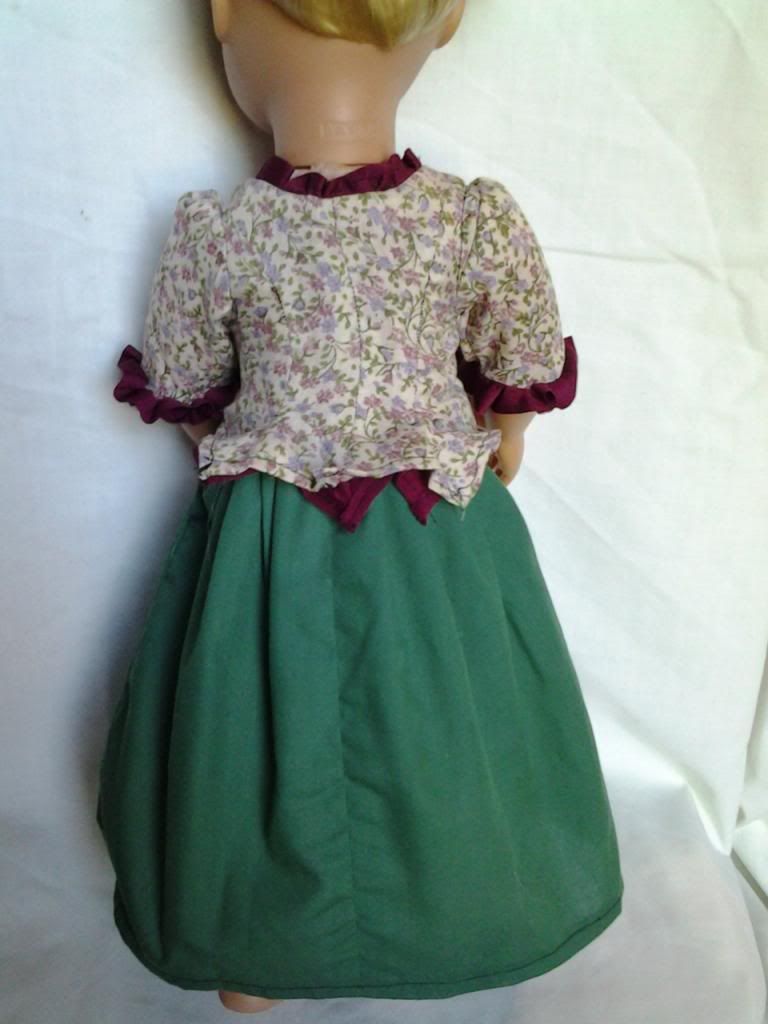
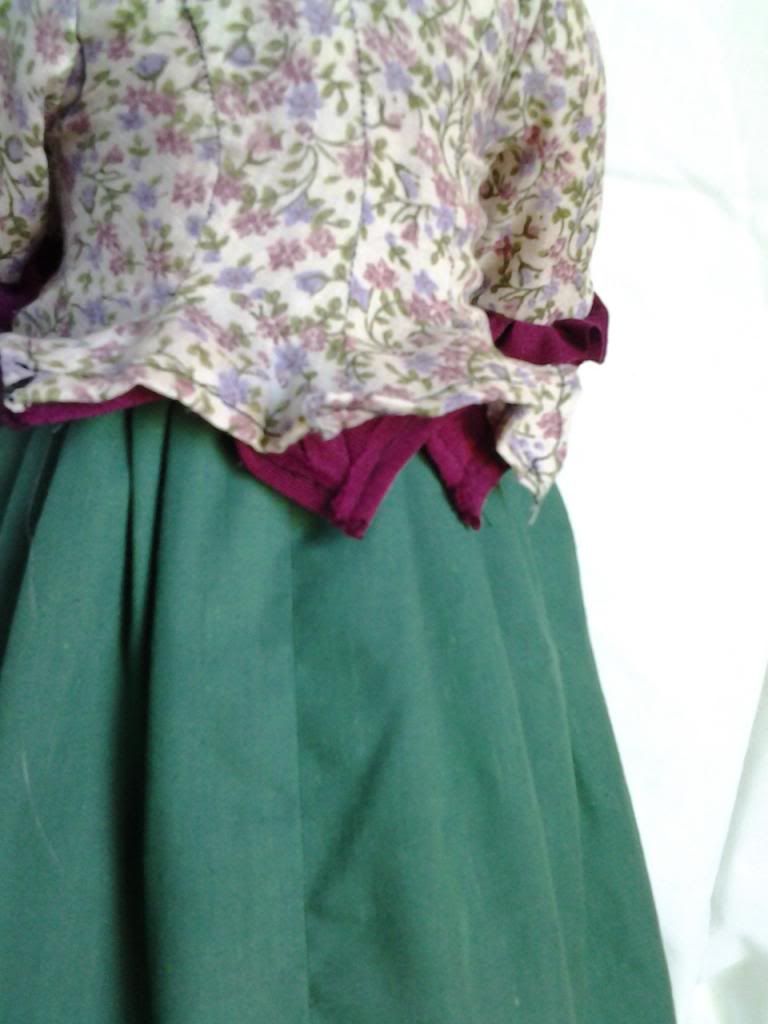
I started out OK,
but when I got to the ‘peplum’ part, there seemed to be no instructions for
“finishing” it. I didn’t know if the lining and the outer piece were supposed
to be connected or not but couldn’t find where it said either way. I opted to
hem them separately, thinking that they, as “stickie-outie” pieces would
naturally sit together? Not so much…
The other part I had
a lot of trouble with was the ruffle
on the neck and the wrists. I do have a lot of difficulty with tiny ruffles,
and since they were of the stretchy material I chose for the hat, by the time I
got through with the neck piece, it was itttttty bitttttty and there just wasn’t
a whole lot for me to work with – its like it shrunk or something. So for the
wrist ruffles, I opted not to hem them. They stayed a good size, but they don’t
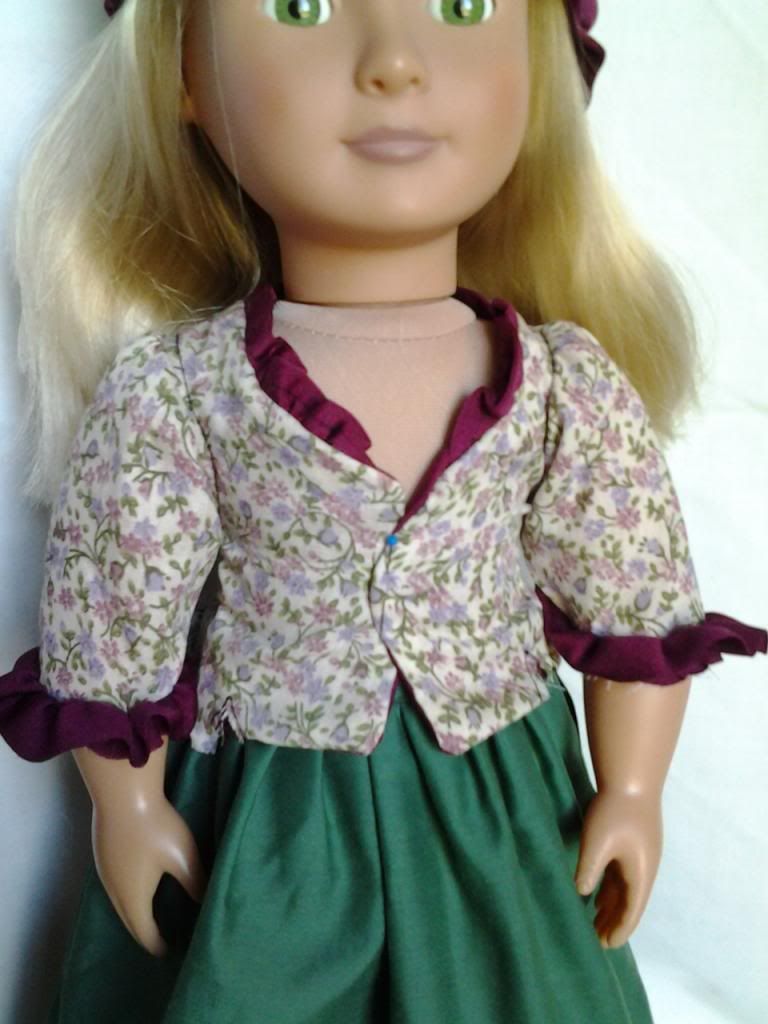
want to stay down. L all in all, the top was a big fat failure for me L I also don’t
have an eyelet thingy, so I knew this piece was going to remain unfinished. I
just don’t think I did a very good job on it and without the front being laced,
it actually doesn’t even come close to staying closed. It was a struggle to get
the pin in to show it closed. L Bummer on that one.
The skirt was super
easy and I learned how to pleat. (well, I knew a little about pleating from the
mug thingies I made for my mom and aunt C, but this really brought the point
home because this is a wearable garment.) The material was super awesome (I may
have said that already J I like broadcloth) and I think it turned out nice. The only
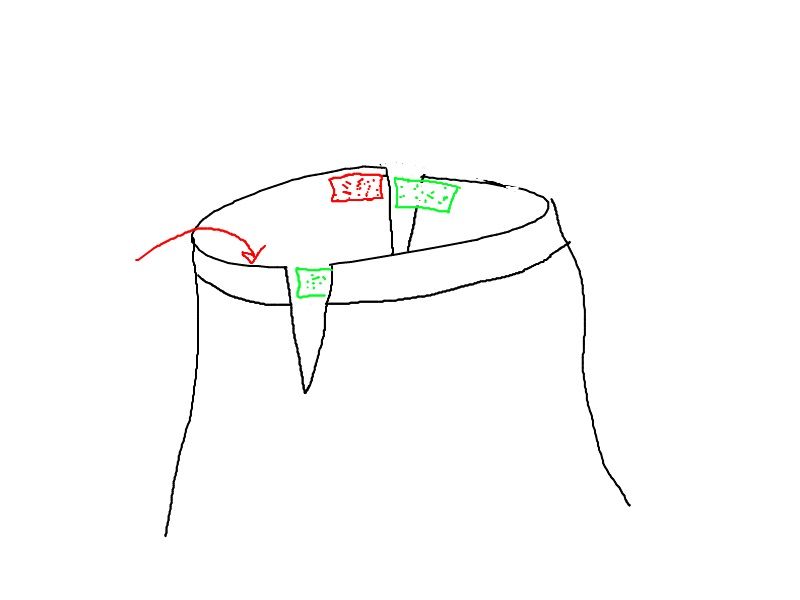
thing I didn’t like on it was the way the instructions said to do the Velcro. I
did it and it worked ok, but I would have done it a bit differently.
The last piece I did
was the hat and let me tell you, this piece was doomed from the start… I
thought I could work with the slightly
stretchy material but it turns out that working with material you are not so
good at and is tiny is hard…go
figure, right?
I again followed the
instructions exactly, but I am not so good at gathering, so my whole hat is
lopsided. You can see in the picture that one side is taller than the other. If
I put the hat on her head crooked, it looks okay in front and really really bad
in the back
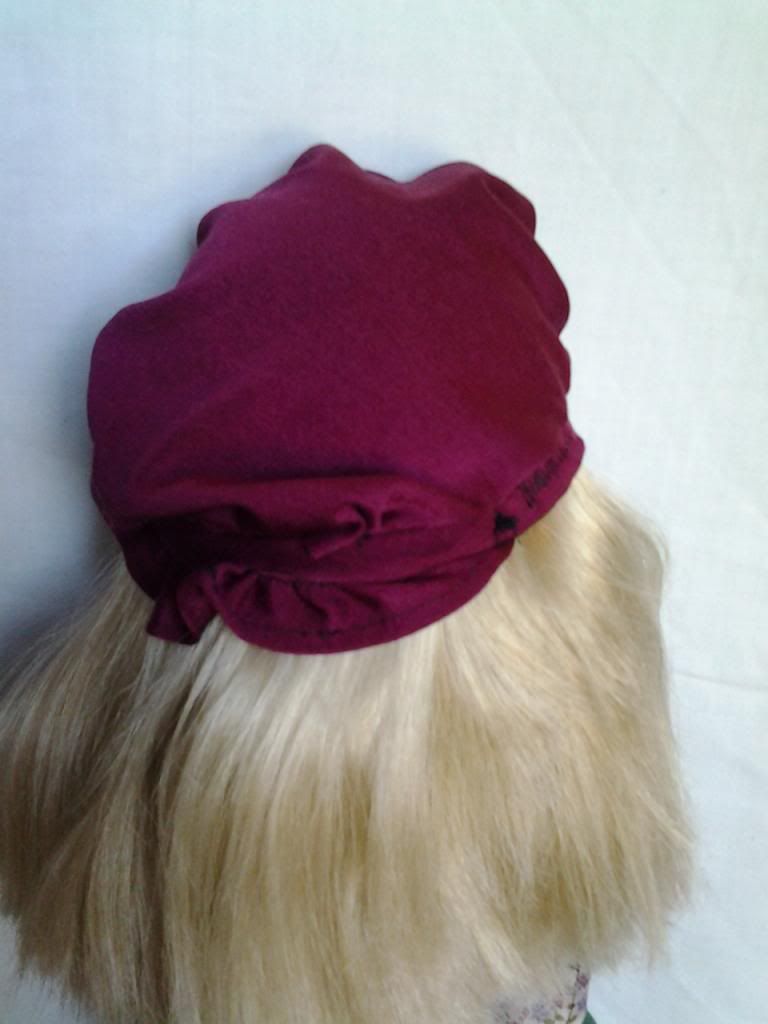
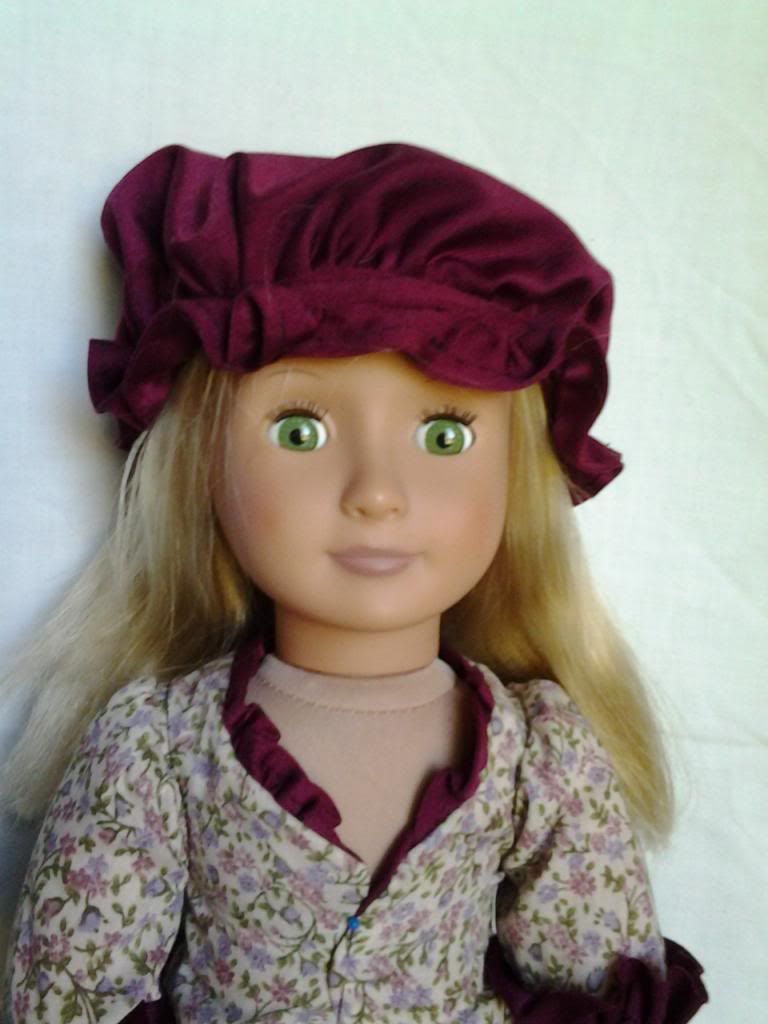
(because the back is supposed to look like this:)
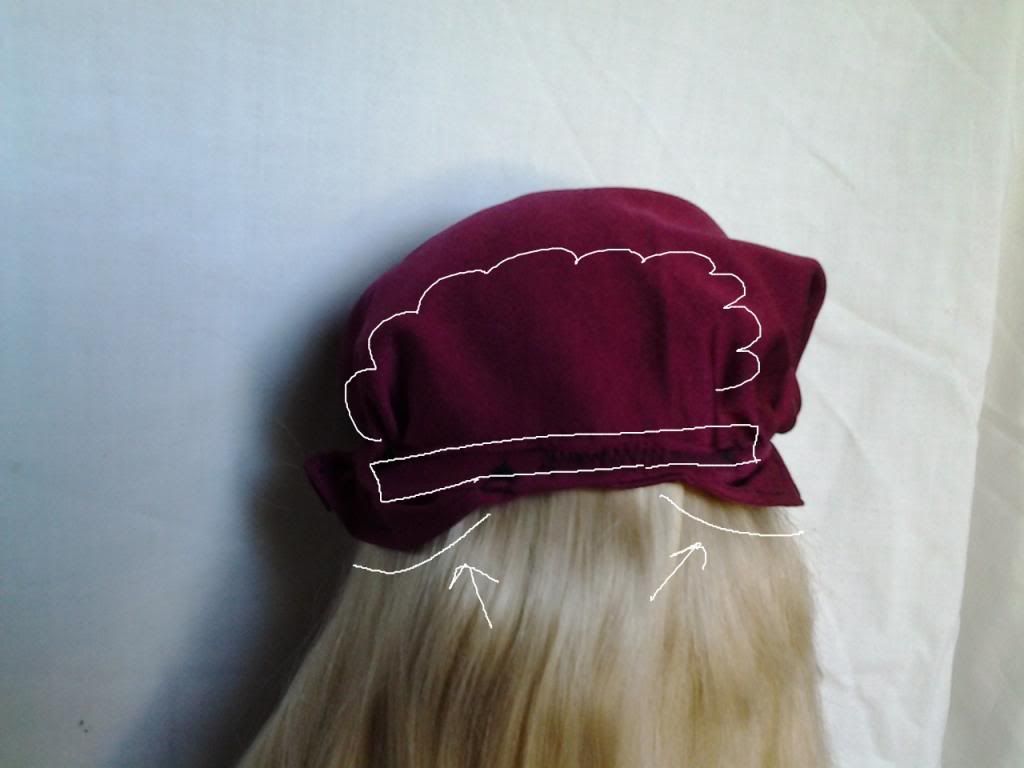
But if I put the hat
on straight and the back looks like it should then the front is really crooked
and lopsided.
The bands were just
so tiny and difficult to work with! L
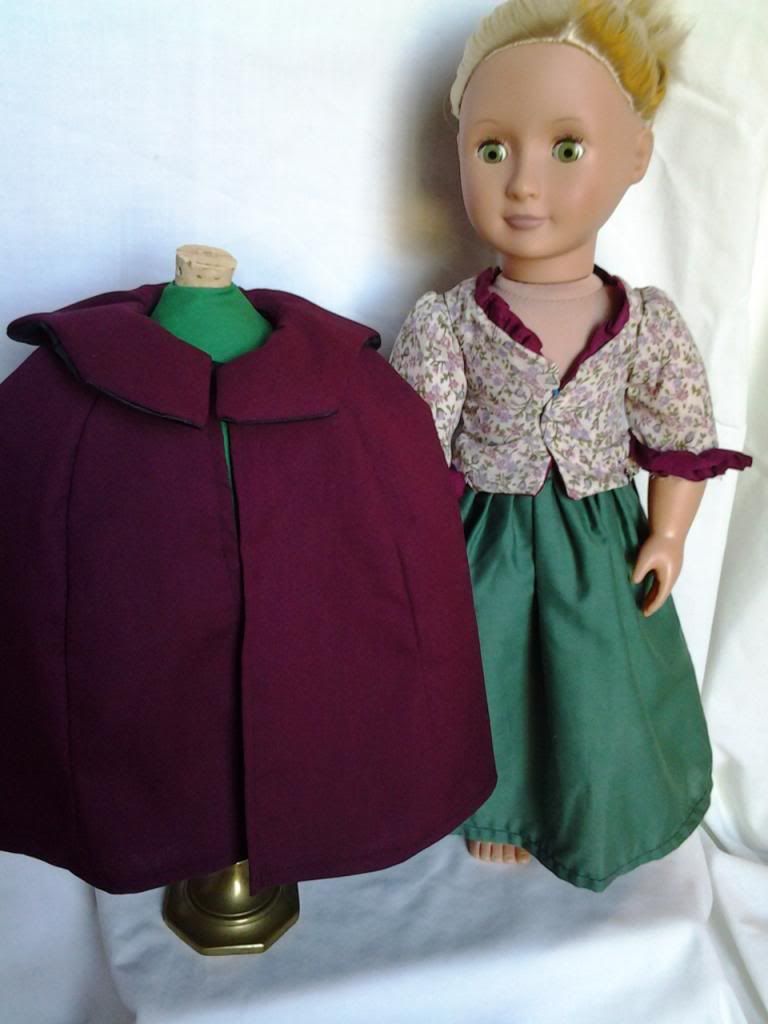
So here is my
finished product:
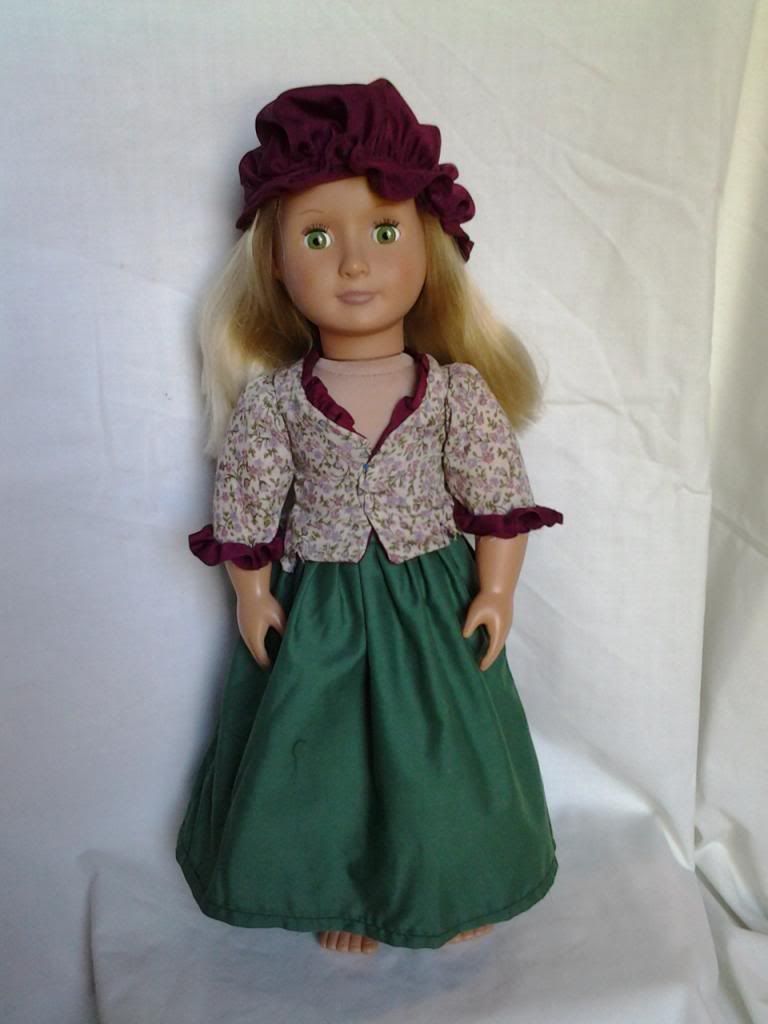
I’m real
disappointed in how it turned out but from a distance, it doesn’t look too bad J The stitching
is nice and even (except on the hat) and it’s constructed moderately well.
My next thing to
learn is how to do the things I don’t understand in directions J
PART 2
My mom cleaned out
her fabric bins again J I always get lots of good fabric when my mom and my aunt clean
out their fabric stashes. They come across fabric that was bought with love and
they sigh and say “I wanted to make [fill in the blank] for [fill in the blank]
but its too late now. Here, you do something with it.” For example: my mom’s
favorite is “I was going to make this into pajamas for your brother” (the
fabric in question being the softest snuggliest little ½ yard of ABC blocks
fabric, the brother in question being now 28 years old J) Sometimes your
heart and plans are bigger than your free time, amirite? So I am super happy to
give the fabric a new home J One day, I will clean out my fabric and give
some of the gorgeous pieces to…a daughter in law? A granddaughter? Back to my
mom? And I will say “I was going to make this cute outfit for my doll, but its
too late now. Here, you do something with it” J
This is where all of
my fabric has come from. I am the luckiest girl in the world to have such
wonderful crafty women in my life. They are so supportive and excited to share their
stash with me, especially the smaller doll size pieces J Thank you
thank you thank you!!
So I came home with
a grocery bag full of remnants from my mumma. We had a good laugh too because 2
of the pieces were tagged “So Fro Fabrics”. Does anyone remember So Fro?
In my bag was some
beautiful patio furniture material: kind of like canvas? It’s a really pretty
red, green, and white that I will use to make shoes out of. Also, some nice
thin denim-look soft blue fabric, some Christmas fabric (!!!) and some really
thick broadcloth. J
Well, I eyeballed
this broadcloth and realized it was just the right ‘heavy weight’ to try the
cape I had been wanting to make – Samantha’s cape from the American girl line.
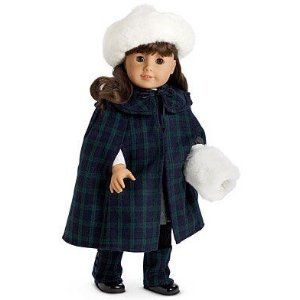
This seemed like a
simple enough piece, especially because I wasn’t going to be adding trims or
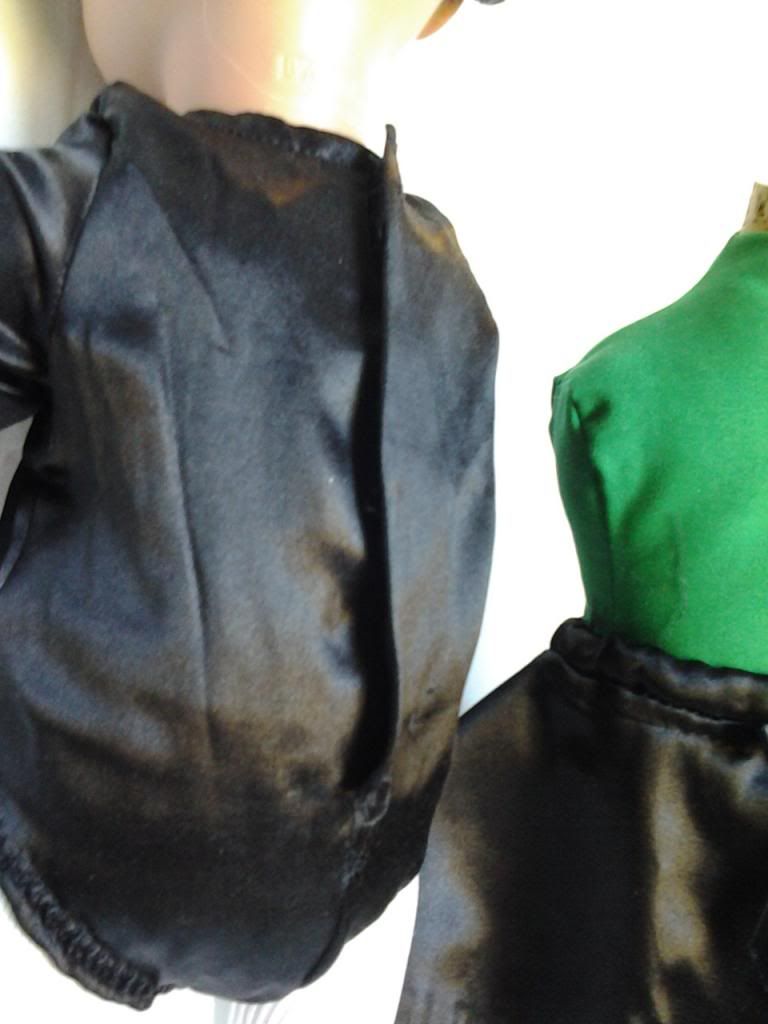
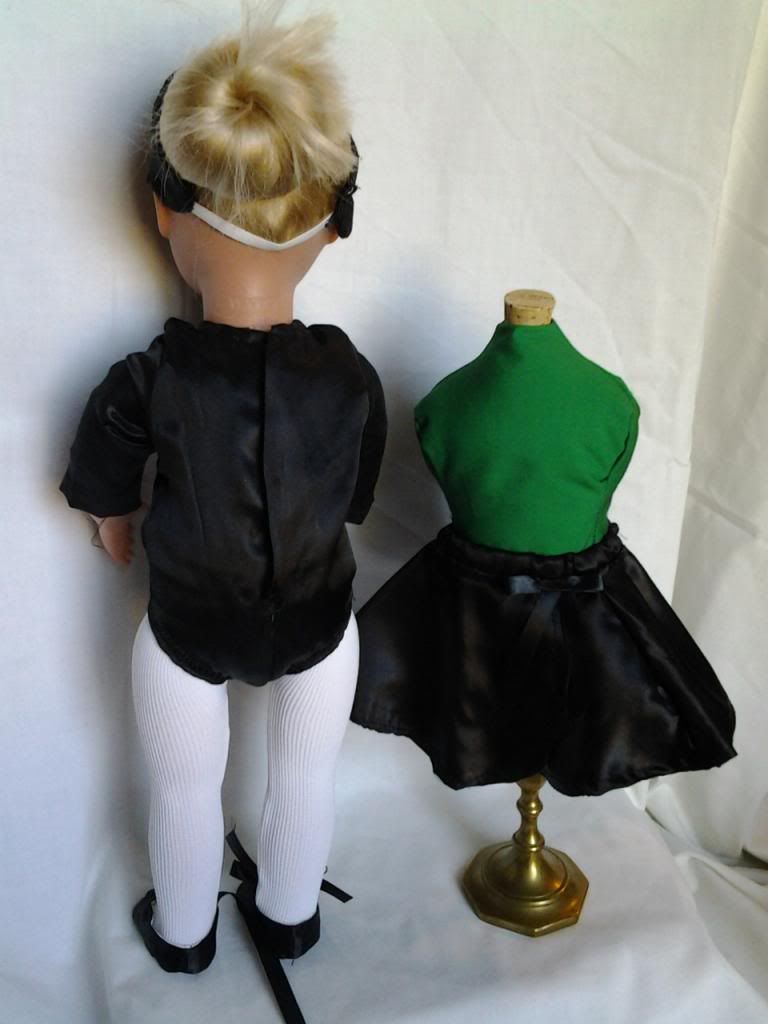
anything. (I just did the cape, not the hat, muff or boot pieces) I laid it out and cut out the pieces – I used the satiny black from
the ballet outfit for the lining – and just constructed it piece by piece.
Since it was fully lined, I didn’t have to worry about the satiny material
raveling, which was really nice. And I opted to exclude the arm holes. In retrospect,
I should have put in the arm holes because it would have looked much better,
but the instructions seemed a little confusing to me, and I was having such good
luck with the material that I just didn’t want to mess it up J
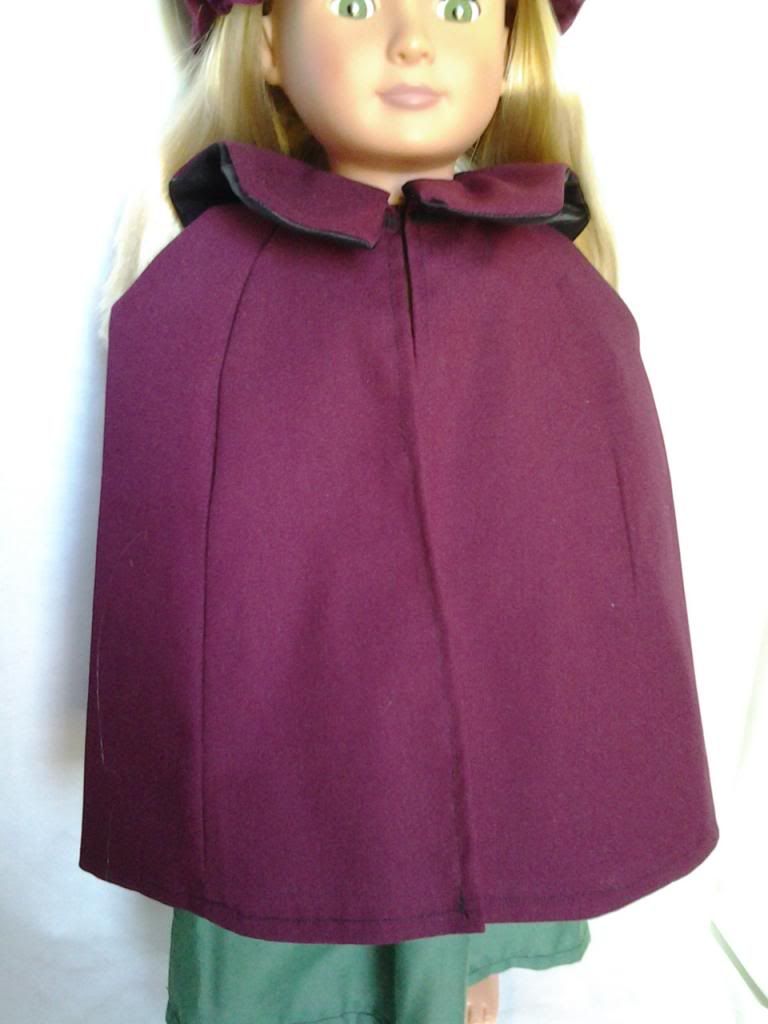
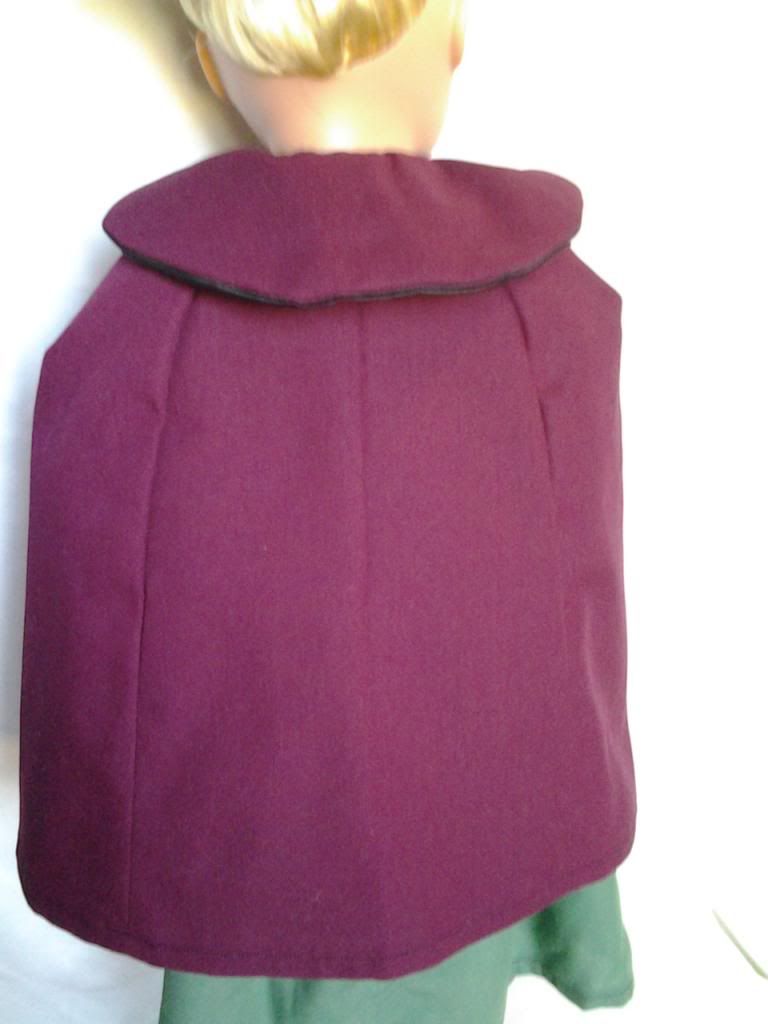
I think the piece
turned out really nice and was just the right color to go with Felicity’s
outfit!! How cute!!