Well, working with
the fleece and the dress form really bolstered my confidence so I decided to
move forward with my next project. In my searches for free doll clothes
patterns on the internet, I have come across so many wonderful blogs devoted to
dolls, doll collecting, doll clothes, and best of all (for me J) doll
clothes making!
I’m not too good at
this whole blogging thing yet, but as I get better and learn more, I will be
adding those places to my blog.
The first piece I
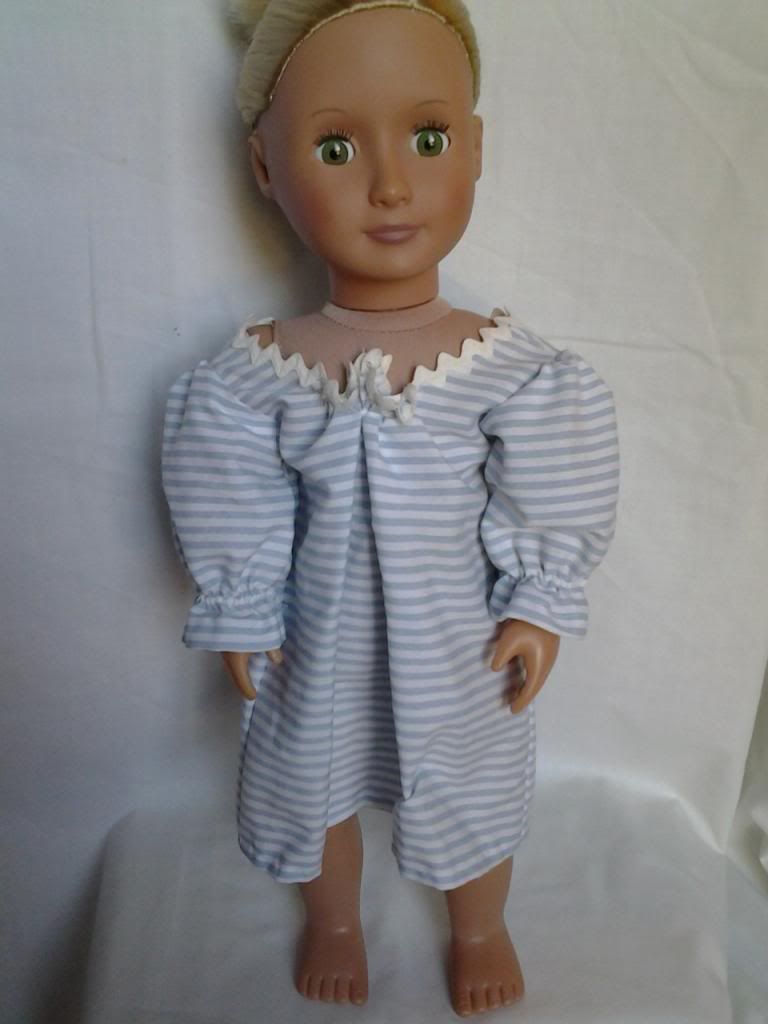
decided to make is Josefina’s nightgown.
 |
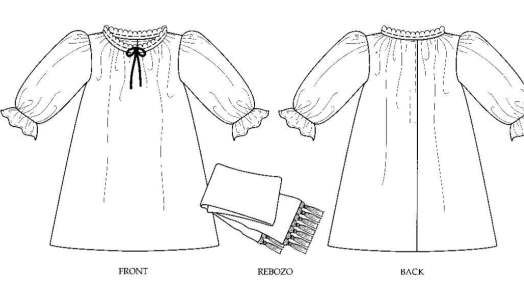
| I didn't do the rebozo |
It
seemed fairly simple and straightforward. My mistake? Not reading the
directions thoroughly… I know, I know, if I am a beginner, I really need to be
paying extra close attention to the directions.
I have a stash of
top sheets in my fabric collection – I chose a white and light blue striped sheet
that I had been using as a cover for my fabric shelf. (I just threw the sheet
over the messy shelf when company came over J)
I cut out the
fabric, making a real effort to keep my stripes in the right spot – you’ll see
what I mean when you see the pics! Then I started to construct the garment.
Now I must pause a
moment to talk about confidence. I read that as your confidence in sewing
increases, your stitch length should decrease. A larger stitch, like a basting
stitch, is easier to take out. Beginners know that ‘easier to take out’ means
‘when I make a mistake’. And since I make LOTS of mistakes, my stitch length
has always been set to the longest possible.
My machine, for
whatever reason, doesn’t have a good ‘baste’ stitch – my longest stitch is
actually much shorter than a baste stitch and it has been the only length I sew
on - I need all the help I can get when
it comes to fixing my mistakes J
But if you remember
my machine broke and I was using a loaner – that machine has a nice long baste
stich. I was surprised to see how long; it made me realize that I shouldn’t be
sewing on the longest stitch length always.
Also, the shorter
stitch length makes a more professional-looking garment that is “held together”
better, obviously.
So for this project,
I decided to shorten my stitch length. I figured if I needed to use the seam
ripper, I needed to use the seam ripper, right?
So I am starting to
sew this nightgown together, and not only are my stitches perfect, but all of
the seams are straight, the stripes line up, I mean this piece was getting
ready to be my magnum opus here! Since I felt so satisfied and confident of
this piece, I felt OK to change something: the instructions say to sew lace to
the neck line but since I have never sewn with lace before, it was a bit
intimidating to me, so I opted to just hem it instead. No biggie, right? Here I
am thinking that NOT using the lace would make the project “simpler” – ha ha on
me…
I completed the
nightgown and was just so impressed with myself that I decided to add a bit of
rick rack to the neck instead of lace, congratulating myself on doing such a
neat and careful job. So I continued to follow the instructions to the end and
then I got to the part where it says to “add a ribbon to the lace” (some of you
more experienced seamstresses probably see what’s coming, right?) I had absolutely
no idea what that meant, but since I wasn’t using lace, I figured that part didn’t
apply to me…
Let me use this
opportunity to say that when I chose this pattern, I didn’t pull up the website
to see what the “store bought” version looked like. Had I done that, this
project would not have gone as awry as it did L here is the nightgown that American Girl sells.
Anybody figure out what I did wrong?
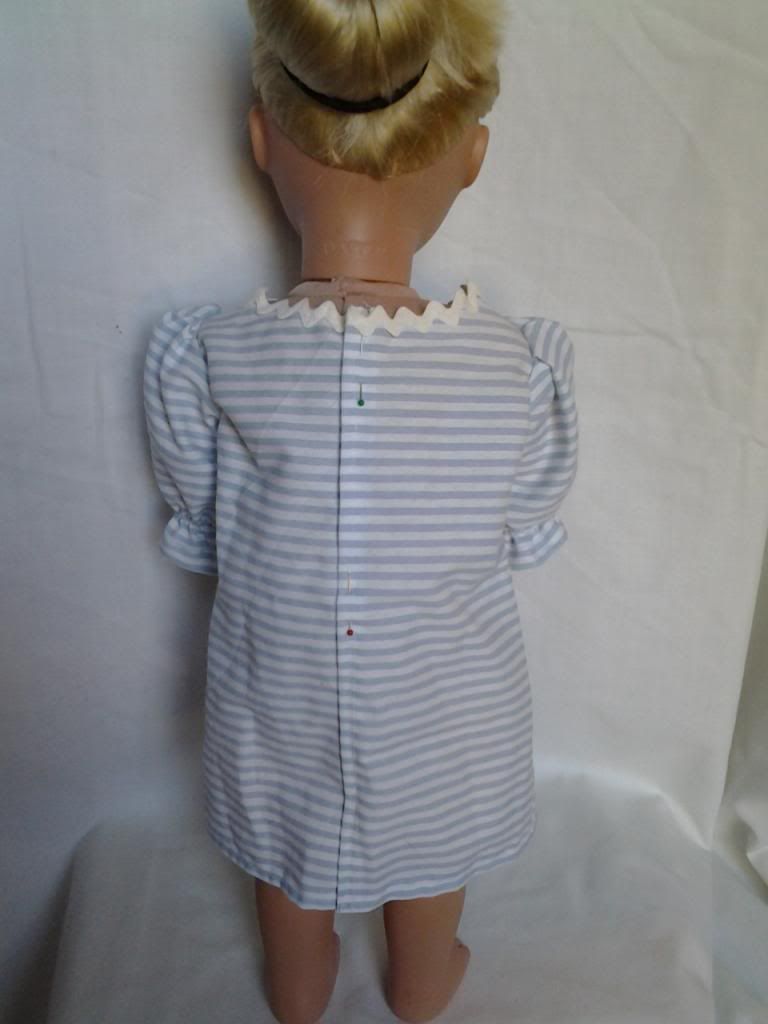
I sewed in the rick rack, still congratulating myself on
a job well done. Check out the stripes in the back: do they not line up
perfectly?
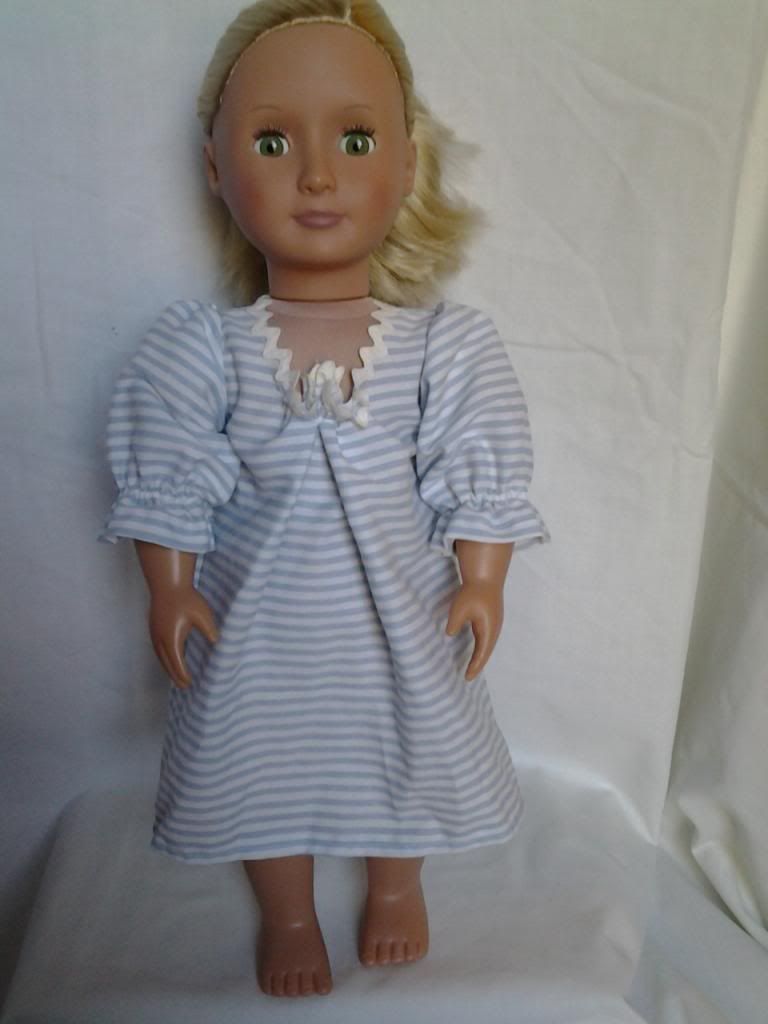
Well I finished and gazed upon this lovely garment I made,
not really noticing how big the front seemed to be in relation to the back… I put
it on the doll and was shocked!! You could have fit 2 dolls in this nightgown!!
It looked terrible!! Unfortunately, I did not take any pictures of this
catastrophe – I wish I had. I was crushed! The back was perfect, the front was
perfect, the sleeves looked great, where did I go wrong??
Well, apparently, the part I didn’t understand about
adding the ribbon was that the ribbon was meant to weave in and out of the
lace, creating a drawstring for the neck…
So here I am with this massive front (gorgeously sewn…) perfectly
fit back (gorgeously sewn) and me not wanting to even fix it because I’ve never
sewn anything so neat and tidy before. L
Now, I have learned a bit since this sewing disaster, so I
know now I have some options to fix something like this, but at the time, I was
flabbergasted. I chose to add a small piece of elastic to “suck in” the neck
line. It only brought the neck line in marginally. So I added a second piece of
elastic, thinking it might help. It didn’t.
So I had a good cry at my beautiful
garment that turned out ugly and told myself that if I could sew so nicely on
this one, I can sew just as nicely on the next one! Back on the horse, right??
PART 2
In the meantime, one of the projects I was interested in
was making some shoes. This is kind of funny to me because I refuse to buy this
doll any store bought stuff since I am making the doll stuff to practice
sewing, not clothing a doll for fashion purposes, you know? The thing is, I’m
still a woman, and the thought of not having a good pair of all-purpose shoes
to wear with the outfits I’m making just bothers me for some reason. When I make
an outfit, I’d like to see it showcased well…
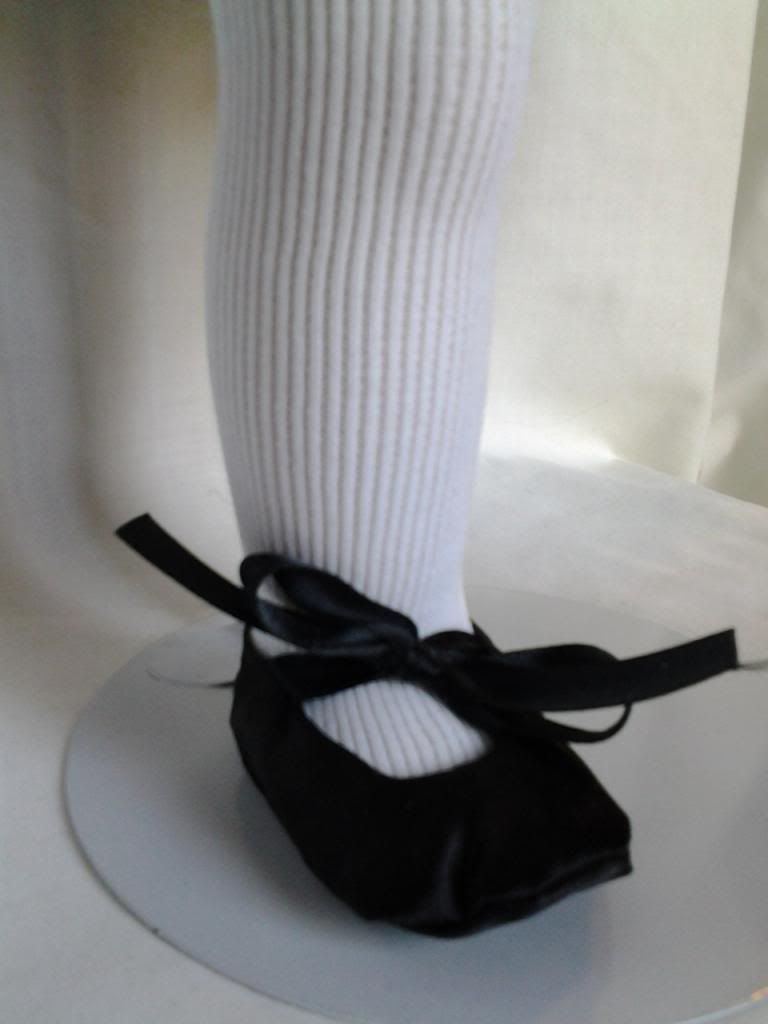
So I decided a good, plain pair of black mary jane style
buckle shoes would be a good shoe to go with many of the outfits I plan to make
and I’d been debating whether or not I want to buy a pair just to be able to
put shoes with the outfits, or if I am really adamant about not buying stuff
for this doll. Not wanting to buy shoes when the purpose of even owning the
doll is to practice sewing, I opted to make a practice shoe, similar to the
type I wanted.
I chose the shoe in the lower left corner – the pink
ones. I thought they looked simple enough and in black, would sort of look like
a buckle shoe – with ribbon instead. I didn’t want to waste the black satiny
fabric I had in case I botched them badly, so I decided to practice with “practice”
fabric – my striped sheet.
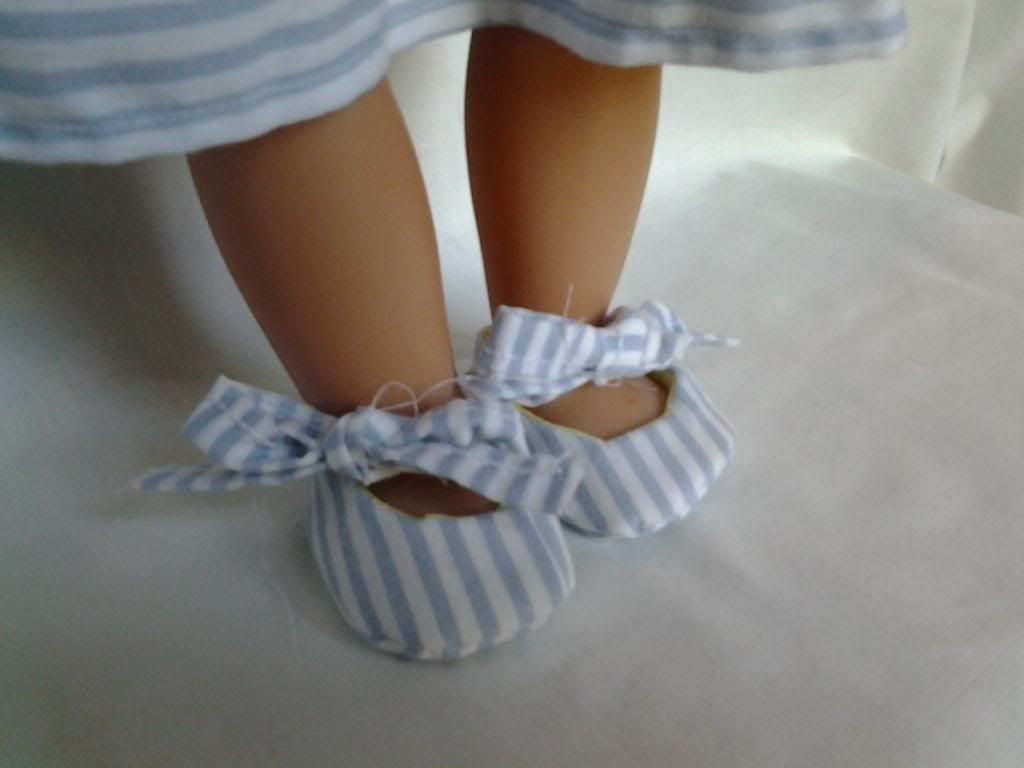
The shoes were relatively simple, pretty straightforward,
and gave me an insight into the basic concept of a how a shoe is put together. I
used the fabric cut into strips and folded in half instead of ribbon and they
came out really nice.
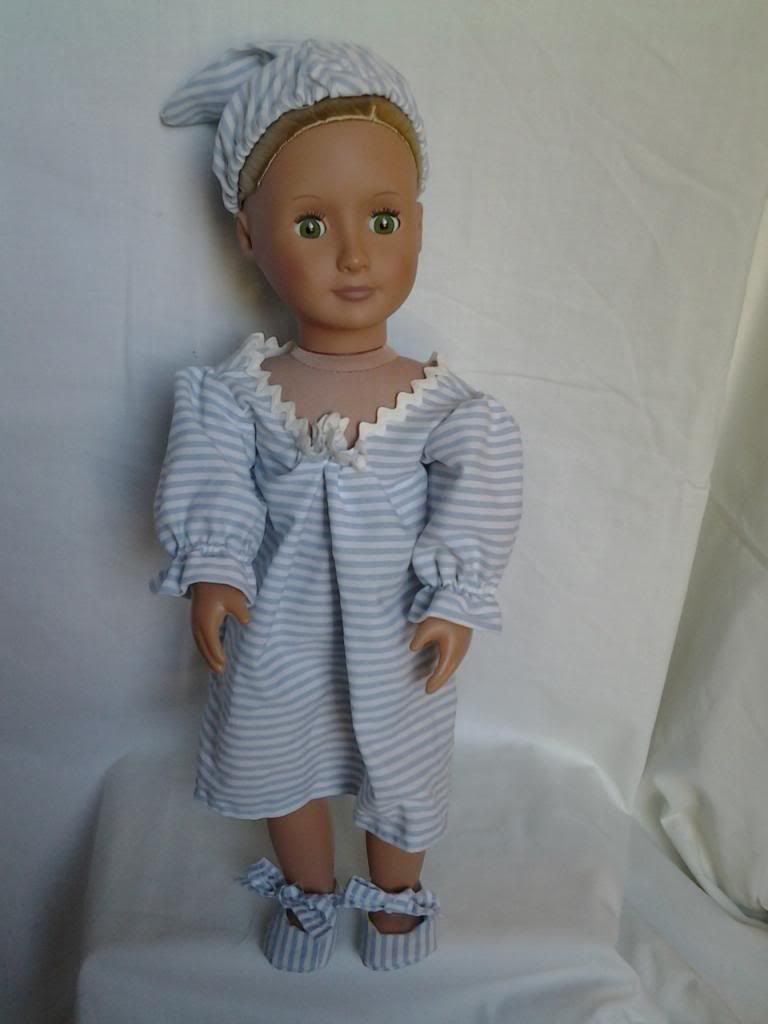
When I realized I had a nightgown and little “slippers”
out of the same fabric, I went ahead and cut out 2 triangles, sewed them
together, and hemmed the edge with elastic to create a sleeping cap. I didn’t measure
or anything, so the cap turned out kind of dumb-looking, but altogether, the
pieces look pretty cute together.
I give the nightgown a sideways thumb, the cap a thumbs
down, and the little shoes a thumbs up!
Whattya think? J