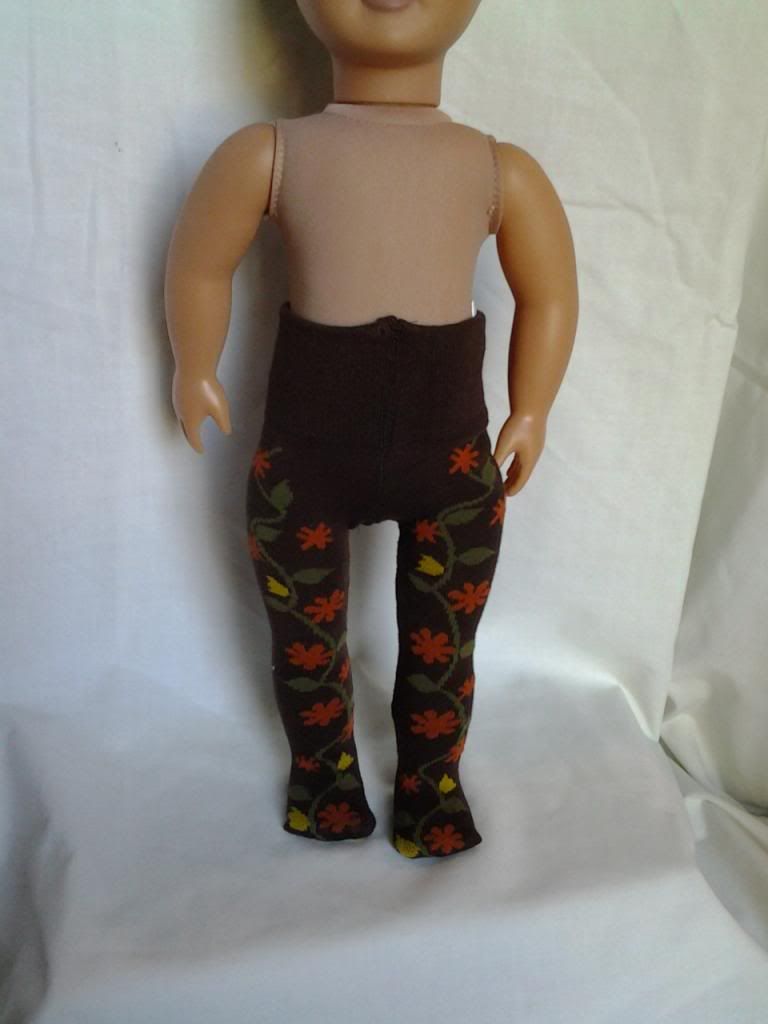
You know when you
are on top of the world and feeling all confident and competent that the other
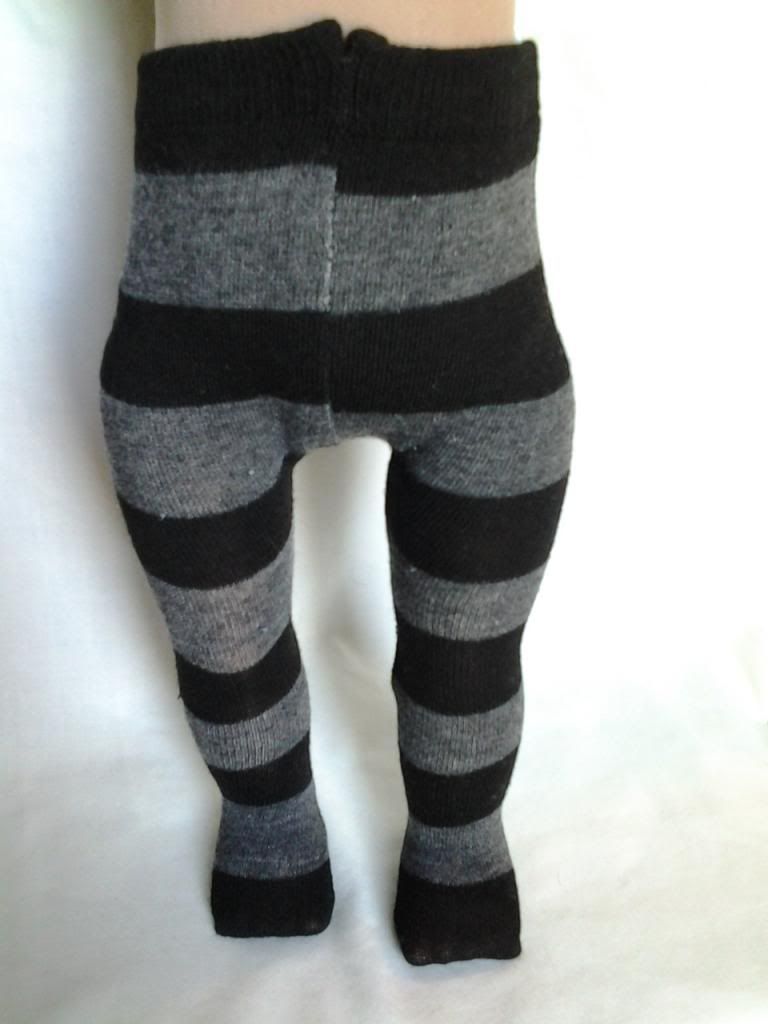
shoe must drop, right? Well those tights were just the bee’s knees – I had so
much fun making them and just knew that if I could zig zag stitch me some sock
material, I could do anything: knits, stretchy, what have you…
Hmmm, a little
lofty are we?
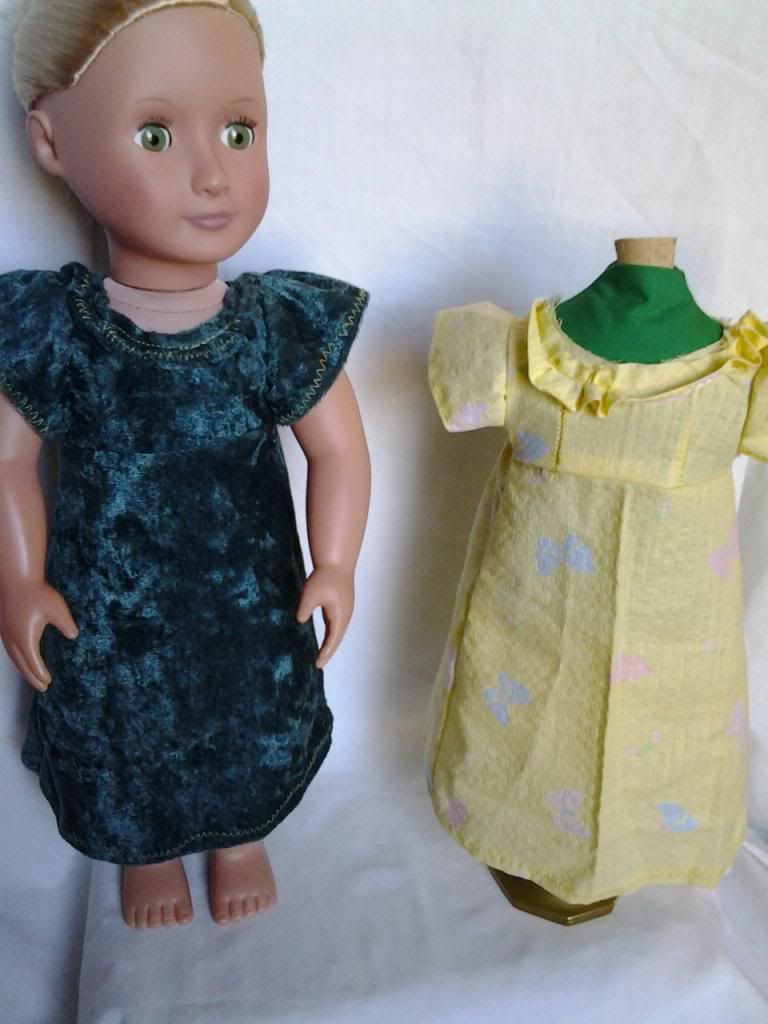
I selected
another pattern from the American Girl collection, this time I went with
Josefina’s Christmas dress.
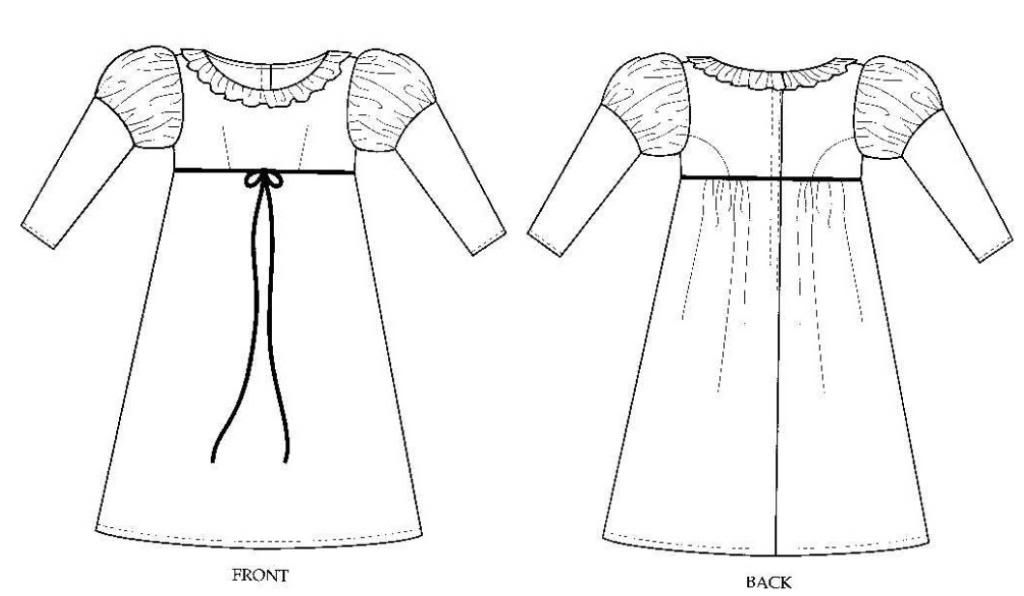
I decided instead
of doing long sleeves, I just wanted to do the upper portion of the sleeves. It
turned out to make the sleeve “flutter”, which I really wasn’t expecting (but
tells you how little I know about how clothes are put together) It makes sense
to me now because the bottom of the sleeve is not gathered but for some reason I
was thinking that if left off the long part of the sleeve, I would be left with
a poufy cap sleeve. You live, you learn, right?
For this dress, I
actually couldn’t decide between 2 fabrics – 2 very different fabrics, I might
add. SO I decided to heed my mom’s advice: she told me it is just as quick and
easy to make two garments as it is one because you do each part twice but at
the same time, so both garments are made in nearly the same amount of time.
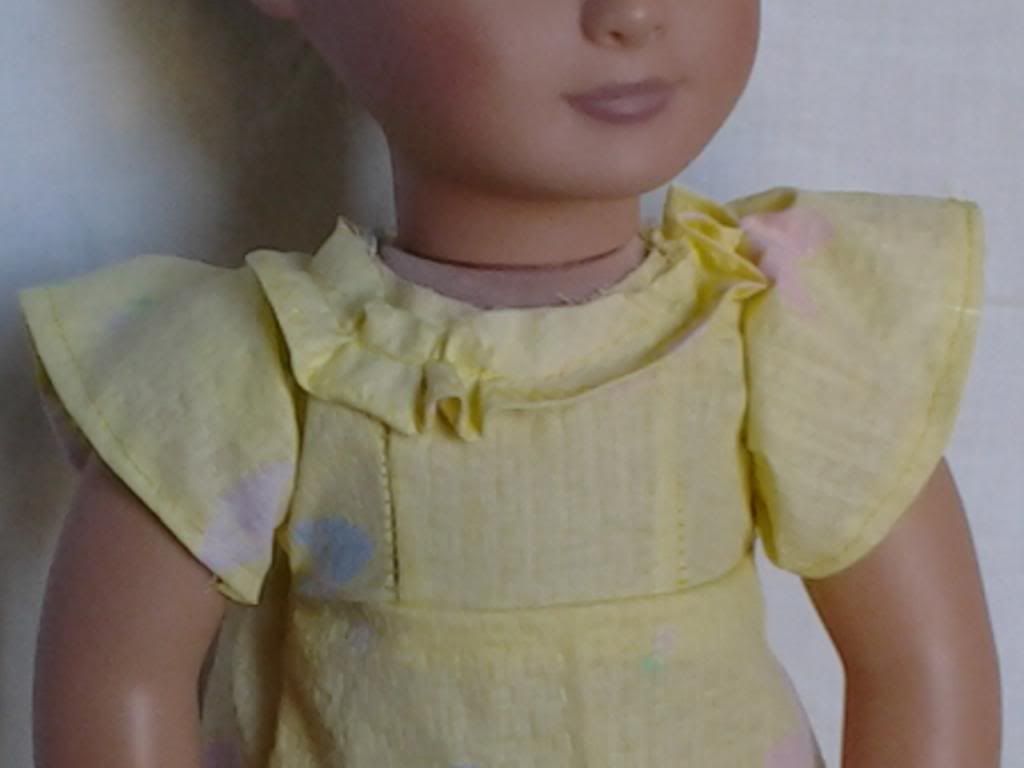
The first fabric
is a great spring yellow with little butterflies, thin and textured, not stretchy. I’m not so good with
fabrics yet, so I don’t know what kind it is, but it kind of was like
seersucker (maybe it is seersucker, I don’t know – Aunt C will have to help me
out on that one J)
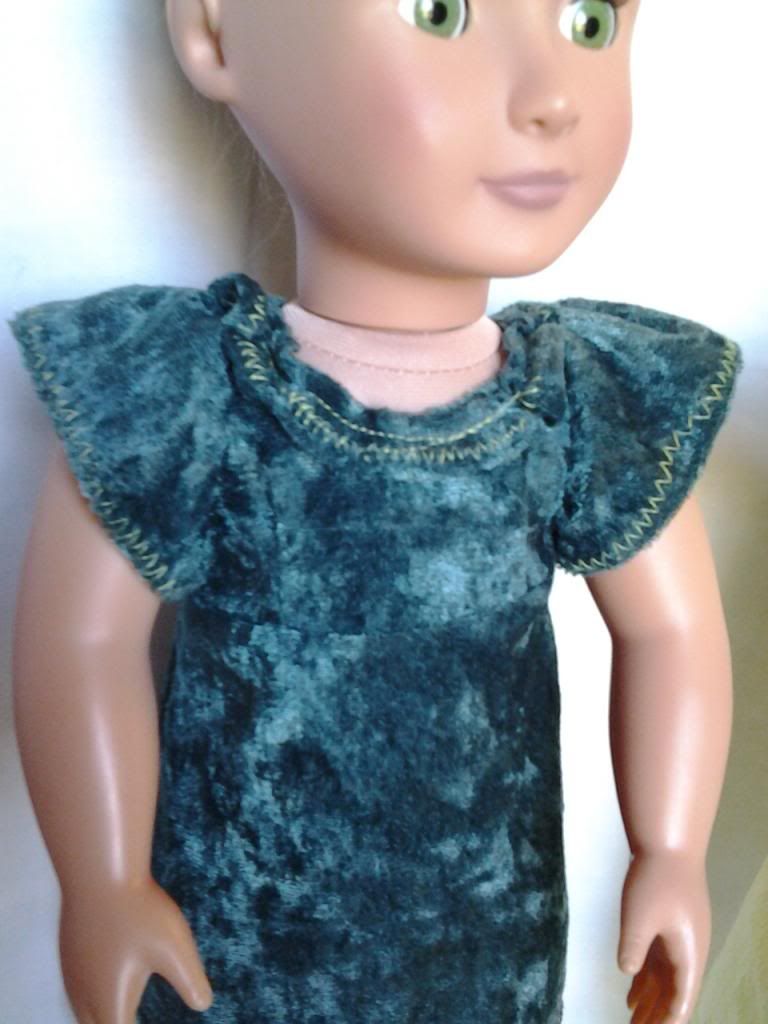
The second fabric
is…I don’t even want to say it…crushed panne in a dark green. Now this stuff is
just as glorious and scrumptious as it comes, but I CANNOT sew with it. You
must remember, my confidence was all high from making those tights though… I am...SUPER SEAMSTRESS!! Bwa ha ha ha!!
I started putting
together these simple, simple dresses…I even understood enough to do the sleeve
the way I wanted it instead of doing the full long sleeve. The problem came
when I attempted to do the neckline. Now I’ve discovered that I’m not so good
with tiny ruffles. When it comes to hemming and gathering tiny strips of
fabric, mine kind of coil up and go funny on me, so I decided after this fiasco
to either make bigger ruffles or stop hemming them until I get some more
experience under my belt. The neck ruffle on this dress SUCKED. I didn’t
understand the part in the directions about attaching the neckline (I do now,
but at the time, I thought I was doing it right) The instructions seemed to say
to attach it so that the raw edge was left visible and quite prominent.
Obviously that wasn’t right, but I read and re read and re read and thought I was
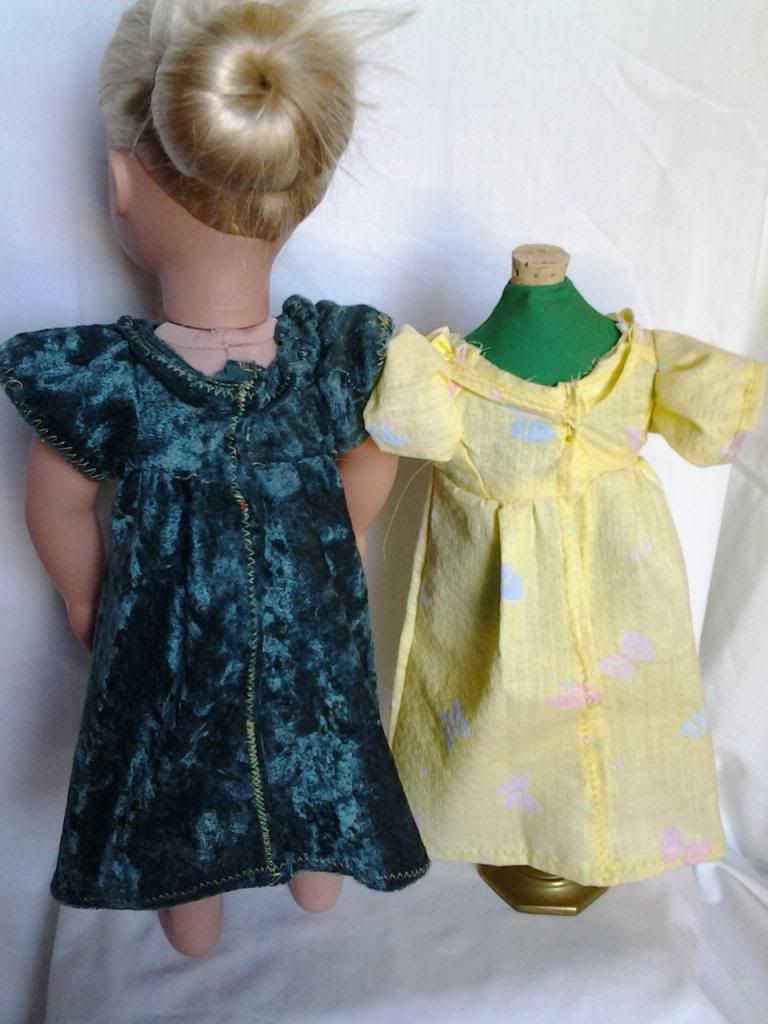
following it exactly. What I ended up with was 2 ugly dresses with unfinished
necklines L
Now my rule is
not to “waste” Velcro on bad outfits, so if you see pins in the back, it means I
was not satisfied with my craftsmanship and did not deem it worthy of using Velcro.
These dresses, unfortunately, fell into that category.
I had
accidentally kept my stitch length on the longest setting for these dresses, so
the yellow one is kind of sloppy looking (to me after using that short stitch on
the nightgown) plus you can see in the picture above that the stitching is actually starting to come apart on the chest :( and the panne was soooo slippery and stretchy, I used the zig
zag – I went with yellow for the thread and you can really see my lousy stitching
on that green dress…I was not real happy with how they turned out. The sleeves
turned out cute, but overall, I give both of these dresses the thumbs down L
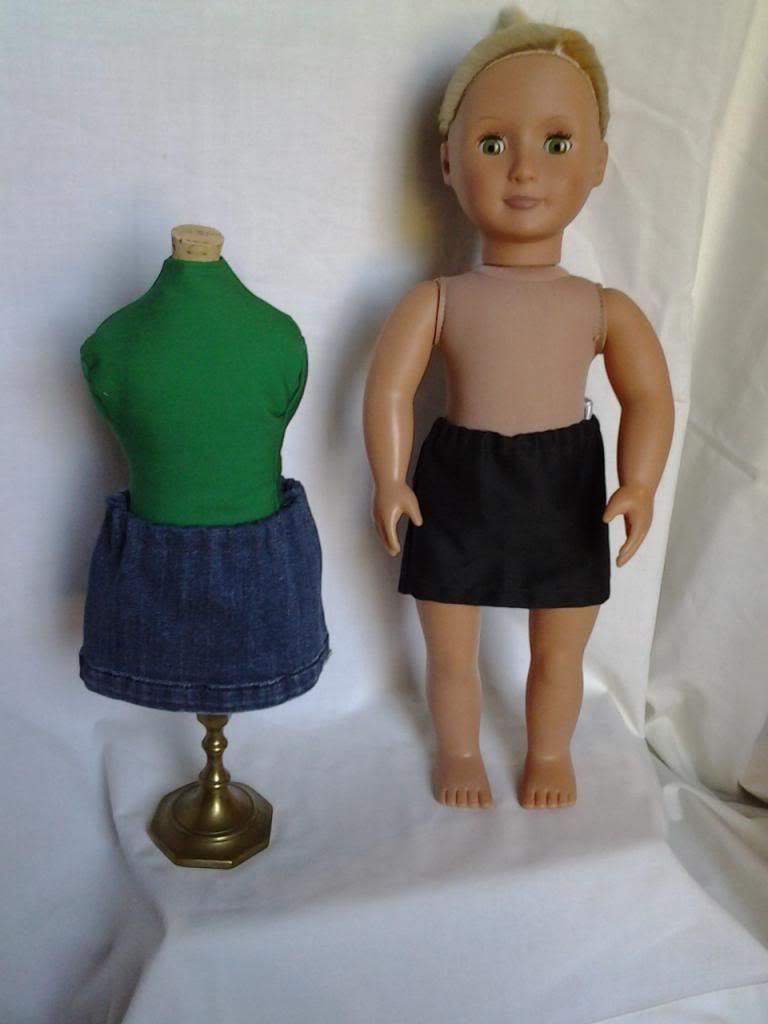
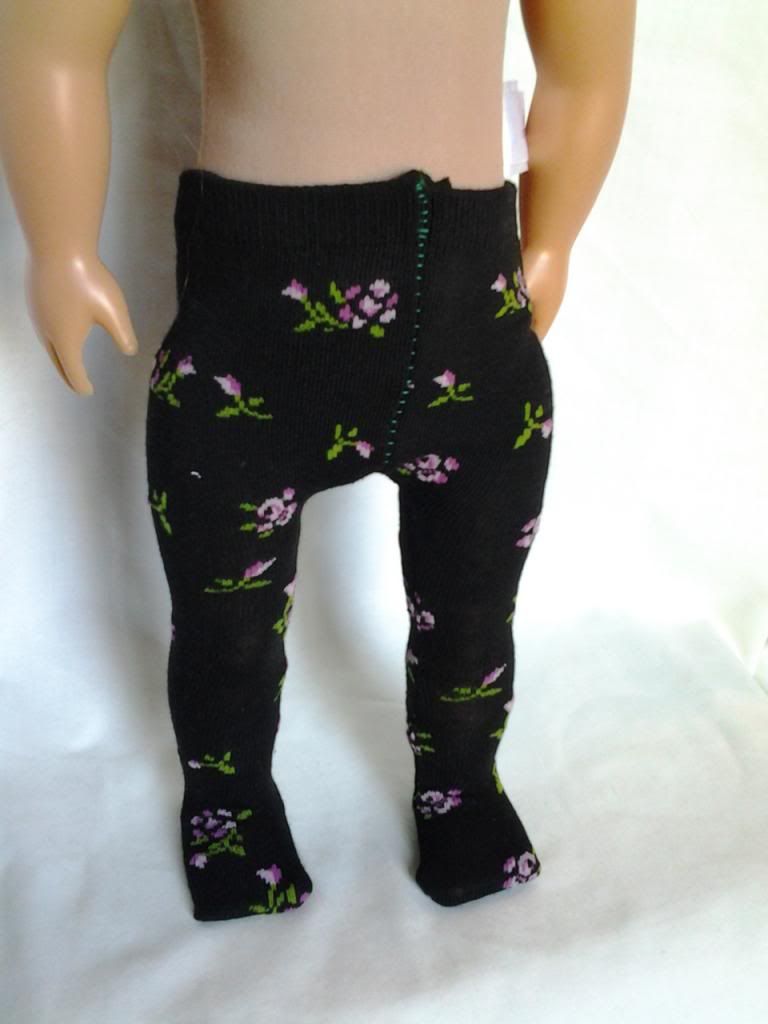
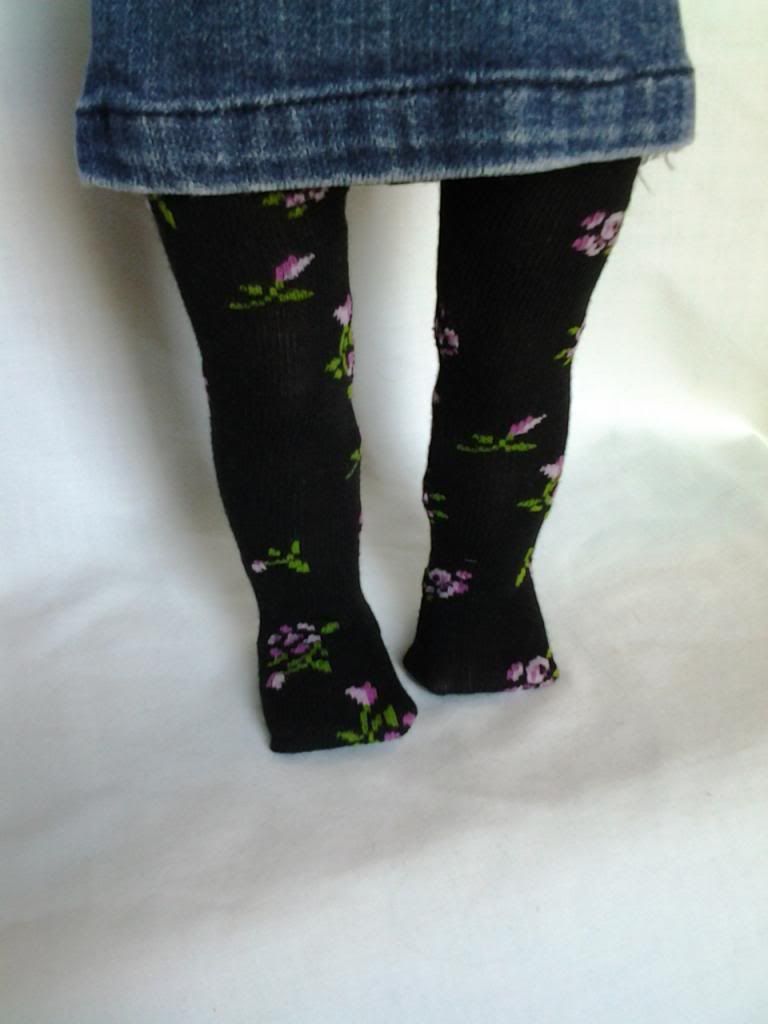
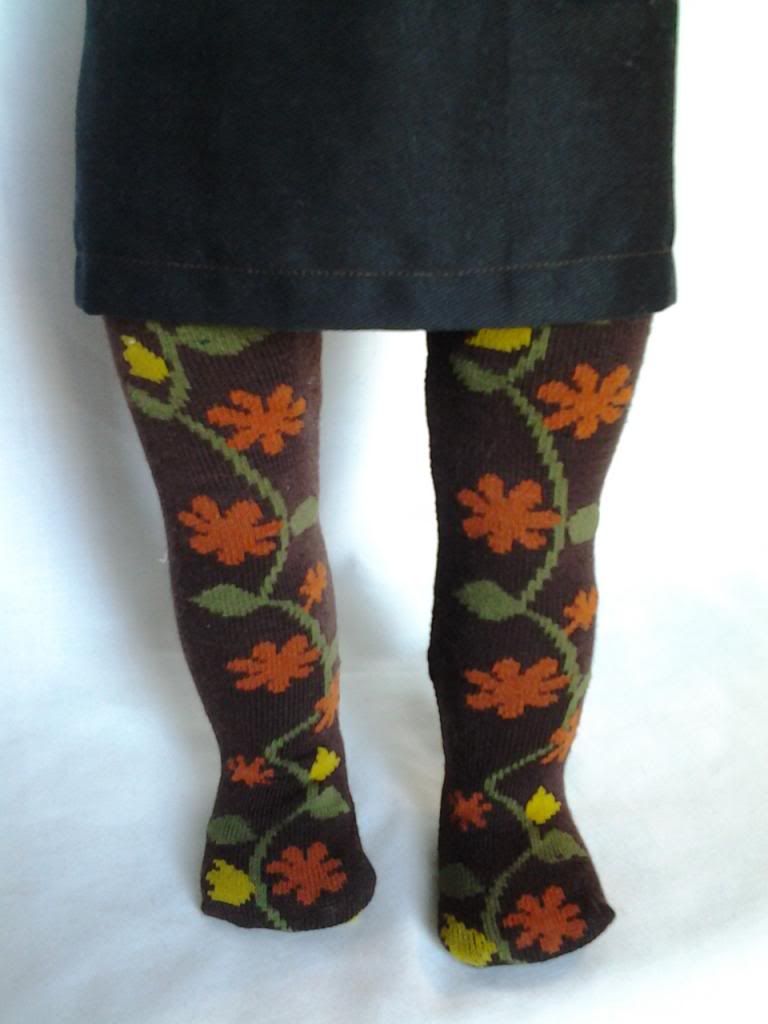
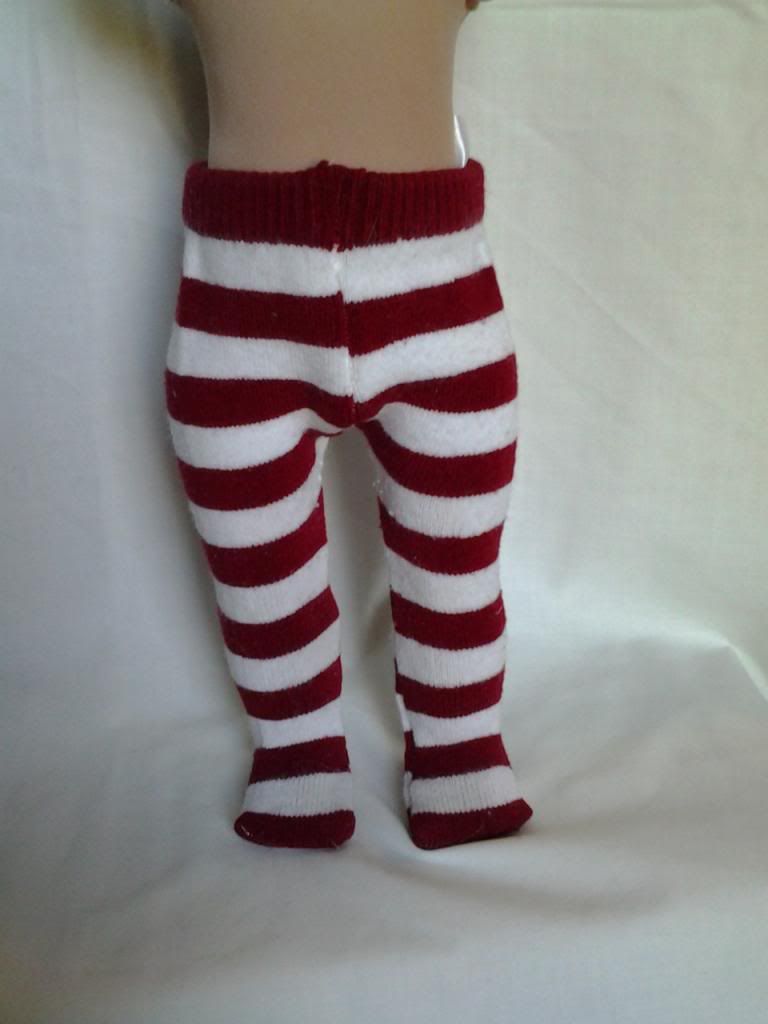
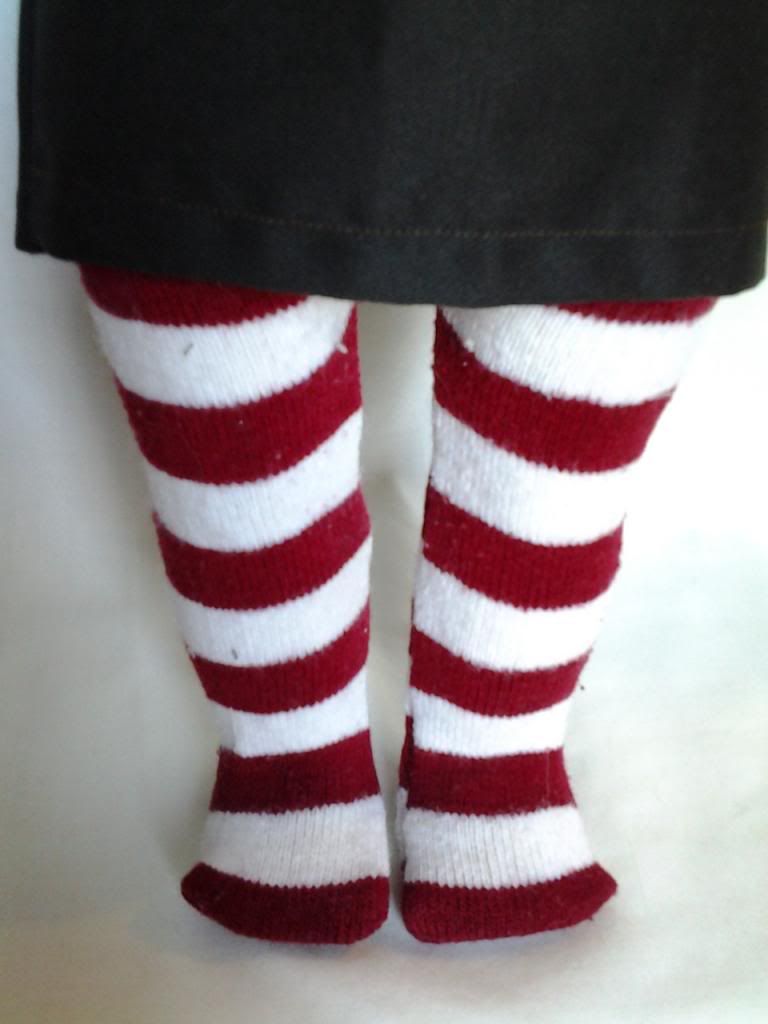
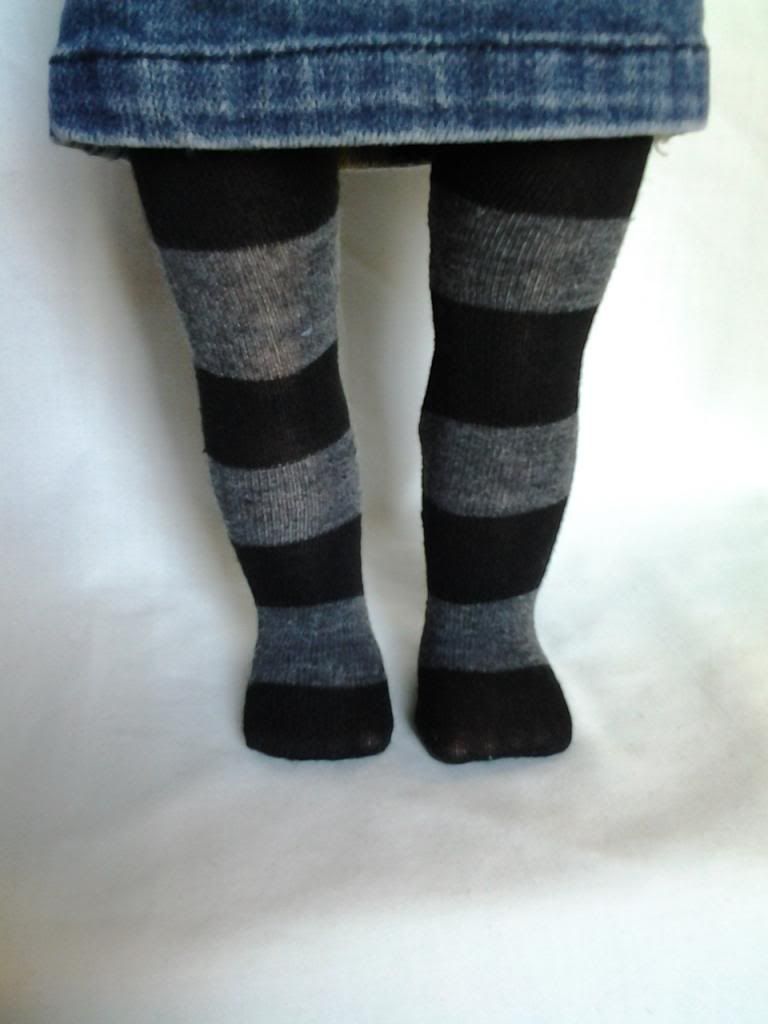
On a positive
note, because I needed a way to showcase my positively adorable tights, I made
two miniskirts. (I took all the pics of the tights after I made the skirts but
made the skirts after all the tights were done – that’s why most of the tights
pictures show them with the skirts)
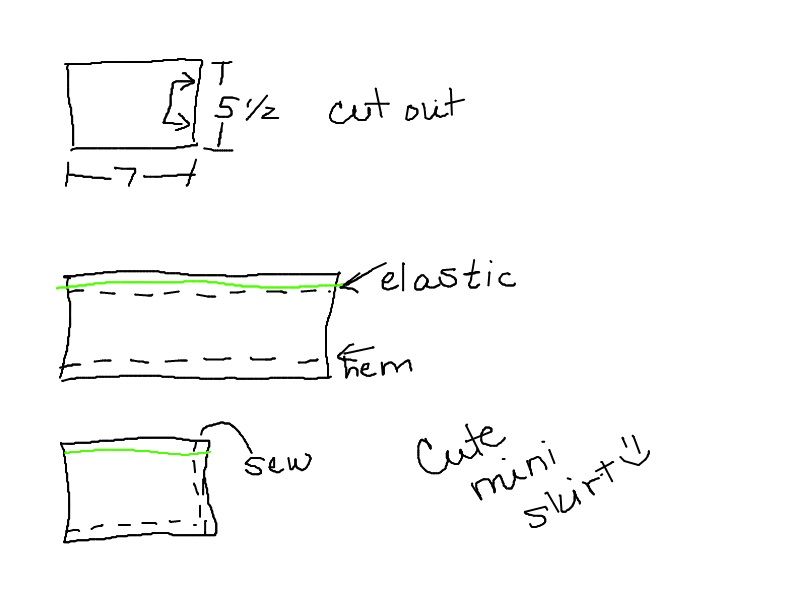
The skirts were
sooo easy J I just cut out a rectangle of 7 inches by 5 ½ inches (I just
eyeballed it to make them, but then measured afterwards) out of paper, put one
of the short sides on the fold and cut out. Then I hemmed the bottom, “hemmed”
the top (I don’t know what it’s called, but I put the pocket for the elastic in)
then added the elastic, then stitched up the side seam. Super super easy. And the denim skirt I made out of a pant leg of pants that were too small for me. YAY!
